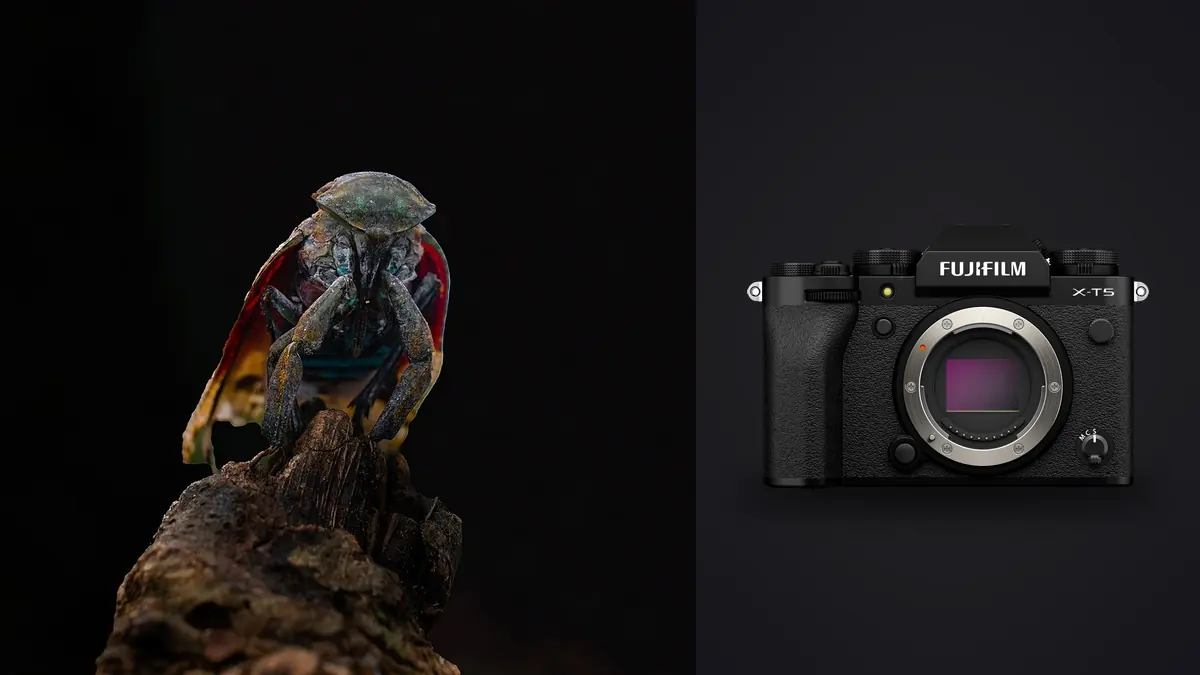
I've spent enough early mornings on my knees in wet grass with a Fujifilm X-T5 to have firm opinions about what actually helps with insect macro and what's just spec-sheet noise. The short version: the body is a genuinely capable tool for this niche, but almost everything that decides whether a shoot succeeds happens in the lens you bolt on and the habits you build around it, not in the camera's headline numbers. This isn't a spec dump. It's what I've actually learned pointing this camera at bees, jumping spiders, and one extremely uncooperative dragonfly over the past couple of seasons.
What the Sensor Actually Gives You (and Takes Away)
The X-T5's 40-megapixel APS-C sensor gets talked about mostly in terms of resolution for landscape and studio work, but for insect macro its real value is cropping headroom. Insects don't wait for you to get the framing exactly right, and a lot of my keepers are shots I cropped in by 20 to 30 percent after the fact because the subject was smaller in frame than I wanted at the moment of capture. Forty megapixels gives you room to do that and still print or post at a size where nobody notices you cheated. On a 24-megapixel body the same crop leaves you with a genuinely marginal file.
The APS-C crop factor also works in your favor for macro reach in a way people don't talk about enough. A 1:1 macro lens on APS-C fills more of the frame with the same physical subject than the same magnification ratio would on full frame, because you're using a smaller slice of the same image circle. It's not "extra magnification" in the strict optical sense, but the practical result on your final file looks like it.
The tradeoff is diffraction, and it shows up faster than people expect on this sensor. Insect macro pushes you toward small apertures for depth of field, but with pixels this dense, softening from diffraction becomes visible from around f/8 and is obvious by f/13 to f/16 if you pixel-peep at 100 percent. I used to reflexively stop down to f/16 for "safety" on depth of field and I've mostly stopped. These days I sit at f/8 to f/11 for most insect work and accept the thinner depth of field, because a sharp plane surrounded by soft falloff reads better than an evenly mushy frame.
Picking Glass: The Lens Decision Matters More Than the Body
If you're building a kit for this specifically, spend your money on the lens before you spend it on anything else. I've shot the same subjects on the X-T5 with three different macro options and the differences between them mattered more to the final image than any camera setting I changed.
The Fujinon XF80mm F2.8 Macro
This is the lens I reach for most often. It autofocuses, it's weather sealed, and it has its own optical stabilization that works alongside the body's in-body stabilization, which genuinely helps when you're handholding at close range and every micron of camera shake gets magnified along with the subject. The working distance at 1:1 is around 7.5cm from the front element, which sounds close and is close. Skittish subjects like jumping spiders or hoverflies will often bolt before you get there. It's not a lens for extreme timidity, but for beetles, caterpillars, larger moths, and anything sitting still on a leaf, it's the most reliable option in the lineup.
The Fujinon XF60mm F2.4 Macro
Worth mentioning mainly as a warning. Despite the name, this lens only reaches 1:2 magnification, half life-size, not true macro. I bought it early on assuming "macro" in the name meant what it means on the 80mm, and it doesn't. Autofocus is also noticeably slower and prone to hunting in the kind of dappled, inconsistent light you get under tree cover, which is exactly where a lot of insect subjects live. It's a fine, cheap portrait-and-general-use lens. It's a mediocre insect lens.
The Laowa 65mm F2.8 2x Ultra Macro APO
Fully manual, no autofocus, no electronic contacts beyond aperture control. This is the lens for genuinely tiny subjects, springtails, small jumping spiders, ant portraits, anything where you need 2:1 magnification and the 80mm simply can't get you there. The tradeoff is that manual focus at 2x magnification with a completely stationary subject is hard enough; with something that's actively walking around, it's a different skill entirely. I keep this lens in the bag for planned, patient sessions rather than opportunistic ones. One practical note: because it's a fully manual lens, I set a dummy focal length in the camera's lens data menu so the in-body stabilization has something to calibrate against, otherwise IBIS doesn't know what it's compensating for.
Extension Tubes
Fuji's own MCEX-11 and MCEX-16 extension tubes stack onto the 80mm and push it past native 1:1 without adding any glass, so there's no image quality penalty, just a shorter working distance and a loss of infinity focus. I use these when I want a bit more magnification than the 80mm alone gives without switching to the fully manual Laowa. Autofocus and both stabilization systems keep working through the tubes, which is the main reason I reach for them over swapping lenses mid-session.
| Lens / Setup | Max Magnification | Autofocus | Working Distance at Max Mag | Stabilization | Approx. Street Price |
|---|---|---|---|---|---|
| XF80mm F2.8 Macro | 1:1 | Yes (linear motor) | ~7.5cm | OIS + IBIS combined | $1,200 |
| XF60mm F2.4 Macro | 1:2 (not true macro) | Yes, slower, hunts in low light | ~10.6cm | IBIS only | $450 |
| Laowa 65mm F2.8 2x APO | 2:1 | None, fully manual | ~4cm | IBIS only (with manual lens profile set) | $500 |
| XF80mm + MCEX-16 tube | ~1.3:1 | Yes, retained through tube | Shorter than native 1:1 | OIS + IBIS retained | ~$170 for the tube |
Dialing In Settings for Subjects That Won't Hold Still
Insect macro settings are a constant negotiation between depth of field, shutter speed, and noise, and none of the usual "just use base ISO" advice survives contact with a bee that's about to fly off. My default starting point is f/9, somewhere between 1/250 and 1/500 depending on whether the subject is walking or stationary, and whatever ISO that forces, even if it's 3200 or 6400. At the print and screen sizes most of this work ends up at, the noise from a higher ISO is far less noticeable than the alternative of motion blur on the one frame where the eye was actually in focus.
Autofocus subject detection on the X-T5 is tuned around animals and birds, and in practice it doesn't reliably lock onto something the size of a fly or a beetle. I don't fight it. For most insect work I focus manually, using focus peaking set to a high-contrast color (red against green foliage works well, white against darker bark or soil) combined with the rear command dial press to zoom the EVF for a final check before firing. The camera's AF-then-manual-override behavior, where you can nudge the focus ring after an autofocus lock to fine-tune, is genuinely useful here for stationary or slow-moving subjects where you want autofocus to get you close and your own hand to close the last half millimeter.
The joystick gets more use in insect macro than in almost any other genre I shoot. Subjects move within the frame constantly, and repositioning a single AF point with the joystick is faster than recomposing the whole shot, especially when you're trying not to spook something by moving your whole body.
Handheld or Tripod: Where the Stabilization Rating Falls Apart
Fuji rates the X-T5's in-body stabilization at up to 7 stops, and that number is measured under normal shooting conditions at normal distances, not at 1:1 magnification eight centimeters from your subject. At that magnification, both camera shake and subject sway get magnified right along with everything else, so the effective benefit is smaller than the marketing number suggests. It still helps, and combined with the 80mm's own optical stabilization I can reliably handhold at 1:1 in decent light, but I wouldn't plan a session around expecting 7 stops of usable slack.
For genuinely static subjects, a small tabletop tripod or a bean bag laid on the ground gets you more consistent results than handholding ever will, especially if you're trying to nail focus stacking. But for anything alive and mobile, which is most of what I actually photograph, a tripod costs you more in lost opportunities than it gains in stability. I've largely settled on handheld with a monopod as backup for longer sessions on one subject, like a mantis that's decided to stay put for twenty minutes.
Working the Light
The best insect macro light I get isn't from any flash setup, it's from shooting at dawn when insects are still cold and sluggish from the overnight temperature drop. Dew-covered subjects that are barely moving let you shoot at lower ISO, take your time on manual focus, and even attempt a short focus bracket without the subject relocating mid-sequence. If you only shoot one kind of session with this gear, make it an early one.
Later in the day, when insects are active and light gets harsher, I lean on a small diffused flash. The X-T5's standard hot shoe accepts ordinary TTL flash units without any adapter, and a compact flash with a homemade diffuser (I've cut up translucent takeout containers more than once) softens the shadow under a bug enough to avoid the harsh, clinical look of bare direct flash at close range. A dedicated macro twin-flash rig gives more even, shadowless lighting if you want to invest, but for most subjects a single diffused flash bounced or angled slightly off-axis does the job.
Focus Bracketing in the Field: Useful Less Often Than You'd Think
The X-T5 has a built-in focus bracketing mode where you set a number of frames, a step size, and an interval, and the camera racks focus and fires automatically through the sequence. It doesn't stack the images in-camera, that part still happens afterward in something like Helicon Focus or the stacking tools in Photoshop, but it does the tedious part of capturing a clean, evenly spaced sequence for you.
In practice I use this far less on live insects than I expected to when I first got the camera. Depth of field at high magnification is measured in fractions of a millimeter, and any sway from the subject, or from a breath of wind moving a leaf, breaks alignment between frames badly enough that the stack falls apart in post. Focus bracketing earns its keep on the cold, dew-still mornings I mentioned above, or on subjects that have genuinely stopped moving, like a beetle deep in feeding. For anything actively walking or flying, I don't bother and just shoot a tight burst at my best single focus point instead.
What a Real Insect Macro Session Does to Your Card
A single good session with one cooperative subject routinely leaves me with three or four hundred frames: multiple attempts at the same angle, a handful of aborted focus brackets, and repeated tries as the insect shifts a centimeter and I reposition. Sorting that manually used to eat as much time as the shoot itself, and at 1:1 or 2:1 magnification, telling which of twelve nearly identical frames is actually the one where the compound eye is tack sharp is genuinely hard to judge at a glance.
This is where I've come to rely on imagic for the culling pass. It scores sharpness and focus locally on the machine, which matters a lot here because the difference between a keeper and a reject is often a fraction of a millimeter of focus plane, not something you can eyeball quickly across a few hundred thumbnails. It also clusters the near-duplicate bursts and failed focus-bracket attempts together, so I'm reviewing groups of similar frames rather than scrolling through the whole take one image at a time. If you haven't looked into how that kind of sorting actually works under the hood, this breakdown of AI photo culling covers the mechanics better than I can here.
The other feature that's become part of my routine is apply_my_style, which builds a preset from edits I've already made rather than a generic filter. Insect macro shots I keep tend to get a fairly consistent treatment, darker backgrounds, slightly warmer midtones, so having that applied automatically to a fresh batch saves a real chunk of editing time on a 300-frame take. Since all of this runs locally with no upload step, it's also just faster when I'm working through a card straight off a field trip with no reliable connection, which describes most of the places I actually go to find interesting insects.
Frequently Asked Questions
Does the X-T5's autofocus actually work for photographing live insects up close?
It works reasonably well for larger, slower subjects like beetles or caterpillars sitting on a leaf, especially with the 80mm's linear motor. For small, fast, or erratic subjects like flies or jumping spiders, I get more consistent results manually focusing with peaking turned on than trusting autofocus, since the subject-detection modes aren't built with insects in mind.
Is the 40-megapixel sensor overkill for insect macro, or does it actually help?
It helps more than I expected, mainly because it gives you room to crop into a frame where the subject came out smaller than planned, which happens constantly with mobile subjects. The cost is that diffraction from small apertures shows up sooner than on a lower-resolution sensor, so you can't just stop all the way down for depth of field without a visible sharpness penalty.
Should I buy the XF80mm or the XF60mm as my first macro lens for insects?
The 80mm, without much hesitation. The 60mm only reaches half life-size magnification despite being marketed as a macro lens, and its autofocus is noticeably slower in the uneven light typical of insect habitats. The 80mm costs more but is the lens that actually does the job the name promises.
Do I need a ring flash, or can natural light handle insect macro on this camera?
Natural light works well early in the morning when insects are cool and still, and I'd rather shoot that window than rely on flash. Later in the day, when subjects are active and light is harsher, a small diffused flash (not necessarily a dedicated ring flash) makes a noticeable difference in shadow softness without needing specialized macro flash gear.