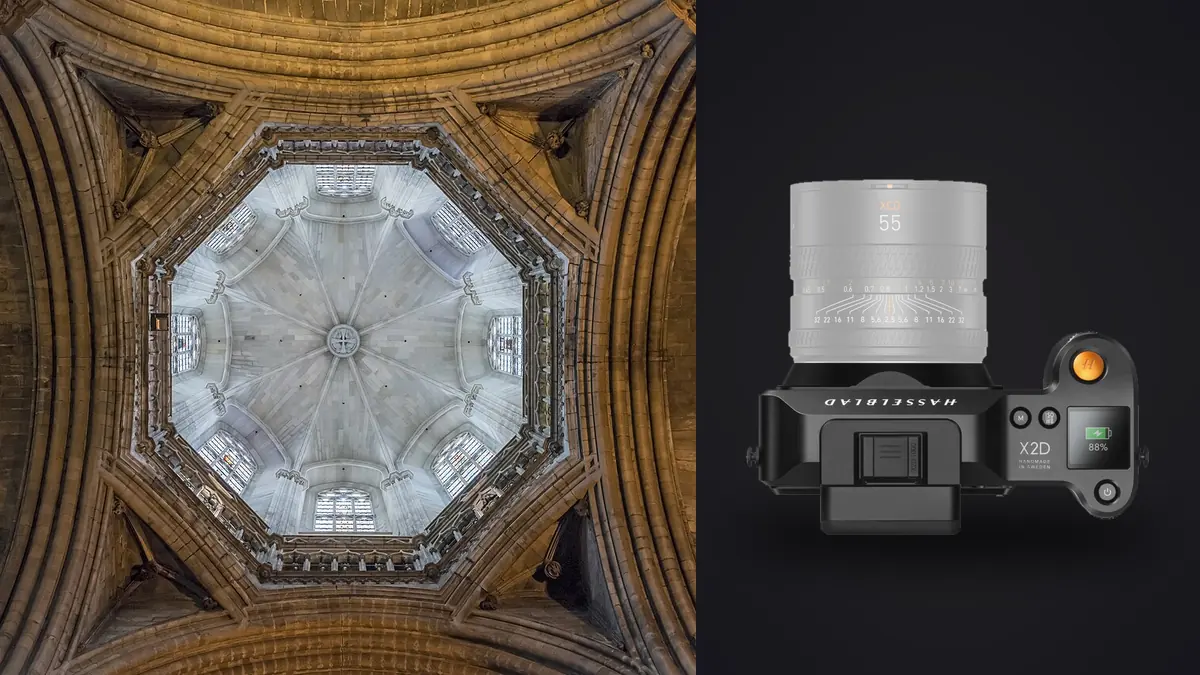
A reliable Hasselblad X2D 100C architectural and interior photography RAW Workflow is a chain of decisions, not a preset applied after the card is full. Capture settings determine which detail survives, file organization protects the evidence, selection identifies the frames that answer the brief, and development prepares those frames for a defined destination. This guide keeps those stages connected so a correction in one stage does not create an avoidable problem in the next.
The Hasselblad X2D 100C uses a 100 megapixel 44 by 33mm sensor, in-body stabilization, 1TB internal SSD storage, a CFexpress Type B slot, and XCD lenses with leaf shutters. Architecture can benefit from its detail and tonal information, but the files magnify small vibration, focus, lens, and alignment errors. Storage speed and capacity do not replace a verified 3FR backup.
Translate the assignment into file requirements
Define the result before choosing a Hasselblad X2D 100C RAW setting. Record the final image count, likely crop ratios, largest output, color space, delivery format, metadata requirements, and whether the photographs must work as a sequence. For architectural and interior photography, also identify the visual facts that technical scoring cannot infer, such as subject identity, gesture, spatial accuracy, garment continuity, species behavior, or the order of an event. These criteria become the basis for the edit.
List every required room, elevation, design detail, orientation, crop, lighting state, window treatment, and permitted object movement. Record the largest reproduction and expected perspective standard. A 100 megapixel source offers crop latitude, but repeated aggressive correction still changes edge quality and composition. Decide whether the assignment is a factual property record, an architect's portfolio, or a styled editorial interpretation before retouching begins.
| File | Purpose | Handling rule |
|---|---|---|
| 3FR original | Reversible camera evidence | Keep unchanged |
| Review derivative | Fast comparison or proofing | Label as a derivative |
| Working edit | Adjustment and version history | Keep linked to its source |
| Delivery export | Use in the approved destination | Build to a written specification |
Capture RAW files that remain editable
Use a rigid leveled tripod, base or low practical ISO, and an aperture tested for both depth and diffraction. The XCD leaf shutter can support controlled lighting, while electronic capture has different movement behavior; verify the selected mode with the actual scene and flash system. Make a fixed-position shutter-speed bracket only when one 3FR exposure cannot retain the required window and interior information credibly.
Magnify live view on a significant structural plane and inspect near furniture, middle architecture, and distant detail at the intended output. High resolution makes a slightly misplaced plane obvious. If depth requires a stack, keep the camera locked and move focus in overlapping steps. Pay particular attention to railings, plants, pendant fixtures, and door frames that can expose alignment or blending errors.
Make a representative test with the Hasselblad X2D 100C under the actual light, then inspect the intended focus plane, subject movement, brightest color channel, darkest important texture, and frame edges at full resolution. A bright rear display can hide clipping, while a small preview can disguise motion or focus error. Stabilization can reduce camera movement, but it cannot stop a moving architectural and interior photography subject. Subject recognition can help acquisition, but it cannot decide which subject matters.
Assign separate jobs to lens, position, and light
Choose an XCD focal length from room dimensions and spatial intent, favoring a natural viewpoint over an extreme corner position. Keep the sensor plane vertical when parallel verticals are required and set camera height deliberately. If perspective must be corrected in software, leave generous edge margin. Record lens and camera position because the system lacks a native shift movement that would otherwise describe the correction at capture.
Record a neutral reference whenever the Hasselblad X2D 100C architectural and interior photography lighting changes materially, and leave that frame beside the photographs it describes. The reference should establish a starting point rather than erase an intentional cast. Protect important highlights with the histogram and channel warnings instead of relying on screen brightness. RAW latitude can reshape recoverable tones, but it cannot recreate texture after a channel is fully clipped.
Preserve the RAW sequence during ingest
Decide whether 3FR files are recorded to the internal SSD, CFexpress card, or both within the camera's available modes, then document the role. Offload every used source separately and compare counts before consolidating. Mark rooms, brackets, focus runs, and lighting states with clear sequence frames. The internal SSD is working camera storage, not an independent archive, and it should be copied before the project depends on it.
JOB_CODE/
  PURPOSE_ARCHITECTURAL_AND_INTERIOR_PHOTOGRAPHY/
  01_CAMERA_ORIGINALS/
    CAMERA_CARD_001/
  02_VERIFIED_COPY/
  03_REVIEW/
  04_WORKING_EDITS/
  05_EXPORTS/
  06_DELIVERY_NOTES/
Copy each Hasselblad X2D 100C architectural and interior photography card or storage unit as a complete, uniquely named folder. Record the expected file count, create a second independent copy, and verify both before returning media to use. Keep separate camera folders until duplicate filenames, clock offsets, and sequence boundaries are resolved. Review files and exported JPEGs should never sit where they can be mistaken for the only 3FR master.
imagic's documented RAW support covers CR2, CR3, NEF, ARW, RAF, ORF, RW2, DNG, and PEF, not Hasselblad 3FR. Keep X2D originals in compatible Hasselblad or third-party RAW software; exported TIFF or JPEG derivatives can be handled separately without being mislabeled as camera RAW masters.
Cull by sequence before judging isolated frames
Group the Hasselblad X2D 100C photographs by action, pose, bracket, lighting setup, location, or composition before assigning selects. Remove obvious accidents from the working view first, including unintended releases, blocked frames, unrecoverable clipping, focus on the wrong plane, and duplicates with no independent value. Use a reversible reject status rather than deleting originals. The second pass can then compare technically viable alternatives against the architectural and interior photography brief.
Reject vibration, missed focus, changed tripod alignment, incomplete brackets, crew or equipment in reflections, and frames caught during light cycling. Compare viable compositions for vertical control, balanced furniture, surface separation, clean corners, and perspective-correction margin. Keep all components of a selected blend even when one base 3FR file carries most of the room, and flag any missing exposure before retouching.
imagic can score sharpness, exposure, closed eyes, and composition while grouping bursts and near-duplicates on the local Windows or macOS computer. In this Hasselblad X2D 100C architectural and interior photography RAW Workflow, those results are an ordered review aid, not an editorial verdict. Privacy-sensitive files stay on the machine, and culling changes a status rather than deleting the camera original. Human review still decides meaning, consent, continuity, and intentional technical departures.
Develop the master in a stable order
Process 3FR files in software that supports the camera and preserves the intended profile behavior. Establish lens correction, base exposure, and white balance before geometry or local blends. The fine detail can tempt excessive clarity, so inspect wood, stone, textiles, and repeating lines for brittle edges or moire. Correct perspective without stretching furniture, and keep the base light direction visible when adding window or shadow information.
Apply broad corrections before local ones in the Hasselblad X2D 100C architectural and interior photography set. A practical order is input profile, white balance, exposure, highlight and shadow placement, tone curve, color, lens correction, noise treatment, and capture sharpening. Revisit earlier controls after a major profile or exposure change. Judge sharpening at an appropriate magnification and inspect both a critical detail and a smooth area, since settings that clarify an edge can also turn noise or skin texture into a distraction.
Control color without erasing the scene
Use a reference under every major mix of daylight, practical lamps, LEDs, and controlled fixtures. Preserve intentional warmth and material relationships instead of neutralizing the entire room. Compare paint, wood, stone, metal, textiles, and exterior views to the reference. Local correction is often safer than a global tint when several sources overlap, and blended windows need checks for blue edges or mismatched saturation.
Build adjustment groups from real Hasselblad X2D 100C architectural and interior photography capture conditions rather than applying one correction to the entire job. A new room, weather state, stage act, light source, lens, or exposure method can justify a new baseline. Synchronize controls that should match, then inspect the first, middle, and last keeper in every group. Crop, aggressive recovery, local masks, and subject-specific cleanup generally need individual confirmation.
Keep brackets, bursts, and composites traceable
Keep each X2D bracket or focus run tied to one unchanged camera position. Normalize common development before specialized blending and preserve every 3FR source. Select one component for moving curtains, foliage, people, or reflections to avoid ghosts. If multiple lighting states are combined, record that intervention and keep the result separate from a documentary version when the destination requires spatial and temporal fidelity.
Any Hasselblad X2D 100C architectural and interior photography composite or multi-frame result should remain traceable to all of its components. Normalize shared settings before alignment or blending, preserve unused edge area until geometry is final, and inspect seams at meaningful detail. If a frame was captured at a different time or exposure for a foreground, window, background, or moving subject, keep that distinction in the working notes and disclose it when the destination's editorial rules require disclosure.
Run quality control at image and set level
Inspect each approved Hasselblad X2D 100C architectural and interior photography photograph at three scales. Full image view reveals composition and tonal balance, a practical output view reveals how the destination will look, and a critical detail view reveals focus, motion, noise, halos, dust, and masking defects. Then compare the set as a sequence. White point, black placement, saturation, crop logic, and sharpening should feel coherent without forcing unlike lighting conditions into an artificial match.
- Source check: confirm every edit points to the intended 3FR original.
- Technical check: inspect focus, motion, clipping, noise, lens correction, and composite edges.
- Editorial check: confirm subject identity, sequence meaning, consent, and requested exclusions.
- Consistency check: compare neighboring keepers under the same capture condition.
- Output check: open a rendered file outside the editing view before delivery.
Export for the stated destination
Export a checked full-resolution master, then build print, portfolio, web, or listing files to their own dimensions and profiles. Inspect long straight edges, fine patterns, local masks, and corrected corners after resizing. Confirm room labels, orientations, color space, and file count. Preserve the uncropped working master and 3FR sources so alternate layouts do not require destructive reconstruction.
Set dimensions, profile, bit depth, compression, metadata, naming, and output sharpening for the Hasselblad X2D 100C architectural and interior photography files from the delivery note. JPEG suits many web and gallery uses, while TIFF can preserve more information for a print or downstream retouching stage. Keep a full-resolution approved master when future derivatives are likely. Verify pixel dimensions and embedded profile, open representative files, and compare the delivered count with the approved selection.
The desktop photo workflow explains local processing boundaries, the single-photo editor offers a focused derivative workflow, and the Camera Hardware collection connects this process to related photography systems. These references support the Hasselblad X2D 100C plan, but the written architectural and interior photography brief remains the authority for the job.
Use a final RAW Workflow checklist
- Write the purpose, crop, output, sequence, and privacy requirements.
- Confirm 3FR, compression, card role, focus method, and shutter behavior.
- Make a focus, motion, highlight, and color-reference test under working light.
- Keep each card or storage unit intact inside a unique camera-original folder.
- Create and verify two independent copies before reusing media.
- Group related Hasselblad X2D 100C frames before comparing technical and editorial value.
- Normalize global development by real capture condition, then inspect exceptions.
- Preserve every required component of a bracket, stack, burst, or composite.
- Render to the delivery specification and inspect files outside the editor.
- Archive the originals, adjustment records, approvals, and export recipe.
Frequently asked questions
Should every Hasselblad X2D 100C architectural and interior photography photograph be recorded as RAW?
RAW is appropriate for the Hasselblad X2D 100C architectural and interior photography job when it needs recoverable white balance, highlight control, substantial tonal work, or a durable editing master. A JPEG-only choice can be reasonable for a controlled immediate use, but it should be tested against the actual output and kept clearly identified as the camera-rendered source.
Can automated scoring choose the final architectural and interior photography selection?
No. Scoring and duplicate grouping can narrow technically repetitive Hasselblad X2D 100C architectural and interior photography files, but they do not know which moment, subject, relationship, garment, behavior, or spatial fact answers the brief. A photographer or editor must make the final editorial choice.
When is the Hasselblad X2D 100C RAW Workflow complete?
The Hasselblad X2D 100C architectural and interior photography process is complete when approved images have been rendered to specification, opened and checked, counted against the selection, delivered through a verified copy, and archived with the 3FR originals and adjustment records. An edit that has not survived output verification is still unfinished.