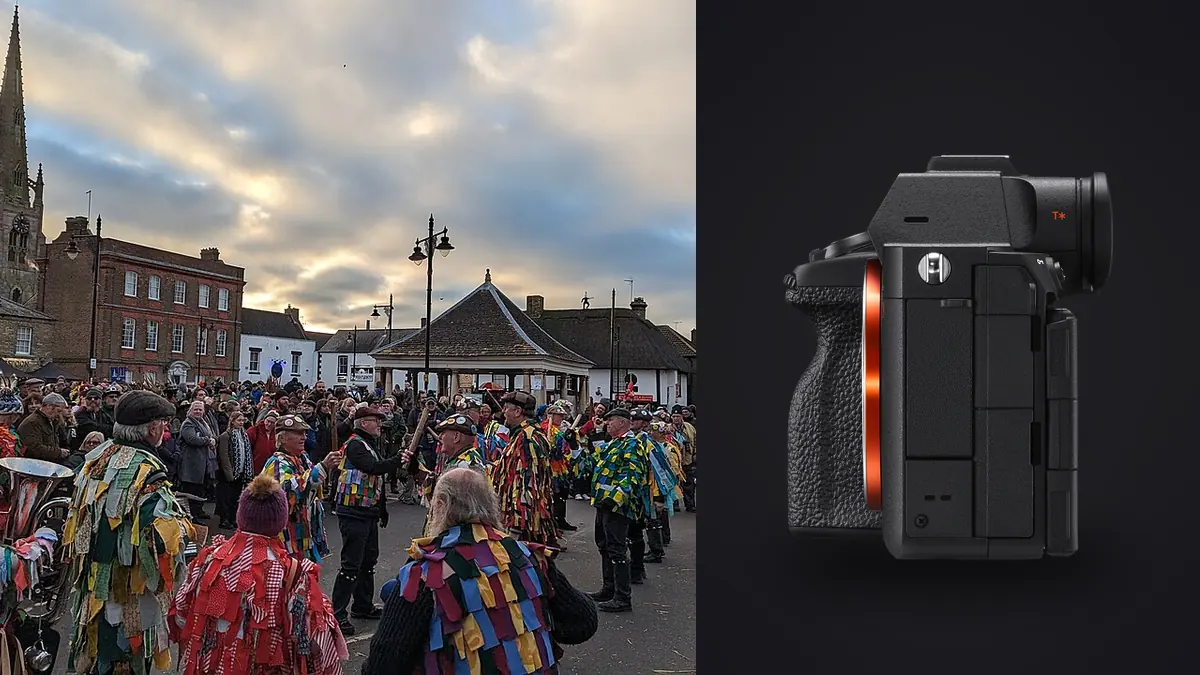
The Sony A7R V brings a 61-megapixel full-frame sensor, subject-recognition processing, extensive customization, and effective stabilization to street and documentary work. Its detail and cropping latitude can be valuable, but the camera also creates large files and offers enough control choices to become distracting. A field setup should make the body predictable before it makes it clever.
This routine uses one calm default, one movement setup, and a small number of reachable overrides. It also treats electronic shutter, subject recognition, and high resolution as tools with visible limits. Street situations differ legally and ethically by place, so camera readiness does not remove the need for judgment about privacy, consent, safety, and publication.
Start with one documentary baseline
Save a custom memory for general daylight walking. Choose RAW compression or size, card recording, autofocus mode and area, metering, shutter behavior, Auto ISO range, minimum shutter logic, stabilization, and display. Name or document the setup so it can be restored after a landscape or studio session.
A practical default is aperture priority or manual shutter and aperture with Auto ISO, depending on how actively movement must be controlled. Use AF-C with a flexible spot, zone, or tracking area that suits the way subjects enter the frame. Set a moderate drive mode. The baseline should handle an ordinary person walking through mixed backgrounds without menu changes.
Make a second memory for fast movement or night. Increase minimum shutter speed, choose the appropriate AF behavior, and define a higher but still acceptable ISO range. A third can serve quiet static interiors with mechanical shutter or electronic settings tested for the light. Fewer proven states are easier to operate than many overlapping memories.
Map controls to recover from common failures
Assign the most reachable custom button to an AF-area override. A broad zone may acquire a person quickly, while a small flexible spot can recover when tracking chooses a sign, window reflection, or another face. Another control can toggle subject recognition or switch between human and general tracking when the feature becomes a distraction.
Place exposure compensation on a dial that will not move accidentally. Assign focus magnification for static details and a display toggle for a clean view. Keep card format, file deletion, and other destructive operations away from controls that can be pressed during shooting.
Test the layout while wearing the normal jacket and carrying method. A function button hidden by gloves or a strap is not reachable in practice. Use the same broad mapping on a second Sony body when possible so a switch does not reverse muscle memory.
Set autofocus according to how the scene forms
Human recognition can follow a face, head, or body, but it may select the nearest or largest person rather than the narrative subject. Start tracking on the intended person and restrict the search area when crowds overlap. If the camera changes subjects, release and reacquire instead of dragging the wrong box through the scene.
For a layered composition where the subject will enter a fixed patch of light, pre-focus at that distance and use enough depth to tolerate a small error. This is often more predictable than asking full-area tracking to understand a composition that does not exist yet. Manual focus or single AF can suit static architecture and details.
Eye focus is not the only success criterion. A gesture, relationship, or sign may carry the frame even when the face is small. Review focus at the intended output size and do not let a detection box decide which person matters.
Choose mechanical or electronic shutter by environment
Electronic shutter is silent, but the A7R V uses rolling sensor readout. Fast lateral motion can skew and pulsing LEDs can create bands or inconsistent color. Mechanical shutter adds sound and wear but is often safer under artificial light and for moving geometry.
Test electronic operation in stations, shops, and night streets by photographing smooth walls, signs, and moving vertical lines. If bands or shape distortion appear, change shutter speed or use mechanical shutter. Anti-flicker features may help in supported circumstances, but they do not make every light source constant.
Silence should not justify photographing where doing so is prohibited or harmful. It can support discretion, but ethical practice includes responding to discomfort, avoiding vulnerable situations, and understanding local rules.
Control the cost of 61-megapixel capture
Full-resolution RAW preserves maximum detail and crop latitude, while smaller RAW options or compressed modes can reduce storage depending on the camera's current settings. Test every selected format through the actual decoder before an important project. A format is not efficient if the software cannot open it or if it removes needed latitude.
Use high resolution when fine detail, large output, or flexible framing matters. For routine sequences, discipline at capture often saves more space than changing file type. One or two timed frames around a gesture are easier to edit than a long burst of nearly identical sixty-one-megapixel files.
The A7R V has two media slots that accept supported card types according to Sony specifications. Configure duplicate recording when the consequence of loss warrants it, and verify both indicators. Card speed, format, and selected RAW settings affect sustained performance.
Build exposure around a minimum motion threshold
In aperture priority, set a minimum shutter behavior that reflects the lens and subject rather than only camera shake. Stabilization may allow a slow exposure of a wall, but a walking person will still blur. Raise the threshold at night if people remain central, accepting the ISO needed for a properly exposed file.
Manual shutter and aperture with Auto ISO gives direct control of motion and depth while light changes. Exposure compensation steers the automatic ISO decision when a subject crosses bright windows or dark walls. Watch highlights on pale clothing, signs, and skin in direct sun.
For intentional motion blur, save a separate setup or make the change conspicuous. A slow shutter accidentally left active can ruin the next unrepeatable moment. Reset after the experiment and verify the value in the finder.
Pair lens and carrying method with the route
A small normal or moderate wide prime keeps the high-resolution body manageable and encourages a consistent distance. A standard zoom provides flexibility when movement is restricted but adds volume. Choose one primary lens for the walk and carry an alternate only when a specific scene requires it.
Use a strap that keeps the camera secure without swinging into people or objects. Adjust it so the body can rise to the eye without wrapping around controls. A wrist strap is compact but offers less protection when both hands are needed. Never leave the camera loose on a cafe table or public bench.
Weather resistance is not waterproofing. Use a cover in sustained rain, avoid lens changes in blowing dust, and check card doors and ports before continuing. The best field routine protects access and safety before speed.
Simplify the viewfinder and screen
Keep one clean display for composition and one information view with histogram or level. Too many icons can hide edges and gestures. Use the articulating screen for low or waist-level framing when that perspective serves the scene, not as a covert excuse to ignore a person's response.
Screen brightness changes perception. Rely on histogram and highlight warnings for exposure, especially at night. Turn off automatic review if it causes missed moments, but perform a deliberate technical check after a major change in light or lens.
Focus magnification is useful for a static sign, reflection, or layered detail. It is too slow for most spontaneous action. Assign it so it can be entered and exited without changing the main AF setup.
Follow a repeatable walking routine
- Before leaving: verify clock, cards, battery, RAW mode, shutter, and saved memory.
- At each light change: check minimum shutter, ISO range, highlights, and white balance.
- Before a frame: choose subject, background, and edge relationships before raising the camera.
- During movement: acquire early, make a short sequence, and continue framing through the gesture.
- After a technical change: inspect one magnified frame and restore the baseline if needed.
- When challenged: remain calm, respect boundaries, and prioritize safety over the photograph.
- At the end: protect cards, record context, and avoid deleting from the camera.
Review high-resolution street files with context
At ingest, create verified copies and keep chronology intact. Group repeated approaches and short bursts before rating. imagic can locally analyze supported Sony ARW files, assess sharpness, exposure, closed eyes, and composition, and group near-duplicates. Use it to surface technical candidates, not to decide documentary meaning.
Inspect focus and motion, then return to full view for relationships, ethics, and sequence. The camera hardware guides add equipment context, while the desktop page outlines local culling, non-destructive editing, and JPEG or TIFF export. Long-term archive and catalog decisions still need a separate system.
Prepare a separate night-street state
Night streets combine moving people, deep shadows, bright signs, and pulsing LEDs. Save a state with a motion-safe minimum shutter, a known Auto ISO ceiling, a tested shutter mode, and a white-balance starting point. Keep full highlight warnings visible for illuminated signs and pale faces.
Do not underexpose every frame simply to protect one small lamp. Decide whether the lamp carries readable content or can clip as a point source, then preserve the subject tones that matter. If electronic shutter bands under a sign, try a different shutter time or mechanical capture before moving to another angle.
Fast primes help gather light but reduce depth at close distance. A person turning across the frame may leave one eye outside focus even when tracking succeeds. Open the aperture only as far as the scene needs, and raise ISO when greater depth is more important than a theoretically cleaner file.
Keep interaction choices visible in the routine
Street photography includes situations where a subject notices, asks a question, or objects. Decide in advance how to respond, and do not let a custom-button reflex override human context. Safety, dignity, and local law are more important than retaining one frame.
When making a direct street portrait, explain the intended use and obtain the permission appropriate to the project. Record names or contact information only through a secure method, separate from public filenames. Do not promise publication, payment, or deletion terms that the workflow cannot honor.
At the edit, revisit frames involving children, vulnerable people, private distress, or sensitive locations with greater care. Technical sharpness and legal possibility do not automatically make publication responsible.
Frequently asked questions
Should the Sony A7R V use silent shutter on the street?
Only after checking movement and artificial light. Electronic shutter can skew fast motion or band under pulsing fixtures, so mechanical shutter may be more reliable despite its sound.
Are 61-megapixel RAW files necessary for every street photo?
No. Use full resolution when detail, large output, or crop latitude matters, and test smaller or compressed options through the complete workflow. Capture discipline remains the simplest storage control.
Which AF area is best for crowded streets?
Use a restricted zone or flexible spot when several people overlap, and begin tracking on the intended subject. Map a broader area to a nearby control for quick acquisition against a clean background.