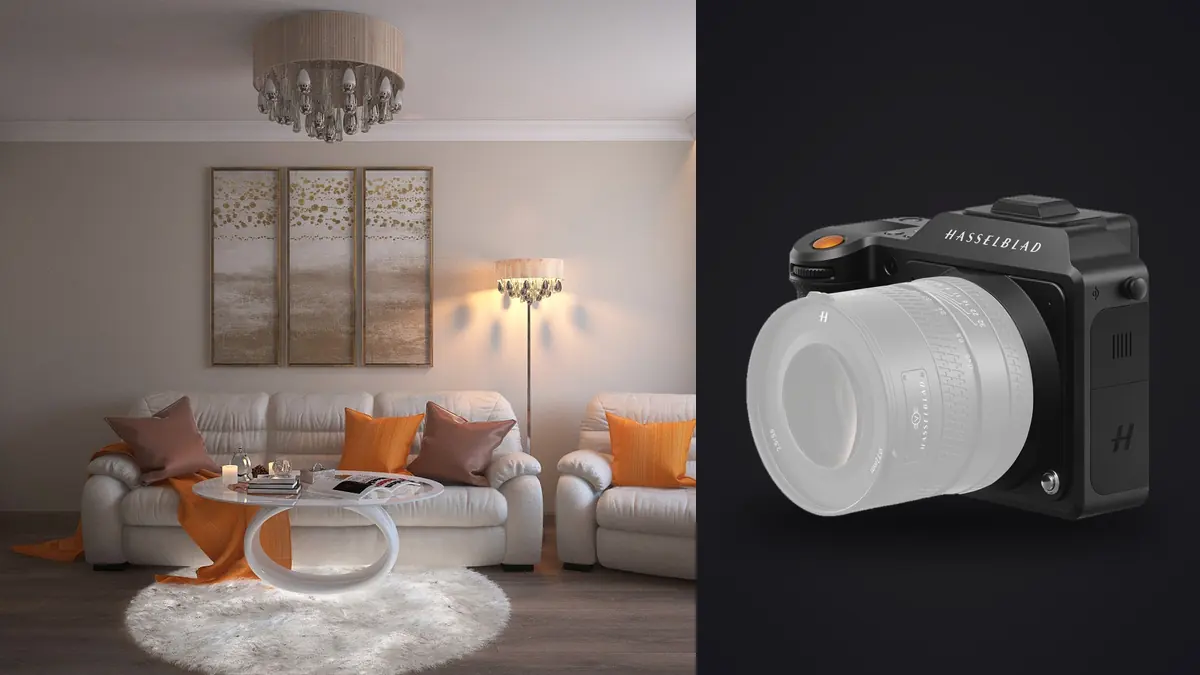
The Hasselblad X2D 100C records 100 megapixel medium-format files, so small material details and small geometric mistakes can both survive into a large delivery. Architecture work with this camera is less about reacting quickly than choosing a level viewpoint, leaving enough correction margin, controlling reflections, and ensuring that the lens, tripod, and location access can hold that decision.
This Lens and Location Guide assigns XCD lens classes to facades, room relationships, elevations, and design details. It also plans sun and window timing, leaf-shutter lighting, focus depth, property protection, and the X2D's internal and removable storage. The goal is an accurate visual account of a space, not a wide-angle exaggeration of its size.
Write the geometry and output requirements first
Confirm final dimensions, print size, aspect ratios, page layouts, and whether the brief expects straight verticals, natural perspective, or a deliberate dynamic view. Ask which spaces and relationships must be explained: approach, facade, entrance, circulation, hero room, transitions, furniture, materials, lighting, and surrounding context. A list of room names alone is not a visual plan.
Overlay the strictest crop on scout photographs. Allow for rotation, lens correction, vertical adjustment, and different editorial ratios. Pointing a conventional lens upward makes verticals converge; correcting that later stretches parts of the image and removes edges. A high source resolution provides room, but it does not make extreme correction free.
Agree on acceptable intervention. Architecture commissioning teams may permit furniture styling, lamp changes, cable removal, or window exposure blending, but documentary and heritage work can require a more literal record. Record what may be moved and what must remain visible before the location is altered.
Assign XCD lenses by space and final crop
| Lens class | Useful assignment | Planning constraint |
|---|---|---|
| Ultra-wide zoom or prime | Confined rooms and near facades | Edge stretch, ceiling dominance, and correction crop |
| Moderate wide lens | General interiors and three-quarter exteriors | Needs a carefully level camera position |
| Normal lens | Room relationships and natural elevations | Requires useful retreat through doors or adjacent space |
| Short telephoto | Materials, furniture, and facade details | Longer distance and precise support |
| Longer telephoto | Compressed urban layers and distant elements | Atmospheric haze and access across distance |
The larger X2D sensor changes angle of view relative to full frame. Use Hasselblad's stated coverage or a calculator for the exact lens rather than interpreting the focal-length number as a familiar full-frame view. Check physical size, minimum focus, filter needs, leaf-shutter limits, and tripod balance as well.
Start with the least-wide lens that can explain the space from a lawful, practical position. Moving backward and using a moderate wide or normal lens often gives calmer edge relationships than pressing an ultra-wide lens against a wall. If retreat is impossible, make the wide frame honest about the room rather than stretching furniture to imply extra area.
Assign a second lens to details or exterior compression, not merely as insurance. Each lens change adds dust risk and can alter color, distortion, and camera height. A concise plan keeps hero views consistent.
Scout exterior orientation across the day
Record facade direction, sun path, nearby reflections, overhangs, trees, traffic, construction, parked vehicles, utility lines, and seasonal landscaping. Identify an elevation, a three-quarter view that explains depth, and a contextual position connecting the building to its site. The preferred camera mark must be legal at the planned hour.
Front light describes color and signage clearly. Side light reveals relief in brick, stone, fins, and cladding. Backlight can simplify massing or show internal glow, but it may create flare or hide entry detail. Return at the intended time, because a neighboring tower can remove direct light earlier than a sun chart suggests.
Glass facades depend on what they reflect. Walk laterally to control sky, neighboring buildings, traffic, and the camera itself. A polarizer can affect some non-metallic reflections, but its strength varies across a wide view and can make sky tone uneven. Test at the final angle.
Check tripod and commercial-use rules for pavements, plazas, parks, transit property, and adjacent land. Do not step into traffic, planting, water features, construction zones, or neighboring property. Use a spotter near roads and public movement.
Choose interior camera height before focal length
Height controls the balance of floor, ceiling, furniture tops, and sight lines. A low position can overstate seating and table edges; a high one can flatten them and expose cluttered surfaces. Set the level camera where the designed relationships read clearly, then choose a lens that includes the required boundaries.
Move laterally in small increments. Align doorways, separate chair legs, reveal circulation, and prevent lamps or plants from merging with structural edges. A few centimeters can solve a problem that a wider lens only spreads across more pixels.
Retreat through an open doorway only after checking permission, clearance, and reflections. The adjoining room may contain private information or cause a fire-route obstruction. Protect the lens and camera from door movement, and make sure the frame edge does not include the jamb unintentionally.
Mark tripod feet, head position, camera height, lens, and orientation for hero views. Those references are essential if window, lighting, or focus components will be combined, or if the project needs a return visit after furnishings change.
Keep the camera level and budget correction margin
The X2D has no native shift movement in the camera body. With a conventional lens, keeping the sensor vertical preserves parallel vertical lines, but a tall building may then exceed the frame. The practical choices are more distance, a wider lens, a higher lawful viewpoint, a multi-frame method in suitable software, or later correction with a crop.
Use the electronic level as a starting point and verify geometry against reliable structural lines. Old buildings can lean, decorative elements can taper, and a camera can be level while the facade itself is not square. Preserve an honest distinction between optical alignment and the building's condition.
Leave extra image around corners, roofs, furniture, and artwork. Lens profile correction and straightening can remove more than expected. For a 100 megapixel file, also record the projected corrected dimensions so a large print is not approved from the uncorrected count.
Place focus for materials and room depth
Autofocus can lock on a high-contrast nearby edge instead of the designed focal plane. Use a controlled point, magnify the result, and inspect important corners. For a room, decide whether the foreground furniture, mid-room relationship, or distant view carries the brief, then choose focus and aperture accordingly.
Stopping down increases depth but eventually trades fine detail through diffraction and lengthens exposures. Make a representative aperture comparison with the actual lens and output. The highest resolution does not require the smallest aperture; it rewards a focus plane and aperture selected for the scene.
When one frame cannot cover near and far requirements, record a disciplined focus sequence from a locked tripod for later stacking in appropriate software. Keep exposure and white balance stable, label the sequence, and watch for curtains, foliage, screens, or people moving between components. The X2D does not deliver a finished focus stack.
Plan windows and leaf-shutter lighting together
Decide whether windows should show a view, become bright atmosphere, or be excluded. Schedule rooms when interior and exterior brightness are closer if the view matters. A restrained bracket may preserve both, but blinds, clouds, foliage, people, and water can make multi-frame blending inconsistent.
XCD lenses use leaf shutters, which can synchronize flash across a broad range subject to the exact lens, flash, trigger, and camera settings. That can help balance windows, but it does not remove the need for safe stands, power planning, and repeatable modifier positions. Verify current compatibility and limits before the assignment.
Survey installed LEDs, tungsten lamps, daylight spill, screen light, and colored reflections. Switch off or replace sources only with permission. Capture a neutral reference under the final mix and inspect saturated channels. A manually fixed white balance keeps a sequence consistent but cannot correct several directions of incompatible light.
Control reflections and protect finished surfaces
Inspect mirrors, glass, polished stone, metal, screens, and dark cabinetry from every camera mark. Remove cases and crew from the reflected field. Check again after a lens or height change; a reflection hidden at one viewpoint can appear in the corrected crop of another.
Use clean tripod-foot covers or approved protective pads. Ask before applying tape, moving furniture, opening blinds, attaching clamps, or placing a stand on delicate flooring. Keep food, drinks, and dirty cases outside completed interiors. Photograph the original condition before styling and the restored condition before departure.
Reflections can also carry meaning. A designed visual link between rooms or an exterior view in glass may be central to the architecture. Compose it deliberately rather than removing every reflection by default.
Build a quiet, access-aware shot order
Confirm parking, lift access, alarms, power, cleaning, staff presence, public hours, and a final restoration time. Photograph public and circulation areas before they become busy. Record soft furnishings before extensive crew movement changes their condition.
- Capture property condition, approach, and exterior context.
- Complete sun-dependent elevations during their planned window.
- Make hero interiors from marked level positions.
- Record room relationships before moving furniture for details.
- Capture materials, fixtures, signage, and designed reflections.
- Verify every focus or exposure sequence while the tripod is locked.
- Restore the location and document the final condition.
An empty space is not automatically the correct representation. A person may clarify scale or use when the brief and release allow it. Keep any occupant placement safe, natural to the design, and consistent across bracket components.
Manage 3FR files and two storage paths
The X2D 100C includes substantial internal SSD storage and a CFexpress Type B card slot. Decide whether the card, internal drive, or both form the field plan, and confirm file destination before each set. Internal capacity is not a backup when the only copy remains inside the camera.
Copy to two verified external locations before deleting from either camera storage path. Preserve filenames, viewpoint notes, lens, camera height, light state, and component groups. A 100 megapixel assignment requires enough transfer time and disk space after the location closes.
imagic desktop can scan supported RAW folders before local analysis, group related files, and set reversible culling statuses without deleting originals. It does not merge brackets, panoramas, focus stacks, or layers. Automated scoring may misread a dark bracket component, so review each group by its intended role.
Reselecting re-ranks stored scores and does not perform fresh analysis. Check score freshness and reanalyze stale files when needed. Style application requires a learned profile, while export applies stored edits to new JPEG or TIFF files. Judge geometry, material color, and corrected output dimensions before delivery. More lens planning appears under Camera Hardware.
The X2D 100C earns its place on an architecture assignment when location access and viewpoint discipline let the sensor's detail matter. Level framing, measured lens roles, controlled reflections, and a realistic correction budget do more for the final image than simply choosing the widest glass.
Frequently Asked Questions
Which XCD lens is best for interiors?
A moderate wide lens is often the balanced starting point, while an ultra-wide option helps in genuinely constrained rooms. Choose the least-wide lens that explains the space from a level, permitted position.
Does 100 megapixels eliminate perspective-correction concerns?
No. Correction still stretches and crops parts of the image, and extreme changes can make proportions look unnatural. Capture generous margin and test corrected output dimensions.
Can the X2D 100C create HDR or focus stacks internally?
It can provide source frames for controlled sequences, but finished HDR blends and focus stacks require suitable software. Keep the tripod fixed and label every component.