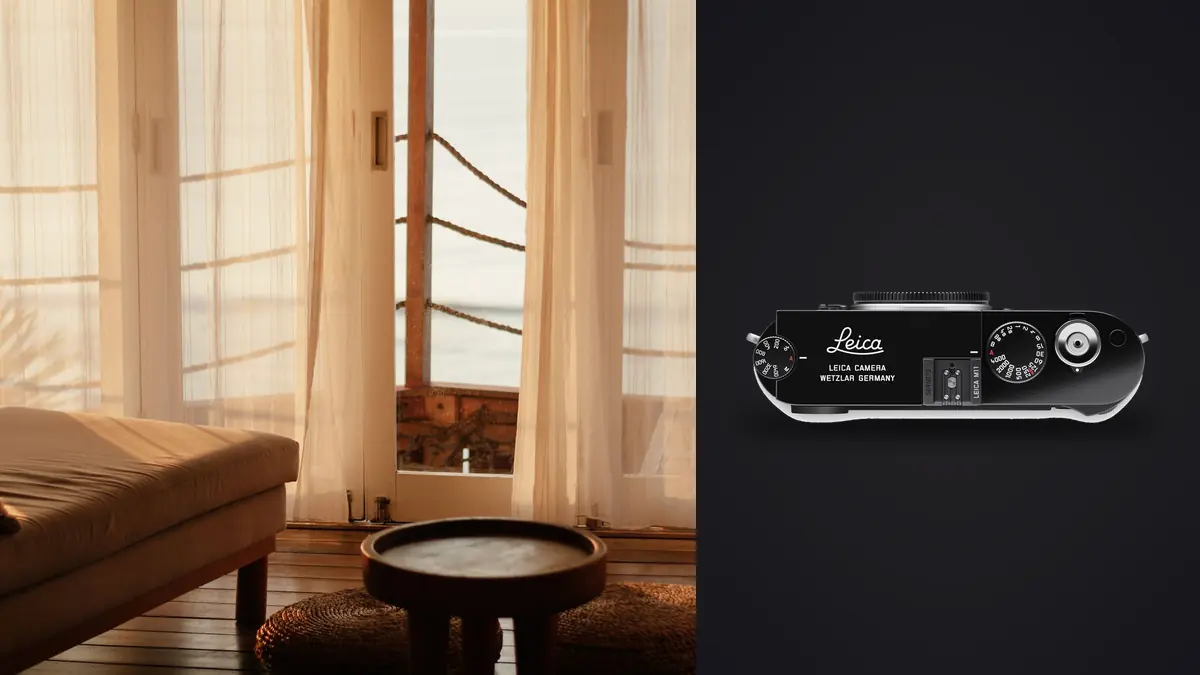
The Leica M11 changes the rhythm of boudoir photography because every M lens is focused manually. That can support a deliberate, quiet session, but it also removes the safety net of eye autofocus. At close portrait distances, a small rangefinder alignment issue, a subject leaning between focus and exposure, or a lens used wide open can move the sharp plane from iris to lashes or hair.
Exposure needs the same deliberate diagnosis. Pale fabric can clip beside skin, deep shadows can conceal detail that matters, and electronic shutter can interact with pulsing room lights. The aim is not to turn the M11 into an autofocus studio body. It is to recognize which failures come from rangefinder technique, depth, motion, shutter behavior, or light, then choose a correction that preserves the session's pace and privacy.
Locate the true focus plane in a failed frame
Do not begin with the assumption that the rangefinder is misaligned. Magnify the RAW file and find the sharpest texture. If hair behind the eye is crisp, focus landed behind. If eyelashes lead and the iris is soft, the plane may be slightly forward or simply too thin. If no detail is sharp and edges smear in one direction, movement is the more likely cause.
Compare several frames made from the same distance with the same lens. A random spread around the subject points to body sway, subject movement, or inconsistent patch alignment. A repeated miss in one direction on a static target suggests a body or lens calibration issue. Test another known lens because rangefinder coupling involves both camera and lens.
Use a flat, high-contrast target placed at a typical portrait distance, not only an oblique ruler at minimum focus. Focus through the rangefinder, make several exposures, then repeat with magnified rear live view. If live-view focus is consistently accurate while rangefinder focus misses in the same direction, professional inspection may be warranted.
Strengthen the rangefinder patch technique
Place the patch over an edge with clear orientation: the boundary of an iris, a catchlight, an eyelid, or a strand of hair near the intended plane. Smooth skin provides little information. Rotate the camera only after focus is established if the final composition puts the eye away from the patch, but remember that focus-and-recompose changes the geometry at close distance.
A better approach for very shallow depth is to move the camera position so the patch can focus where the final frame will be, or use live view for off-center precision. Keep the eye centered only as long as needed. Recomposition is less risky at smaller apertures and longer subject distances.
Remove diopter uncertainty by setting the viewfinder correction or eyeglass routine carefully. Clean the finder windows and avoid placing a finger over them. Low-contrast backlight, veiling flare, or a dim room can make the patch hard to separate even when the camera is functioning normally.
Choose rangefinder or live view by the pose
The optical rangefinder gives an uninterrupted view around the framelines and supports eye contact without a screen between photographer and subject. It suits upright poses, moderate distances, and lenses whose rangefinder behavior is known. Live view or the optional electronic finder is more useful for very close framing, off-center focus, low or high camera angles, and lenses whose minimum distance extends beyond rangefinder coupling.
Magnified live view focuses from the sensor image, so it bypasses mechanical rangefinder alignment. It remains manual and can slow the interaction. Establish the pose, magnify briefly, focus, return to full view, and make the frame before either person shifts. Do not ask the subject to hold an uncomfortable position while inspecting pixels.
Switching methods should be intentional. A static detail can tolerate live-view magnification, while a flowing movement sequence may suit a pre-focused rangefinder distance. Save display settings that make each method quick rather than navigating menus in front of the subject.
Control depth before blaming the lens
Fast M lenses encourage wide-open use, but an aperture near its maximum may cover only part of a turned face at close range. If the near eye is sharp and the far eye is not, the system may be behaving exactly as physics predicts. Stop down, turn the face so the eyes share a plane, or increase distance and crop modestly.
Hands placed toward the camera can fall outside the face plane. Decide whether that softness is intentional. A ring, tattoo, garment detail, or hand gesture that carries meaning may need its own frame or a different camera angle. Do not close the aperture blindly if the resulting background becomes distracting.
Some fast lenses show focus shift as aperture changes, and each sample has its own history and calibration. Test the actual lens at portrait distances across likely apertures. Record which combinations are dependable through the rangefinder and which are better focused from live view.
Separate camera shake from subject motion
The M11 does not provide in-body stabilization. A steady stance, appropriate shutter speed, and well-supported grip therefore matter. The rangefinder does not black out like a mirror mechanism, but the photographer can still jab the release or rotate the camera. Press smoothly and continue holding the composition after the exposure.
Subject movement often appears first in hands, hair, fabric, or eyelashes. If the eye is sharp while those elements blur, focus succeeded. Raise shutter speed, add light, or direct a slower action. If everything moves together, improve camera support or shutter timing.
A tripod can help with a composed environmental portrait, provided it does not constrain the session or create a hazard. A monopod is less common for this genre but can stabilize a heavier lens while retaining movement. Neither support prevents the subject from leaving the focus plane between focus and exposure.
Diagnose bands and color changes under LEDs
The M11 offers mechanical and electronic shutter options. Electronic operation can be silent, but its sensor readout can interact with pulsing LED lamps. Symptoms include horizontal brightness bands, different color across the frame, or consecutive images that vary while camera settings remain fixed.
Photograph a neutral wall or sheet at the planned shutter speeds and compare several frames. If bands appear, change shutter speed, use the mechanical shutter, or replace the light with a continuous source whose output is stable. Shutter silence is not worth an unreliable file when a quiet mechanical release is acceptable.
Mixed window light and warm practical lamps create a different problem: a spatial color gradient rather than flicker. Choose which source should appear neutral, block or match the other source, or accept a deliberate color contrast. One white-balance value cannot make unrelated light spectra identical.
Protect skin and fabric highlights
The M11's metering sees the scene through the imaging sensor, but average or highlight-oriented decisions still need interpretation. White sheets, pale skin, satin, and jewelry can reach clipping before a dark background looks sufficiently open. Use the histogram and highlight warning, then inspect the texture that the final image must retain.
Manual exposure works well under a fixed window or studio source. Set aperture for depth, shutter for movement, and ISO for the required brightness. With changing window light, Auto ISO can preserve shutter and aperture if compensation and upper limits are chosen consciously. Recheck after clouds move or curtains change.
Low-key style should come from lighting ratio and tonal editing, not careless underexposure. Keep enough signal in skin and important fabric, then shape the shadows non-destructively. Lifting a deeply underexposed face can reveal noise and color instability that the small preview concealed.
Prevent mirrors and bright backgrounds from misleading focus
A mirror introduces a reflected subject at a different optical distance from the physical person. Decide whether the reflection or real figure is the focus target, then use an edge within that plane. The rangefinder patch will not understand the conceptual priority. Live view can make the choice easier by magnifying the recorded image.
Backlight can reduce patch contrast and create flare through older lenses. Shade the lens without entering the frame, move slightly, or use a higher-contrast facial edge. Check whether a filter adds flare or reflected highlights and remove unnecessary glass.
Keep the camera, photographer, lights, and private room details out of mirrors unless they are intentional. This is both a compositional and privacy check. Inspect edges and reflections at full view after magnified focus is complete.
Use a private review and correction loop
Keep DNG originals under controlled access and avoid automatic cloud transfer for intimate sessions. imagic can ingest DNG locally on Windows or macOS, group similar frames, and assess sharpness, exposure, closed eyes, and composition without uploading them. A lower technical score should never override the agreed boundaries or the subject's preferred representation.
Review each focus sequence by finding the real plane, noting rangefinder or live-view method, aperture, shutter, and subject movement. The camera hardware guides offer broader system context, while the desktop workflow describes local, non-destructive editing and JPEG or TIFF export. Maintain an encrypted archive or deletion process according to the agreement.
A focused troubleshooting checklist
- Find sharp texture: determine whether the plane is forward, behind, or absent.
- Repeat on a target: compare rangefinder and live-view focus with the same lens.
- Add depth: stop down or align the face before assuming calibration failure.
- Control motion: raise shutter speed or change direction when all detail smears.
- Test the light: compare mechanical and electronic shutter under the actual fixtures.
- Protect highlights: preserve meaningful skin and textile texture.
- Check reflections: verify both focus distance and private background details.
- Document the lens: record dependable focus methods by aperture and distance.
Rehearse focus transitions without breaking the pace
For a movement from one marked position to another, practice turning the focus ring through that distance before making photographs. Note the direction and amount of movement, then follow the subject smoothly rather than waiting for the patch to become completely separated. This works best with a predictable, comfortable action and a lens whose focus throw is familiar.
Make the first pass a technical rehearsal and explain its purpose. Review one frame at each end position, then correct the mark, aperture, or movement speed. Repeating an uncertain sequence silently can make the subject feel responsible for a camera problem.
If the transition remains unreliable, simplify it. Stop down, increase distance, photograph the two positions separately, or switch to live view for a static endpoint. Advanced manual-focus technique includes knowing when a lower-risk composition better serves the session.
Frequently asked questions
Why are eyelashes sharp but the iris soft on the Leica M11?
The focus plane may be slightly forward, or the depth at a wide aperture may be too thin to cover both. Stop down, adjust face angle, increase distance, or confirm focus with magnified live view.
Does live view fix a misaligned M11 rangefinder?
Live view focuses from the sensor image and bypasses the mechanical rangefinder, so it can produce accurate focus. It does not repair the alignment; repeated rangefinder error should be tested with another lens and professionally inspected.
Why do silent-shutter images show bands?
Pulsing LED light can interact with electronic sensor readout. Test alternative shutter times or use the mechanical shutter and a stable light source.