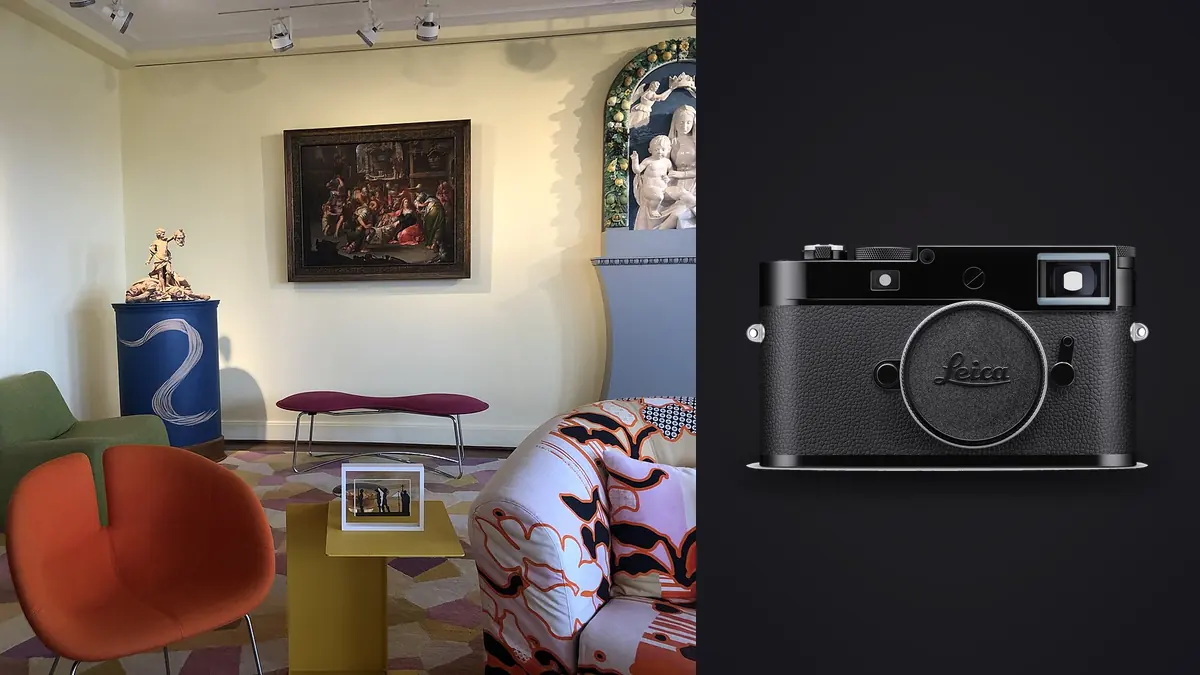
Nobody hands a rangefinder to a new architectural photographer and tells them to go shoot a kitchen remodel. The genre has run on tilt-shift lenses and tethered capture for decades, and for good reason: converging verticals are the first thing a client notices and the first thing a shift lens fixes at the moment of capture. So it's a fair question when someone shows up to a listing shoot with a Leica M11 instead of a view camera substitute. A few interior and architecture shooters have started doing exactly that, not because the M11 is the obvious tool for the job, but because its sensor, its file quality, and its size solve a specific set of problems well enough to be worth the compromises elsewhere.
This isn't a case for replacing your tilt-shift kit. It's a look at what actually happens when you point a 60-megapixel rangefinder at a living room, a stairwell, or a boutique hotel lobby, and where that choice pays off versus where it just makes the job harder than it needs to be.
Why a rangefinder even enters the conversation
Interior work has a few requirements that don't line up with what most cameras are built for. You need a body that's quiet enough to use while a client, a stager, or hotel staff are still moving through the space. You need something compact enough to work a tight stairwell or a small ensuite bathroom without backing yourself into a closet. And increasingly, on jobs with tight turnaround, you need files that hold up to heavy cropping so a single wide frame can be reframed for a listing thumbnail, a magazine spread, and a website hero image without reshooting.
The M11's 60-megapixel sensor and its near-silent leaf-shutter-quiet mechanical release (and fully silent electronic shutter option up to 1/16000) answer the first and third points directly. The body is small, no mirror box, no protruding grip most of the time, which matters more than people expect when you're working a 2.4 meter wide bathroom and every centimeter of backward space counts. What it doesn't answer is the vertical-correction problem, because Leica has never made a tilt-shift lens for the M mount. There's no mechanical shift movement available at all. Everything you'd normally do with glass, you're doing later in software, off a file that's large enough to survive the crop.
The lens question: no tilt-shift, so what do you actually mount
This is the part that trips people up. Architectural photographers coming from Canon or Nikon systems expect a 17mm or 24mm shift lens to be part of the conversation. In M mount, it isn't. What exists instead is a small set of ultra-wide and wide primes, all manual focus, all built with a symmetrical-ish rangefinder design rather than the retrofocus construction an SLR or mirrorless mirrorbox forces on wide glass. That design difference is genuinely useful for this kind of work: without a mirror box to clear, Leica's wide M lenses tend to control corner distortion and field curvature better than comparably wide SLR-mount lenses, which matters when you're photographing brick coursing, tile grids, or coffered ceilings where any barrel or pincushion distortion is obvious immediately.
| Lens | Focal Length | Max Aperture | Closest Focus | Weight | Where It Earns Its Keep |
|---|---|---|---|---|---|
| Super-Elmar-M 18mm ASPH | 18mm | f/3.8 | 0.7m | ~265g | Small bathrooms and kitchens where you physically can't back up further |
| Wide-Angle-Tri-Elmar 16-18-21 ASPH | 16 / 18 / 21mm | f/4 | ~0.5-0.7m | ~487g | One lens for an entire walkthrough, click-stop focal lengths instead of swapping glass |
| Super-Elmar-M 21mm ASPH | 21mm | f/3.4 | 0.7m | ~350g | The focal length you'll actually use most: open-plan living areas, lobbies |
| Elmarit-M 24mm ASPH | 24mm | f/2.8 | 0.7m | ~320g | Hallways and stairwells where verticals are less extreme and less correction is needed |
| Summicron-M 28mm ASPH | 28mm | f/2 | 0.7m | ~301g | Dim interiors and detail vignettes where you want the faster aperture |
The Tri-Elmar deserves a specific mention because it's the closest thing M mount has to a zoom, and it's genuinely useful for this work. Three click-stop focal lengths in one barrel means you can adjust framing without unmounting glass mid-walkthrough, which matters when you're moving through eight rooms in an afternoon and don't want to be swapping lenses on a ladder. It's a discontinued design at this point and you'll be buying used, but it turns up regularly on the secondhand market and it's worth tracking down before assembling three separate primes.
Focusing corners without autofocus
Manual rangefinder focus is the single biggest adjustment for anyone coming from an AF system, and architectural interiors are not a forgiving place to learn it. The M11's focus patch is accurate and the mechanism hasn't meaningfully changed in decades, but a rangefinder measures focus at the center of the frame, not wherever your composition happens to place the sharpest detail you care about. If you're focusing on a countertop edge that sits in the lower third of the frame, you're focusing and recomposing, and at f/3.4 to f/4 with a wide lens the depth of field usually forgives the small shift. Where it doesn't forgive you is close work: cabinet hardware, a vignette of a light fixture, anything inside a meter or so where depth of field gets thin even on a wide lens. For that kind of shot, or for any composition where you want certainty rather than a habit, the Visoflex 2 electronic viewfinder attaches to the hot shoe and gives you a live, magnified view straight off the sensor, which is the only way to confirm focus with total confidence on the M11 for close or awkward angles. It's an extra piece of kit to carry and it adds bulk that undoes some of the size advantage the body has over a mirrorless system, but on jobs where a soft focus miss means a reshoot, it's worth having in the bag.
Files, resolution, and what a shoot day actually produces
The M11 shoots what Leica calls triple-resolution DNG: full 60 megapixels, a downsampled 36 megapixels, or a further downsampled 18 megapixels, chosen per shot or per session, each available compressed or uncompressed. For architectural work the calculus is straightforward. Hero shots and anything likely to get cropped hard for a vertical Instagram carousel or a large print go out at full 60MP, which lands around 80MB compressed and closer to 120MB uncompressed per file. Anything that's purely for a quick web gallery, a walkthrough reel still, or a shot you know won't be reframed, drops to 18MP and you save real card space and processing time without losing anything the client will ever notice.
That flexibility matters more on interior jobs than it does on, say, event work, because interior shoots tend to produce enormous frame counts relative to the number of final images delivered. A single room with mixed window and ambient light might get five to seven bracketed exposures for a manual HDR blend, multiplied across a dozen rooms, and you're looking at 80 to 100 raw files before you've touched a single "final" image. Deciding resolution tier up front, rather than shooting everything at max and sorting it out later, is a small habit that saves real time on the back end.
Bracket sets, quiet shutters, and working around occupied rooms
The actual rhythm of a shoot day with this setup looks less like architecture photography and more like documentary work with a tripod. You compose on the level, check corners through the Visoflex if it's a tight or detail shot, then fire a bracket: usually three to five frames at different shutter speeds to cover the dynamic range between a bright window and a dim interior corner, since there's no flash fill happening and no in-body stabilization to lean on for handheld work in low light. The mechanical shutter is quiet enough that clients standing in the next room genuinely don't notice it, which sounds like a minor thing until you've shot a listing while the sellers are still in the house and every click of a louder body makes people self-conscious about walking past camera.
Where this workflow gets genuinely painful is on the back end, when you're staring at a folder of 300+ near-identical bracket frames across a dozen rooms and trying to find the one exposure in each set that's actually in sharp focus, since a rangefinder focus miss doesn't always announce itself on a camera-back LCD. This is where imagic earns its place in the kit for anyone shooting this way. Its local sharpness scoring flags the soft frame in a bracket set before you build an edit around it, and its duplicate and burst clustering groups those five-shot brackets together automatically instead of leaving you to scroll room by room matching timestamps by eye. Everything runs on the machine, nothing uploads, which matters more than usual here since you're often culling files from a house that isn't listed publicly yet. If your bracket-and-cull routine still eats an evening per shoot, it's worth reading through how AI photo culling actually works and comparing it against whatever you're doing manually right now, and a few workflow habits worth adopting regardless of camera system tend to compound with a setup this file-heavy.
Keeping a dozen rooms color-consistent
Interiors mix light sources in a way most other genres don't. A living room might have daylight through a west-facing window, a warm tungsten floor lamp, and cool LED can lights all in the same frame, and the white balance that looks right for one room rarely translates cleanly to the next room down the hall with a different mix. Manually matching color and tone across fifteen or twenty final images from one property is tedious work, and it's exactly the kind of repetitive judgment call that benefits from having a trained reference rather than eyeballing each file fresh. imagic's apply_my_style feature, trained on a photographer's own past edits rather than a generic preset, is useful here specifically because it's learning your interior color habits rather than someone else's idea of what a living room should look like. It won't fix a genuinely bad white balance call made in-camera, but for holding a consistent look across a full property set without manually matching every single frame, it cuts a meaningful chunk of time out of the edit.
Where this setup stops making sense
It's worth being honest about the limits, because the M11-for-architecture idea gets romanticized online in a way that doesn't survive a real job. There's no shift correction at capture, full stop, so every converging vertical gets fixed in post off a crop, and on a tight room shot at 18mm you can eat 20 to 30 percent of your frame correcting a strong vertical lean before you've cropped for anything else. There's no in-body stabilization, so a tripod isn't optional the way it sometimes is on a modern mirrorless body with five or more stops of shake correction, and any job where you need to move fast without a tripod (a walk-and-shoot brokers' tour, for instance) is a genuinely bad fit for this camera. Autofocus doesn't exist, so shooting quickly through a dozen rooms on a tight schedule is slower than it would be with almost any competing system. And the cost is real: an M11 body alone lists north of $8,900, and a useful two or three lens kit from the table above adds another $10,000 to $15,000 depending on which primes you choose, for a system that, lens for lens, does less than a Fuji GFX or a Sony body with a proper shift lens attached.
The honest case for the M11 in this genre is narrow: boutique, small-footprint jobs where the size and near-silence of the body matter more than speed, where the client values the specific rendering of Leica glass on materials like natural stone and unfinished wood, and where the photographer already owns the system for other work and is stretching it into architecture rather than buying it new for this purpose. If none of that describes your situation, a modern mirrorless body with a dedicated tilt-shift lens will get you through more jobs, faster, for less money.
Frequently Asked Questions
Can you correct perspective distortion without a tilt-shift lens on the M11?
Yes, but only after the fact, and only within the limits of the frame you captured. Because there's no mechanical shift available in M mount, every converging vertical gets straightened in Lightroom or Photoshop off the raw file, which means you need to shoot wide enough and level enough that the correction has room to work without pushing the crop past a usable resolution. The 60MP sensor helps here specifically because it gives you enough pixel headroom to lose a meaningful chunk of the frame to correction and still deliver a large, clean final image.
Is manual rangefinder focus actually reliable for architectural interiors?
For anything beyond about a meter and a half, yes, especially stopped down to f/5.6 or f/8 where depth of field covers small focus errors. Where it gets genuinely risky is close detail work, cabinet pulls, tile grout lines, light fixtures shot up close, where the depth of field at a wide lens's native aperture is thin enough that a rangefinder patch focused at frame center and then recomposed can miss. That's the specific case where pairing the body with the Visoflex 2 electronic viewfinder for a magnified live view is worth the extra bulk in the bag.
What's a realistic lens kit for an M11 architecture shoot?
Two lenses covers most residential and commercial interior work: a 21mm as your workhorse for living spaces and lobbies, and an 18mm for the rooms too small to fit anything else in frame. If budget allows a third, the 28mm f/2 handles dim interiors and detail shots where you want speed rather than width. The Tri-Elmar 16-18-21mm is worth hunting down used as a way to cover most of that range in a single lens, at the cost of a slower maximum aperture across the board.
Does 60 megapixels actually matter for interior and real estate work?
It matters more for this genre than for most, because interior photography leans so heavily on post-capture reframing, cropping for verticals, and correcting perspective, all of which eat resolution. The tradeoff is file volume: a bracket-heavy interior shoot can produce hundreds of large raw files in a single day, which is genuinely slow to sort by hand. Running that volume through a local culling pass that flags focus misses and groups bracket sets automatically, without sending property photos to a cloud service before a client has even seen them, is the difference between a manageable edit session and a wasted evening.