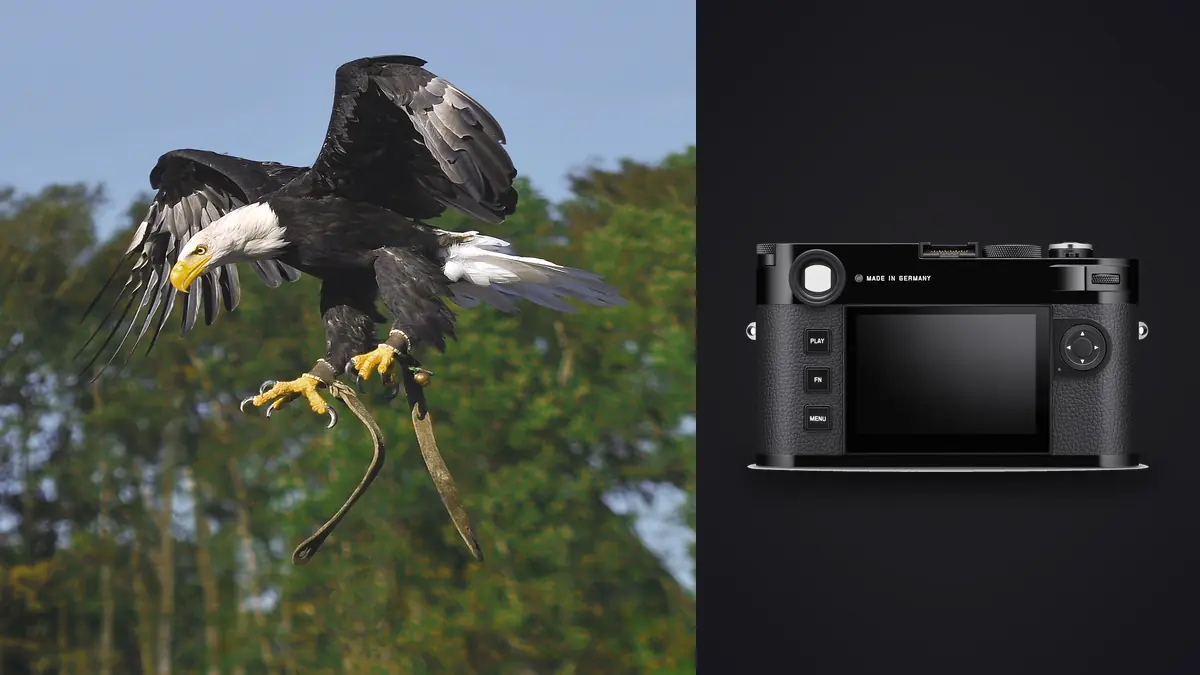
The Leica M11 is a manual-focus rangefinder, so a wildlife plan built around it should not pretend it behaves like a modern bird-detection camera. It can produce detailed DNG files and a quiet, deliberate way of working, but it is best matched to predictable subjects, environmental portraits, animals at known distances, and carefully prepared viewpoints. Fast birds against busy backgrounds are possible only in narrow circumstances and with a much lower expectation of technical keepers.
This Lens and Location Guide uses that limitation productively. Instead of choosing a remote viewpoint and hoping a long crop will rescue it, select an M lens, habitat, and prepared distance as one decision. Pre-focus on likely behavior, preserve environmental context, and keep enough distance that the animal remains undisturbed.
Define the kind of wildlife file you are trying to make
Begin with subject behavior and access. Large mammals moving through an established path, birds returning to a perch, animals at a water source, and wider habitat scenes give manual focus a workable structure. Erratic swallows, small birds high in flight, and distant subjects that require extreme focal lengths do not. Choosing a different camera for those situations is good planning, not a failure of commitment to the M system.
Set an ethical boundary before a technical one. Keep enough distance that the animal does not alter feeding, nesting, resting, or escape behavior because of you. Do not bait wildlife merely to bring it within range of a shorter lens. Respect seasonal closures, landowner rules, guides, and local law. A rangefinder's quiet operation does not make the photographer invisible.
Write a simple target for each sequence: an animal inside its habitat, a crossing at a fixed gap, a silhouette against open sky, or a portrait at a known perch. That target informs focus distance, lens choice, shutter speed, and the amount of cropping the final file can tolerate. It also gives the culling pass a meaningful criterion beyond generic sharpness.
Match an M lens to habitat and ethical distance
Start with the longest practical M lens in the kit, then ask whether it gives adequate subject size from a distance that leaves behavior unchanged. Rangefinder framing and focusing become less comfortable as focal length and subject speed increase, so the M11 is usually more convincing with environmental wildlife than with tiny distant birds. A moderate lens can show an animal within dunes, woodland, pasture, or urban habitat without pretending to be a super-telephoto.
Wide lenses require close physical access, which is often inappropriate for wildlife. Do not let a dramatic foreground or large subject in frame justify entering a buffer zone. Use natural distance, a sanctioned hide, a guide-approved route, or a location where animals voluntarily pass near a public viewing point. If the planned lens cannot make the required picture from there, change the picture or camera.
A lens hood helps control low sun and protects the front element, but it can intrude into rangefinder framelines depending on the lens. Check the view before travel. Also confirm minimum focus distance for nearby details and whether an external viewfinder is needed for unusually wide framing.
| Location pattern | Lens role | Primary picture |
|---|---|---|
| Public hide at a water source | Longest practical M lens | Animal plus reflective habitat |
| Known trail crossing | Moderate telephoto with pre-focus | Profile crossing a fixed plane |
| Open coast or wetland | Normal or moderate lens | Small subject within weather and scale |
| Urban wildlife viewpoint | Wide or normal lens from public access | Relationship between animal and built space |
| Large calm animal at guided distance | Moderate telephoto | Contextual portrait without approach |
Pre-focus instead of chasing the subject
Manual focus is most reliable when you can predict a plane. Focus on a branch, rock, trail edge, or patch of water where the subject is likely to appear. Keep the camera ready and watch outside the framelines as the animal approaches. Release when the important feature crosses the prepared distance. If the subject changes path, reset rather than twisting the focus ring continuously and hoping the rangefinder patch catches up.
Depth of field can provide a small safety margin. Stopping down modestly and using a wider environmental composition is often more productive than attempting an extremely thin focus plane on moving wildlife. Higher ISO may be the reasonable cost of maintaining both shutter speed and depth. The final image should be judged on behavior and visual structure, not on whether it was made at the lens's maximum aperture.
For birds against open sky, set focus near the expected distance and pan smoothly before release. The rangefinder patch offers limited help on a small, low-contrast subject, so the technique depends on distance consistency and practice. Make short sequences. A 4.5 fps ceiling does not support the same spray-and-select method as a dedicated action body, and the M11's strength lies elsewhere.
Scout routes, hides, light, and background
Visit from the same public path or hide that will be used during capture. Note where the sun rises and sets, how reeds or branches intersect the likely subject plane, and whether water or pale ground will create difficult highlights. A manual-focus system benefits from a background with clear tonal separation because the subject is easier to see and the final outline is cleaner.
Identify two fixed focus planes rather than an unlimited roaming area. One might be a branch or rock, the other a trail gap. Measure or estimate the distance and practice setting the lens without looking away for long. Choose a camera mark that keeps the background clean and does not block other observers.
Wind direction influences both behavior and camera stability. Birds often launch or land into wind, and mammals may approach scent differently. Use that information only from a legal, non-invasive viewpoint. Never cut vegetation, alter a perch, bait a subject, or move closer to a nest to improve the background.
Use viewpoint height to separate the animal
A standing viewpoint often places a small ground animal against cluttered earth. Lowering the camera from an approved path can move the background farther away and bring the viewer closer to the animal's eye level. The M11's rangefinder remains easiest to operate when the photographer is stable, so choose a seated hide opening, low wall, or safe kneeling position rather than leaning into fragile habitat.
An elevated public platform can show patterns in wetlands, herds, or shoreline habitat that a low portrait cannot. In that case, use a wider M lens and make scale part of the picture. Do not climb structures, leave a designated viewpoint, or extend equipment over barriers. Perspective should come from a legal camera mark.
Check the background from that exact height with the intended framelines. A clean separation visible while standing may disappear completely from a lower seated opening.
Plan concealment and a patient shooting window
Arrive before the expected activity when site rules allow, settle movement, and keep the camera within the hide boundary. Dark clothing does not grant permission to leave a path. If the site uses shared hides, keep equipment compact and avoid claiming multiple windows with bags or tripods.
- Arrival plan: park and walk without crossing feeding or nesting areas.
- Primary plane: pre-focus on the most likely unobstructed point.
- Fallback plane: prepare a wider composition for changed behavior or distance.
- Light limit: stop when contrast or shutter speed no longer supports the intended frame.
- Exit plan: leave without flushing or following the animal.
Make short sequences when behavior reaches the prepared plane. The M11's modest continuous rate encourages timing, and the rangefinder lets the photographer watch beyond the framelines for an approaching subject. If behavior becomes erratic, widen the composition or lower the camera rather than chasing focus continuously.
Use weather and exposure to support the place
Open shade can preserve feather or fur color, while low side light reveals texture and shape. Backlight can create a clean silhouette when the background is uncluttered. Plan exposure for the brightest important feature, especially pale plumage, wet fur, water, or sky. Do not underexpose the animal merely to preserve irrelevant empty highlights.
Shutter speed must answer subject motion first. Support and careful rangefinder technique reduce camera shake but do not freeze a wing or head turn. If the location is dim, choose a wider environmental frame, a faster lens, or a different time rather than relying on extreme shadow recovery later.
Protect the body and lens from salt spray, dust, and rain, and carry only what can be managed quietly. The M11's internal storage can provide flexibility, but it is not an off-camera backup. Keep card and internal-memory roles clear so no location sequence is overlooked at ingest.
Preserve context in the local review
After the field session, copy the card and internal storage when both were used, then make a verified second copy. Keep location notes with the DNG files, but restrict precise coordinates for vulnerable species. Adjacent frames can explain approach and behavior, so do not isolate only an apparent hero image before the sequence is understood.
The imagic desktop app supports DNG, scans a directory before analysis, and stores non-destructive culling statuses rather than deleting rejected frames. Its quality analysis can organize attention, but manual-focus wildlife still requires human judgment about behavior, rarity, and ethical context. Reselecting changes the ranking from stored scores; stale scores require a freshness check and reanalysis.
Edit color and contrast without erasing weather or habitat. Crop only after deciding what the environment contributes. A high-resolution file can support moderate reframing, but it cannot turn an unsuitable distant viewpoint into a convincing tight portrait. A learned style requires an existing profile, and export applies stored edits to new files without rewriting the DNG. Related methods appear in Workflow and Editing.
The M11 succeeds in wildlife work when the location offers predictability, ethical distance, and enough context for a moderate lens. Its constraints reward preparation. When the subject demands fast autofocus and extreme reach, choose a more suitable system instead of forcing the rangefinder into the wrong role.
Frequently Asked Questions
Is the Leica M11 suitable for birds in flight?
It is not an efficient general-purpose birds-in-flight camera because it has manual focus and a modest continuous rate. It can work for a predictable flight line at a pre-focused distance, but a dedicated autofocus body is more dependable.
Which M lens suits wildlife habitat photographs?
Choose the longest practical lens that remains comfortable to frame and focus from an ethical distance. If that lens leaves the subject too small for the intended picture, change the composition or use a different camera system.
What makes a good M11 wildlife location?
Look for predictable behavior, legal access, a fixed focus plane, clean background separation, and enough distance to avoid changing the animal's behavior. A public hide or established viewpoint is often more productive than roaming.