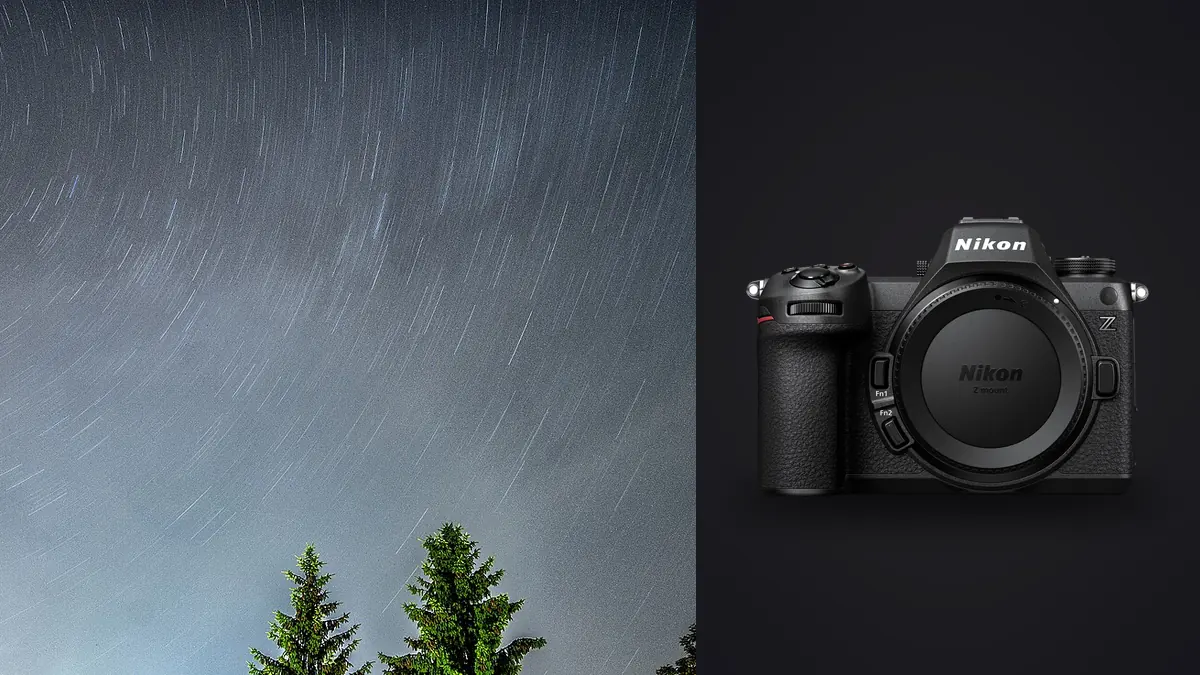
I took the Nikon Z6 III out to a dark patch of farmland two hours north of the city in late June, mostly to see whether the "partially stacked" sensor talk actually meant anything in the field or was just spec-sheet noise. Milky Way core season, no moon, decent transparency. Three hours later I had 340 frames on two cards and a stiff neck from checking framing on the tilting screen. What follows is what I actually do with this camera for star stacking, not a rewrite of the manual.
Star stacking, if you haven't done it, means shooting a long run of shorter exposures of the same static composition and combining them in software afterward so the signal (stars, nebulosity, Milky Way structure) piles up while the random noise in each frame cancels out. It's the way to get a clean, low-noise night sky image without buying a tracking mount, and it also works as a second stage on top of a tracker if you own one. The Z6 III turns out to be a genuinely good body for this, for reasons that aren't the ones Nikon puts on the box.
Why the sensor readout actually matters here
The Z6 III uses a partially stacked 24.5MP sensor, and the marketing angle is all rolling-shutter and burst speed for sports shooters. For stacking, the part that matters is different: this sensor reads out fast enough that you get very little banding or heat-related pattern noise creeping into individual subframes even during long sequences, and the dual base ISO design (native gain steps around ISO 800 and ISO 25600) means you can push exposure with less of a noise penalty than the Z6 II paid at the same ISO. In practice I was comfortable shooting at ISO 3200 to 6400 for wide Milky Way frames, which is higher than I'd have trusted on the older sensor without seeing it turn to mush.
That matters for stacking specifically because your total exposure time is fixed by how long you're willing to stand in a field, and every stop of usable ISO you gain is a stop you can either use to shorten each sub-exposure (fewer star trails to worry about) or to gather more signal per frame (fewer subs needed to hit a clean stack). EXPEED 7's noise reduction pipeline also seems to do a better job holding onto faint stars against the noise floor than the older EXPEED 6 chip did, though that's a harder thing to prove than a clean ISO comparison shot.
Setting the body up before the sky is actually dark
Do this part in daylight or at least twilight, because fumbling with menus by headlamp costs you shooting time and, more annoyingly, costs you the mental focus you need for actual manual focusing later.
Manual focus and Starlight view
Turn off VR entirely once the camera is on a tripod. It doesn't help a static long exposure and on some bodies it can actually introduce a very faint drift if the system has nothing to stabilize against. Set the lens or the camera to manual focus. The Z6 III's Starlight view mode is the feature I'd point to as the single biggest quality-of-life change over the Z6 II for this kind of shooting: it boosts the live view gain enough that you can actually see a star to focus on, rather than a black rectangle with a faint smudge. Punch in 100% magnification on a bright star (I use Vega or whatever's highest in the frame), nudge focus until the star shrinks to its smallest, tightest point, and lock it there with focus peaking off (peaking tends to lie to you on point sources).
Autofocus on the Z6 III is rated down to around -10 EV with an f/1.8 lens, and it does genuinely work on bright planets or a first-quarter moon if one's up, but for the actual star field I still trust manual focus more. Autofocus hunting at night wastes a battery and there's no second chance if it locks focus on nothing halfway through your sequence.
The intervalometer sequence I actually run
The Z6 III's built-in interval timer handles this without an external remote, which matters because a wired remote is one more thing to snag on a tripod leg in the dark. My settings for a typical wide-field stack: shooting mode M, shutter speed set explicitly (not bulb, since I want a fixed value repeated exactly), long exposure noise reduction OFF (this doubles your time per frame for no benefit when you're going to stack anyway, since the stacking process handles noise differently), electronic front-curtain shutter on to reduce the tiny bit of internal vibration, and the interval set to your exposure time plus one second of buffer. I run the count as high as the battery and card allow rather than a fixed number, then trim the sequence afterward.
| Focal length (FX) | Approx. max single exposure before visible trailing | ISO for a well-exposed core (f/2.8) | Frames for 15 min total integration |
|---|---|---|---|
| 14mm | 13s | 3200 | ~69 |
| 20mm | 9s | 4000 | ~100 |
| 24mm | 8s | 5000 | ~113 |
| 35mm | 5s | 6400 | ~180 |
| 50mm | 4s | 8000 | ~225 |
Those numbers come from field testing with the Z6 III's roughly 5.9-micron pixel pitch run through the NPF-style formula rather than the old "500 rule," which was written for lower-resolution sensors and lets stars smear more than it looks like on a small preview screen. Treat the table as a starting point, not gospel: declination, how far the stars are from the celestial pole, and how big you plan to print all shift the real answer a little.
Glass choices for a stacking session
Wide and fast beats wide and slow almost every time for stacking, because a faster aperture lets you either shorten each sub-exposure or drop ISO, and both reduce the total noise you're fighting. The Nikkor Z 20mm f/1.8 S has been my go-to on this body: sharp into the corners by f/2.2, coma control that's good enough that stars in the frame edges stay round instead of turning into little seagulls. The Z 14-30mm f/4 S is the one I bring when I want the widest possible field and I'm willing to trade two stops for the zoom flexibility, usually for landscape-astro composites where the foreground matters as much as the sky.
If you're shooting with a tracker rather than doing static-tripod stacking, the calculus changes and you can go longer per lens focal length choice, but I'd still keep individual subs under 60-90 seconds even on a tracker, because guiding drift and periodic error creep in past that point on anything short of an expensive mount, and a handful of trailed subs in a stack of otherwise-good frames is genuinely more annoying to sort out than just shooting more, shorter ones.
A real session, frame by frame
The June session I mentioned: Z6 III, Z 20mm f/1.8 S, tripod only, no tracker. I shot the Milky Way core at 20mm, f/2, 8 seconds, ISO 4000, in blocks of roughly 40 frames with a short pause between blocks to check the histogram hadn't drifted as the sky rotated and the core moved toward a slightly brighter patch of sky. Total: 160 light frames across about 25 minutes of actual integration time once you subtract the pauses. I capped off the session with 20 dark frames (lens cap on, same exposure settings, shot immediately after so sensor temperature hadn't changed) and a dozen flat frames the next morning using a white t-shirt over the lens and even daylight, which sounds like a hack because it is one, but it works fine for removing the vignetting and dust spots that otherwise show up as ugly gradients in a stretched stack.
That's 192 total frames from one lens position in one evening. If you've never stacked before, that number is the part that catches people off guard: it's not the shooting that eats your evening, it's realizing afterward that you now have to look at nearly 200 nearly-identical dark frames and figure out which ones actually have round stars and which ones a gust of wind or a footstep near the tripod ruined.
Sorting the stack before you feed it to stacking software
This is the part of astro stacking nobody mentions in the camera reviews, and it's the part that actually eats the most time if you do it by eye. Every one of those 192 frames looks nearly identical in a folder thumbnail grid. You cannot tell by looking at a 200-pixel preview whether frame 87 has a half-pixel of star trailing from a light gust, or whether frame 140 is actually sharper than the eleven frames around it.
I run the take through imagic before it goes anywhere near stacking software, mostly because it scores focus and sharpness locally on the actual pixel data rather than on a thumbnail, which is the only way to catch the soft frames in a set that all look identical to the naked eye. Since imagic processes everything on the machine rather than pushing 192 raw files to a cloud service, I'm not waiting on an upload of several gigabytes of night-sky RAWs before I can even start sorting, which matters more than it sounds like it should when you're doing this at 1am after a three-hour shoot. imagic's duplicate and burst clustering is honestly built for exactly this kind of sequence, near-identical frames shot seconds apart, even though its marketing examples are usually wedding bursts rather than star fields; it groups the run and lets me pull the sharpest handful per cluster instead of scrolling through all 192 side by side. For the edit pass afterward, once I've got a stacked result I'm happy with, I lean on imagic's apply_my_style preset, trained on my own past night-sky edits, so a batch of trips through the same location doesn't end up with inconsistent color casts session to session. If you're doing this every clear weekend during Milky Way season, the culling step alone is worth looking at (the mechanics are covered in more detail in how AI photo culling actually works), because it's the one part of the workflow that scales linearly with how many nights you go out, while your patience for scrolling through thumbnails does not.
Picking stacking software
The Z6 III doesn't do any stacking in-camera, unlike some competing systems that have a live-composite or in-body astro mode. Everything happens after the fact on a computer, which is honestly fine because desktop tools give you more control anyway.
- Sequator (Windows, free) is what I hand to anyone starting out. It aligns star fields automatically, handles a separate foreground mask so a treeline or horizon doesn't smear, and gets a usable result in a few minutes on a stack this size.
- Starry Landscape Stacker (Mac, paid) does a similar job with a more manual masking workflow that I actually prefer once you know what you're doing, because the automatic foreground detection in Sequator occasionally eats a bit of a mountain ridge if the contrast is low.
- DeepSkyStacker (Windows, free) is built more for deep-sky and telescope work with dark/flat/bias frame calibration built in properly, and it's what I used for the June session since I had dedicated dark and flat frames to feed it.
- Photoshop's median stack mode works in a pinch and is fine for noise reduction on a static tripod shot, but it doesn't do star-field alignment for tracker-free shooting the way the dedicated tools do, so stars register as short streaks rather than points unless every single frame was shot with a tracker.
Where this goes wrong
Dew is the one that ends more sessions early than anything else. A bare front element on a 20mm lens fogs fast once the air temperature drops below the dew point, and it happens gradually enough that you can shoot fifteen perfectly good frames followed by fifteen increasingly soft ones before you notice on the small screen. A basic USB dew heater strip around the lens barrel solved this completely for me; it's a cheap accessory that punches well above its price for how many ruined sessions it prevents.
Focus drift is the second one. Temperature changes cause focus breathing on some lenses over the course of a long session, less on the Z 20mm f/1.8 S than on some older glass, but it's real. I check focus on a bright star every 30-40 frames rather than trusting the initial lock to hold for three hours straight.
And battery management: cold nights and a screen that's been active for hours will chew through an EN-EL15c faster than the daytime CIPA rating suggests. I carry two spares minimum and swap proactively rather than waiting for the low-battery warning, because losing power mid-sequence on a static tripod means starting the whole integration time count over if the composition shifts even slightly when you reseat the battery.
Frequently Asked Questions
Do I need a star tracker to stack images with the Z6 III, or is a tripod enough?
A plain tripod is enough. Static-tripod stacking (sometimes called "fixed stacking") is exactly what the table above and the June session example describe: many short exposures, no tracker, aligned in software afterward. A tracker lets you use longer individual exposures and gather signal faster, but it's a separate purchase and a separate setup step in the field, not a requirement for stacking to work.
Should I shoot RAW or NEF for star stacking, and does compression matter?
RAW, always, and I use lossless compressed NEF rather than the high-efficiency options. Star stacking software needs full bit-depth data to align and average faint signal correctly, and the file size difference between lossless compressed and the smaller HE formats isn't worth the small amount of extra data loss in the shadows where your faint stars actually live.
How many frames do I actually need for a clean stack?
Noise reduction from stacking follows a square-root relationship, so going from 20 to 80 frames gets you roughly double the noise improvement, but going from 80 to 320 only gets you another double on top of that. In practice I find 60-100 well-focused subs gets you most of the visible improvement for a typical wide Milky Way shot, and past that you're chasing diminishing returns unless you're doing serious deep-sky work at longer focal lengths.
Why do my stacked stars look slightly oval instead of round?
Almost always one of three causes: individual exposures were too long for the focal length (check against the exposure table above), the tripod or ballhead crept slightly during the session, or a handful of trailed frames got included in the stack and dragged the average. Culling the softest and most-trailed frames out of the set before stacking, rather than dumping every single frame in, fixes this more often than any setting change in the stacking software itself.