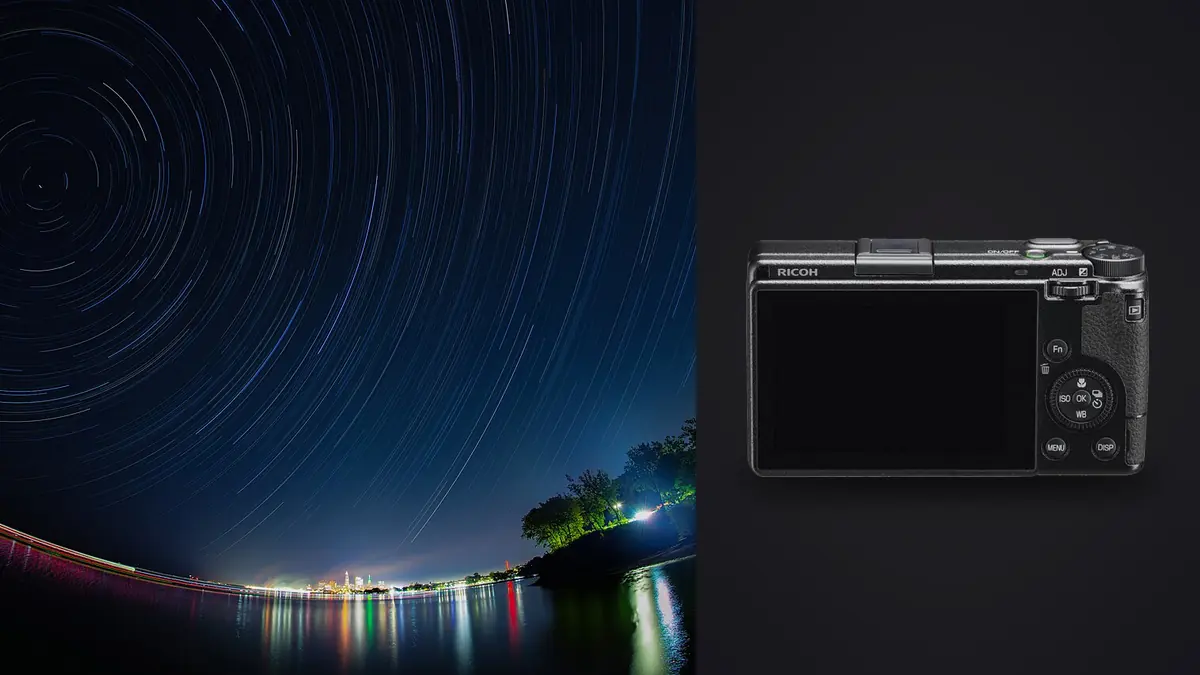
I did not buy the GR IIIx to shoot stars. Nobody does. It is a street camera, a 40mm-equivalent pocket rig you carry because it disappears in a jacket and starts up before you have finished pulling it out. But last October I drove two hours past the last streetlight, set it on a mini tripod on the hood of my car, and decided to find out whether Ricoh's snap-focus wonder had anything to say about the night sky. It turns out it does, just not the thing I expected, and not in the way a 14mm full-frame prime would.
Why This Is a Strange Camera to Bring Out at Night
Start with the honest problems. The GR IIIx has a fixed 40mm-equivalent f/2.8 lens. That is a portrait-and-street focal length, not the 14-24mm range most people reach for when they want to fit the full arch of the Milky Way over a ridgeline. At 40mm you are cropping into the sky, which means you either frame a smaller slice of it deliberately (a single bright cluster over a chimney, a tree silhouette against a rotating pole) or you accept that this is not a wide-field astro camera and stop fighting it.
Then there is the aperture. f/2.8 is fine in daylight and fine for street work where you are exposing for a tenth of a second, but for gathering starlight it is a stop and a half behind the f/1.4 primes serious night shooters carry. You compensate with ISO, and the GR IIIx's APS-C sensor, while genuinely good for a pocket camera, is not going to match a full-frame body once you push past ISO 3200 for anything longer than a few seconds.
No interchangeable lens, no weather sealing on the base model (Ricoh added a WR version later, worth hunting for if you plan to do this often in damp mountain air), and a battery that Ricoh rates for roughly 200 shots per charge. None of that screams "night sky tool." And yet the camera has one feature buried in its shooting mode dial that dedicated astro rigs often lack out of the box: Interval Composite.
Two Completely Different Ways to Stack Stars With This Camera
People use "star stacking" to mean two different things, and the GR IIIx happens to do both, just through different doors. Understanding which one you want before you start saves you from ruining a two-hour session.
In-Camera Interval Composite: Trails Without a Laptop
Set the shooting mode dial to Interval Composite and the camera fires a sequence of exposures back to back, then blends each new frame into the previous result using a lighten-comparison merge, live, on the rear screen. You watch the trails grow in real time. There is no stacking software step because the camera has already done it by the time you press the button to stop. It writes out one merged image (I shoot the DNG-plus-JPEG option so I still have a raw file to grade later) and you are done.
The trick that makes this genuinely useful rather than a gimmick: because each individual exposure is short (I run mine around 20 to 30 seconds), you avoid the amp glow and hot pixel buildup that a single continuous 45-minute bulb exposure would produce. The sensor gets brief rests between frames. It is the same logic serious astro trail photographers use with dedicated intervalometers, just implemented in firmware.
Interval Shooting for Point-Star Stacks
If you want stars as pinpoints rather than arcs, that is a different mode entirely: plain Interval Shooting. The camera fires a set number of frames at a fixed interval and saves every single one as a separate DNG. Nothing gets merged in-camera. You bring those 60 to 150 files home and run them through Sequator, Starry Landscape Stacker, or DeepSkyStacker, which align on the stars (not the ground) and average out sensor noise while keeping the sky sharp. This is the workflow you want if you are trying to squeeze a cleaner, lower-noise Milky Way frame out of a sensor that was never built to be a dedicated astro camera.
Comparing the Two Workflows
Both live inside the same menu system, but they produce very different results and very different amounts of homework afterward. Here is how a typical two-hour session breaks down each way, based on the settings I actually run.
| What you're comparing | In-camera Interval Composite | Interval Shooting + software stack |
|---|---|---|
| Output from the camera | One merged DNG+JPEG pair per session | 60-150+ separate DNG files |
| Result on screen | Star trails (arcs), built live | Point stars, or trails if you blend them yourself |
| Stacking software needed | None, camera does it | Sequator, DeepSkyStacker, or Starry Landscape Stacker |
| Storage per session | Roughly 40-80MB total | 2-5GB of raw files |
| Post-capture flexibility | Low, the blend is baked in | High, re-stack, mask the foreground separately, choose your look |
| Typical battery drain (2 hrs) | One full charge, close to empty | One full charge, close to empty |
| Best for | A trail shot you want finished by the time you pack up | A cleaner Milky Way frame, or full control in editing later |
Getting Exposure and Focus Right in the Dark
Autofocus on the GR IIIx gives up almost immediately once ambient light drops below what a streetlamp provides, so plan on manual focus from the start rather than fighting the AF system for ten minutes. I set the lens to Snap Focus at infinity and confirm it with focus peaking cranked to its highest sensitivity, aimed at the brightest star I can find in the frame. Do this once before your interval sequence starts, then leave it alone. If you nudge the focus ring mid-sequence on an Interval Composite run, you will see the blur creep into your trails halfway through, and there is no fixing that after the fact.
For exposure, I start at ISO 1600, f/2.8 (there is no other aperture choice, which at least removes a variable), and a 20 second shutter for individual frames. That is short enough to avoid visible star elongation at 40mm without a tracker, but the ceiling depends on your framing; if you are shooting closer to a celestial pole the stars move less across the frame and you can push closer to 30 seconds before trailing becomes obvious within a single exposure. Turn off Shake Reduction. It does nothing useful on a locked-down tripod and I have seen it introduce a faint softness into long static exposures on this body.
One thing worth doing before you commit an entire evening: shoot a 20-second test frame, zoom in on the rear screen to 100 percent, and check actual sharpness rather than trusting the peaking overlay. I have been fooled by peaking indicating "in focus" when the ring had drifted a hair past true infinity. A five-minute test frame is cheaper than realizing it two hours in.
Where the Camera Actually Earns Its Place
The case for the GR IIIx at night is not image quality, it is logistics. On a backcountry trip where every gram matters, carrying this camera instead of a mirrorless body and a 14mm f/1.8 is a real weight and bulk decision, and for casual trail shots or a foreground-and-stars composition where the sky is a secondary element rather than the entire subject, the GR IIIx does the job without you hauling a second bag. The lens's snap-focus distance scale, printed right on the menu overlay, means you are not hunting for infinity in total darkness the way you would with a focus-by-wire lens that has no hard stop. And because the whole rig is small enough to leave running on a mini tripod wedged into rocks, I have gotten Interval Composite sequences from spots a tripod-mounted full-frame setup would never have balanced on.
It is also, frankly, a good camera to learn the mechanics of star stacking on before you spend real money on dedicated gear. Every principle, short sub-exposures beating one long one, manual focus locked before the sequence starts, lighten-blend merging, transfers directly to whatever you upgrade to later.
Where It Falls Apart
Battery life is the real limiter. A 200-shot CIPA rating sounds fine until you realize a two-hour Interval Composite run at 20-second exposures is close to 300 frames, and cold night air eats battery faster than the rating suggests. I carry two spares now and still occasionally watch the camera die at frame 240 of a run I wanted to take to 400. There is no way around this beyond spares; the camera doesn't support external USB power delivery mid-shoot in a way that's reliable while it's actively cycling exposures.
The 40mm field of view is the other real constraint, and I want to be direct about it: if your goal is a wide Milky Way arc over a landscape, this is not the tool, full stop. You will get a cropped, tighter slice of sky no matter how you frame it. I have made peace with using the GR IIIx for tighter compositions, a single bright section of sky behind a specific foreground element, rather than pretending it is a substitute for an ultra-wide.
What Happens After You Get Home
An Interval Shooting session leaves you with well over a hundred nearly identical DNG files, most of them fine, a handful ruined by a bump to the tripod, a passing headlamp, or a cloud drifting through. Going through those by eye, one at a time, at 100 percent zoom, is the part of astro photography nobody enjoys. This is where I actually use imagic rather than Lightroom's loupe view: it scores every frame in the batch for local sharpness before I open a single one, so the two or three frames where wind nudged the tripod get flagged instead of silently making it into my stack. On a 150-frame sequence that check used to take me twenty minutes; now it is closer to two.
The duplicate and burst clustering helps too, in a way that's specific to interval work rather than general culling. A tight 20-second-interval sequence looks, frame to frame, almost identical to any clustering algorithm built for regular bursts, so having a tool built for exactly that kind of near-duplicate grouping means I can pull one representative frame per few minutes of the sequence for a quick preview, rather than scrubbing through all of them, before deciding whether the whole set is worth the stacking software's time. And because everything runs locally rather than through a cloud upload, that matters more than usual out here, since a mountain pass with no signal is not somewhere you can wait on a sync to finish before you know if your night was worth the drive. If you are curious how the scoring model actually judges a frame, the culling mechanics are covered in more detail here, and the general principle of triaging before you edit applies whether you shot 40 frames or 400, which is the subject of a broader workflow piece worth a read.
Once I have the keepers, grading a batch of night frames consistently is its own small chore, since star colors and foreground shadow detail pull against each other in ways daytime edits don't. I built an apply_my_style preset in imagic off a handful of night shots I was happy with, so the rest of a session's frames pick up the same white balance and shadow lift automatically instead of me re-guessing the same sliders on image forty.
A Session Worth Describing
The clearest result I have gotten so far: a ridge outside Joshua Tree, camera on a beanbag wedged against a rock, Interval Composite running for 90 minutes at ISO 1000, 25-second sub-exposures, f/2.8. The resulting trail arc is tight (that 40mm crop again) but the star colors held up better than I expected, and the granite foreground stayed sharp because I had locked snap focus at infinity before hitting start and never touched the camera again until the battery gave out. It is not a shot I would submit anywhere competitive. It is a shot that convinced me the feature is real and not a marketing checkbox.
Frequently Asked Questions
Can the GR IIIx capture a usable Milky Way frame without stacking anything?
A single frame at f/2.8, ISO 3200, and around 15 seconds will show the Milky Way's core in reasonably dark skies, but noise is visible by the time you push shadows in editing. Stacking multiple frames through software noticeably cleans that up; a single exposure is a fine test shot, not the final image.
Do I need an external intervalometer for the star trail work?
No. Interval Composite and Interval Shooting are both built into the camera's firmware and accessed from the shooting mode dial, no cable release or app required. That is one of the few genuine advantages this camera has over bodies that need an add-on intervalometer for the same result.
What ISO and shutter speed should I start with?
ISO 1600 and a 20 second sub-exposure at f/2.8 is a reasonable starting point for either mode. Check a test frame at 100 percent before committing to a full sequence; trailing becomes visible in a single 20-30 second exposure at 40mm depending on how close your framing is to a celestial pole.
Is the 40mm-equivalent lens too tight for this kind of photography?
For a full sweeping Milky Way arc, yes, it is genuinely limiting compared to the 14-24mm range most night photographers use. For tighter compositions, star trails around a specific foreground subject, or a cropped section of sky, it works well enough that the limitation becomes a framing choice rather than a dealbreaker.