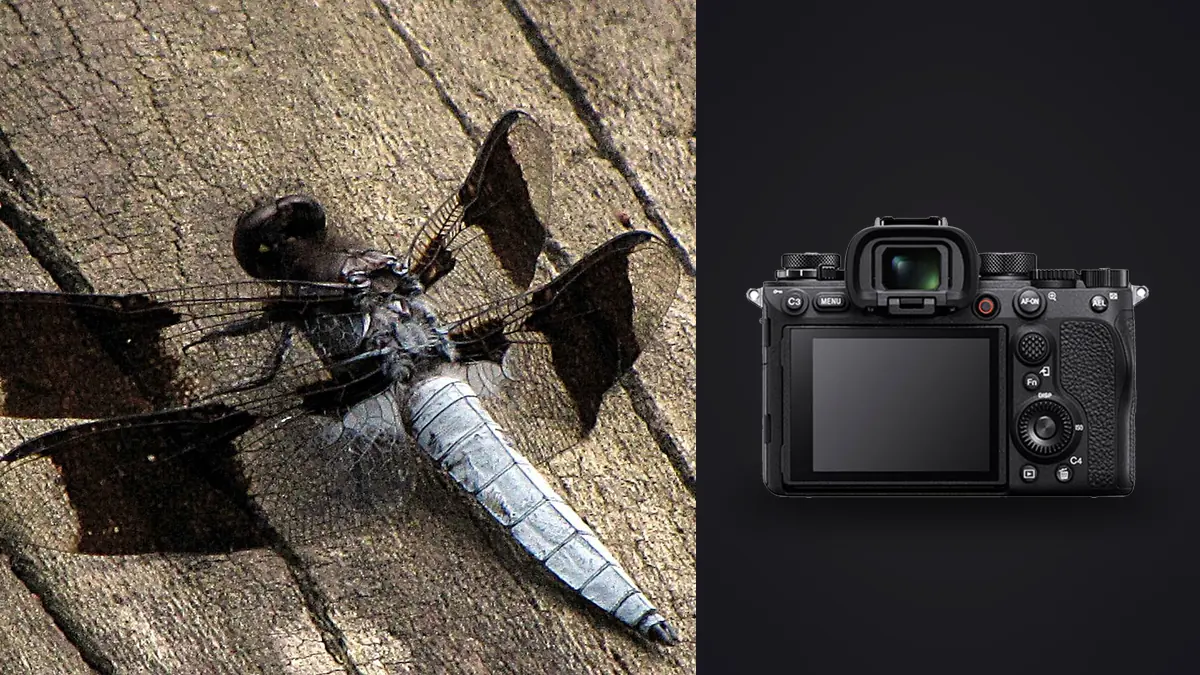
Macro failures often look alike on the rear screen. A soft insect eye might come from autofocus choosing the wing, the subject moving through a shallow focus plane, camera movement, diffraction, or a shutter speed that did not stop motion. Exposure can fail for equally different reasons: direct flash glare, a dark background influencing automation, or bright reflective scales clipping in one channel.
The Sony A1 brings fast autofocus, a high-resolution stacked sensor, and flexible shutter options to the problem, but speed does not remove macro physics. Troubleshooting works best when each frame is treated as evidence. Find where sharpness landed, identify what moved, and change only the setting connected to that cause.
Find the actual plane of focus
Do not begin by asking whether the image is sharp. Ask what is sharp. If hairs on a foreleg in front of the eye are crisp, focus landed forward. If the far wing is sharp, it landed behind. If detail smears in one direction across the frame, movement is more likely. If nothing resolves cleanly but contrast edges remain centered, diffraction, atmospheric movement, or processing may be involved.
Use a single autofocus area small enough to exclude nearby petals and stems. Place it on the near eye or the most important head detail. Subject detection may recognize an animal without identifying the exact insect feature the photograph needs, so confirm the box rather than assuming. When the subject is still, magnified manual focus can be more precise.
At high magnification, moving the camera a few millimeters changes focus. A tripod head that settles after being tightened or a body that rocks during the shutter press can shift the plane. Use a remote release or short timer for static work, stabilize the support on firm ground, and wait for plants to stop moving. Handheld, brace the body and make a short sequence as the desired detail enters focus.
Separate subject movement from photographer movement
A sharp eye with blurred antennae can be a successful motion choice or an indication that the shutter was too slow. A uniformly doubled insect and background points more toward camera movement. Stabilization helps with the photographer, but it cannot stop a bee cleaning its legs or a breeze moving the flower. Raise shutter speed or add a brief light source when subject motion is the cause.
Watch behavior before shooting. Many insects pause after landing, repeat a feeding path, or hold still during cooler parts of the day. Photograph at the pause rather than chasing continuously. Approach without blocking the sun or vibrating the plant. Ethical fieldcraft improves technical results because a calm subject is easier to focus and less likely to leave.
For flight, set expectations carefully. A high burst rate can record many phases, but close-range depth remains thin and the subject's path is erratic. Use a larger focus area only when the background is clean enough not to steal attention. Prefocus near a flower or flight corridor and release short bursts as the insect enters. Volume cannot compensate for a focus zone placed at the wrong distance.
Choose aperture by depth and diffraction
Stopping down increases depth of field, but it also increases diffraction. On a high-resolution sensor, the loss becomes visible during deep inspection before the photograph is unusable at normal size. The practical aperture is a compromise: enough depth for the eye and important body detail, but not so small that all fine texture softens.
Change geometry before demanding an extreme aperture. Move the camera so the sensor plane runs closer to the insect's body plane. A side view can place eye, thorax, and wing along similar distance. A head-on view may require choosing the eyes while allowing the body to recede. Composition is a depth-of-field tool.
Make an aperture series on a cooperative subject or detailed object at the same magnification. Compare at intended output size, not only at extreme zoom. The best file may be one stop wider than the frame that looks deepest on the rear screen. Record that lens and magnification baseline for future field use.
Diagnose flash glare and dark backgrounds
Direct, small flash can create hard reflections on beetle shells, wings, and wet leaves. If highlights clip while the rest of the insect remains dark, lowering the whole exposure may not solve the contrast. Increase diffusion size relative to the subject, move the light off axis, or change camera angle so the reflection leaves the important surface.
Manual flash power provides consistency when distance and magnification are stable. Set ambient exposure first for the background level, then add flash until the insect is properly lit. If working handheld and distance changes, automatic flash can be useful, but monitor bright surfaces and compensation. A dark field behind a small subject can cause automation to over-light it.
The A1's shutter options affect flash behavior. Confirm the supported synchronization mode with the chosen flash, trigger, and shutter before the outing. Electronic shutter, high-speed sync, and wireless delay do not all behave alike. Make a full-power and low-power test because flash duration changes with output and can influence how effectively motion is frozen.
Handle electronic shutter and artificial light
The stacked sensor reduces many readout problems, but it does not make every electronic-light combination risk-free. Indoor insect enclosures, LED panels, and some continuous macro lights can create bands or uneven color. Examine a plain background across the whole frame. If a pattern appears, change shutter speed, switch shutter mode, or use a different light.
Very fast electronic sequences also fill cards and create many near-identical files. Use the rate needed for the behavior, not the maximum by default. A perched insect needs careful timing and focus confirmation. A wing opening may justify a short rapid sequence. The burst should answer a visual question.
Silent capture can reduce disturbance around skittish subjects, although movement from the photographer remains more noticeable than shutter sound at close range. Approach slowly, avoid touching the host plant, and stop if the insect changes behavior. Technical access never outweighs the subject's welfare.
Check color and exposure at the subject
Green foliage can influence both metering and perceived color. Use the histogram and highlight warning, but also inspect individual channels when the subject contains saturated red, blue, or iridescent surfaces. One channel can lose texture while overall brightness appears safe. Slightly reduce exposure or soften the light when color detail disappears.
Set a stable white balance under flash or controlled LEDs so a sequence remains consistent. In mixed daylight and flash, decide which source should define the subject. A neutral reference helps establish a baseline, but iridescence changes with angle and should not be forced to match a single sample. Preserve the phenomenon rather than neutralizing it.
Underexposure is not a free safety margin. Lifting a small, dark insect heavily can reveal noise and reduce color separation. Bring the light closer through a diffuser, open the aperture within the depth requirement, or accept a darker background. Exposure should protect highlights while still giving the subject enough signal.
Cull bursts by anatomy and intent
Compare macro sequences at a consistent magnification. Check the intended eye, then antennae, mouthparts, wing position, and unwanted overlaps. A frame may be technically sharp yet visually weak because a leg hides the face. Another may have less total depth but a clearer behavior. Choose by the purpose of the photograph.
On Windows or macOS, imagic can locally score sharpness, exposure, closed eyes, and composition while grouping duplicate and burst frames. Insect anatomy requires human interpretation, so use the ranking to navigate, then verify the exact detail yourself. The app stores non-destructive decisions and keeps photos on the computer.
Apply noise reduction and sharpening after selection, because processing every burst frame wastes time and can disguise the original cause of softness. Keep one unprocessed reference while troubleshooting. The AI and technology guides explain how automated review can support, rather than replace, photographic judgment.
Build a repeatable troubleshooting checklist
- Locate sharp detail: decide whether focus landed forward, behind, or nowhere.
- Identify movement: compare subject edges with static background texture.
- Check depth: assess aperture and camera-to-subject geometry.
- Inspect highlights: look for clipped shell, wing, and color-channel detail.
- Review shutter and light: test for bands, synchronization, and flash reflection.
- Change one variable: make a controlled confirmation frame before continuing.
Save the successful baseline by lens and magnification. Macro settings do not transfer perfectly across working distances, but a reliable starting point makes the next diagnosis faster. Include the diffuser position and subject support, not only camera numbers, because light geometry is part of the exposure.
Test the setup at three working distances
A macro configuration that succeeds near the lens's minimum distance may behave differently farther away. Make controlled files at close, middle, and longer working distances using the same subject detail. Record autofocus consistency, frame coverage, background appearance, diffuser clearance, and the aperture that provides a useful focus zone.
At the closest distance, watch for the lens or diffuser casting a shadow and for tiny body movement changing focus. At the middle distance, check whether autofocus begins to favor background contrast. At the longest distance, confirm that the intended insect still receives enough pixels for the delivery rather than depending on a severe crop.
Repeat one distance with and without flash. This separates motion stopped by short flash duration from focus that was already accurate. It also reveals whether ambient light creates a soft secondary edge around an otherwise sharp subject. Adjust shutter or ambient contribution when that ghosting appears.
Keep the resulting reference files unsharpened. They become a practical diagnostic library for that lens and light, allowing a future field miss to be compared with known focus, diffraction, and movement patterns.
Add one backlit subject to the library. Fine hairs and translucent wings reveal focus errors, flare, and clipped edge highlights that a matte test target can hide. Shield the lens, preserve the bright rim, and compare whether a changed camera angle improves contrast without losing the behavior.
Frequently asked questions
Why is the insect's wing sharp but its eye soft?
The autofocus point or focus plane likely landed behind the eye, or the subject rotated after focus. Use a smaller area on the near eye and align the camera more closely with the important body plane.
Should the smallest aperture be used for maximum macro detail?
No. Smaller apertures add depth but also increase diffraction. Test the lens at the working magnification and choose the best balance for the final output size.
Can a fast Sony A1 burst guarantee a sharp insect in flight?
No. Burst speed records more moments, but focus distance, subject path, light, and depth of field still determine whether any frame is sharp. Use short bursts around a prepared flight zone.