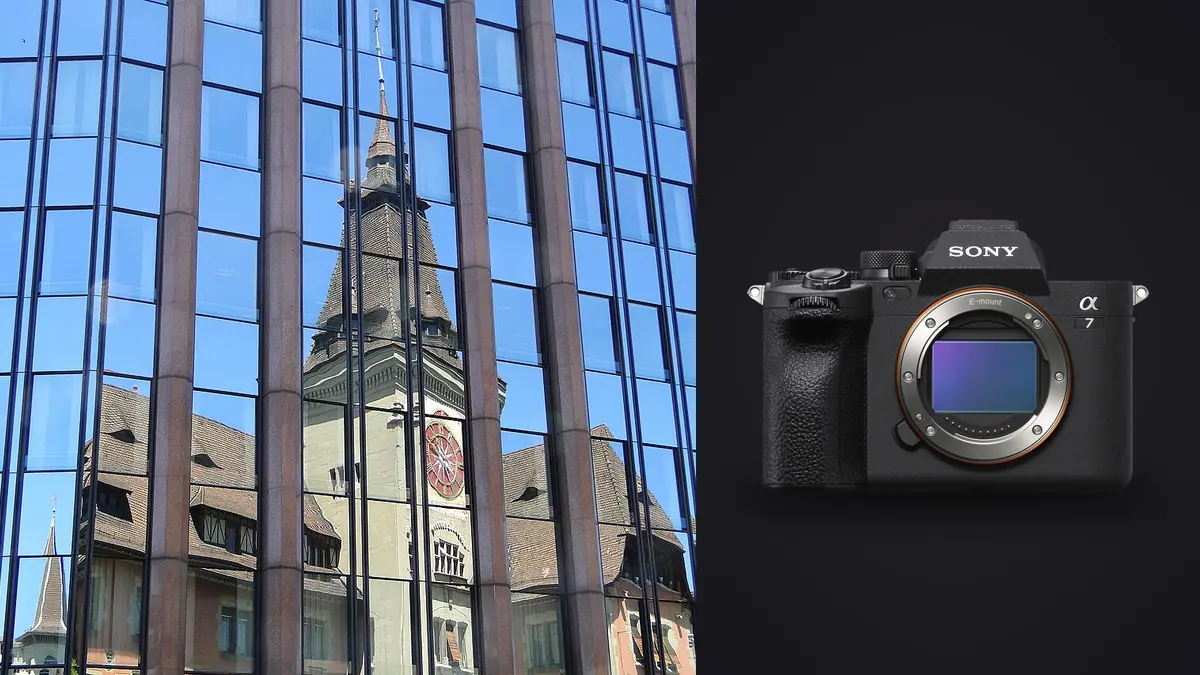
Most reviews of the Sony A7 IV are written around autofocus tracking and video specs, because that is what sells cameras to a general audience. Almost none of them talk about what the camera does when the subject is a kitchen that isn't moving, lit by a window on one side and a dim hallway on the other, and you have forty minutes before the stylist needs the room back. Interior and architectural work asks a full-frame body to do a completely different job than sports or wildlife does, and the A7 IV happens to be built in a way that suits that job better than its specs sheet suggests at a glance.
I started shooting interiors almost by accident and kept at it because it is more predictable than most other genres. The A7 IV became the body I reach for over the A7R bodies I also own, and the reasoning is worth laying out because it isn't the obvious "more megapixels is always better" argument you'd expect.
What actually matters when the subject is a room
A room doesn't move, which removes autofocus speed from the list of things you care about almost entirely. What replaces it is dynamic range, because a window with daylight behind it and an interior lit by a single lamp can easily span twelve or more stops, and you need a sensor that can hold detail in both without turning to a five-shot HDR merge for every single frame. The A7 IV's sensor gives you something in the neighborhood of 13 stops at base ISO, which in practice means a three-shot bracket (minus one stop, base, plus one stop) is usually enough to recover a window view without the sky going pure white, rather than needing the five- or seven-shot brackets some older bodies forced you into.
Resolution matters too, but for a different reason than people assume. Thirty-three megapixels isn't about printing a lobby shot at billboard size, it's about surviving the crop. A client will ask for a tight detail shot of the tile work or the hardware on a cabinet pulled from a wide establishing shot you already took, and 33MP gives you enough pixels to deliver that crop at a usable resolution without reshooting. I've pulled 8x10 print-ready crops out of wide shots more than once because a designer wanted a specific material call-out for a portfolio.
Color accuracy is the third piece, and it's the one that's hardest to quantify. Wood tones, brass hardware, and fabric all shift depending on how a sensor renders warm mid-tones, and Sony's color science has historically leaned a little cool and a little magenta in shadows compared to something like a Fuji body. It's correctable, but it means your white balance workflow needs to be consistent from the first frame of a shoot to the last, or you end up with a set of rooms that don't match when they sit next to each other in a portfolio.
Lens choices decide the shoot more than the body does
The A7 IV body is only half the equation. Interior work punishes bad glass in ways that landscape or portrait work doesn't, because straight lines (door frames, cabinet edges, ceiling lines) make any distortion or converging vertical obvious immediately. A slightly bowed doorframe in a landscape shot goes unnoticed. The same bow in a kitchen photo looks like a mistake.
My default is the Sony FE 16-35mm f/2.8 GM II. It's sharp into the corners even wide open, distortion is minimal and correctable in one click, and 16mm is wide enough for most rooms without resorting to a fisheye-adjacent focal length that makes a small bedroom look like a ballroom. For rooms where even 16mm doesn't fit the whole space, I keep a Sony FE 12-24mm f/2.8 GM around, but I use it sparingly. Below about 14mm, the exaggerated perspective starts to misrepresent the actual proportions of the room, which is a problem when a client is trying to sell the space as-is.
The lens that changed my approach to verticals, though, is the Laowa 15mm f/4 Zero-D Shift. It's fully manual (focus and aperture both), and the shift movement lets you correct converging verticals optically, in-camera, by physically shifting the lens element rather than cropping and stretching the image afterward in Lightroom. Correcting a 24mm shot's verticals in post can cost you 15 to 20 percent of your frame at the edges once you've straightened and cropped. Doing it with the shift lens costs you nothing, because you're not distorting the file to begin with, you're changing what the lens projects onto the sensor. It's slower to work with on a tripod, and there's a real learning curve to judging how much shift a given room needs, but for anything going to print at a large size it's worth the extra five minutes per setup.
| Lens | Focal length | AF or manual | Best use | Trade-off |
|---|---|---|---|---|
| Sony FE 16-35mm f/2.8 GM II | 16-35mm | Autofocus | General room coverage, walkthroughs | Some barrel distortion at 16mm, correctable |
| Sony FE 20mm f/1.8 G | 20mm (prime) | Autofocus | Tight rooms, low light, handheld detail shots | Less flexible than a zoom, no shift control |
| Sony FE 12-24mm f/2.8 GM | 12-24mm | Autofocus | Very small rooms, full-space establishing shots | Perspective exaggeration below ~14mm |
| Laowa 15mm f/4 Zero-D Shift | 15mm (prime, ±6mm shift) | Fully manual | Print-bound architectural work, keystone control | Slow to set up, manual focus on a tripod only |
| Canon TS-E 24mm II (adapted) | 24mm (tilt/shift) | Manual (adapted via Sigma MC-11) | Combined perspective and focus-plane control | Clunky aperture control through the adapter |
Pixel Shift Multi Shooting is more useful than it sounds
The A7 IV's Pixel Shift Multi Shooting mode gets mentioned in every review as a checkbox feature and then ignored, but for architectural work it earns its place. The camera fires 16 shots, shifting the sensor by half-pixel and one-pixel increments between each, and Sony's Imaging Edge Desktop software merges them into a single composite that resolves roughly four times the detail of a standard raw file, close to 199 megapixels once assembled.
The catch is that it only works on a completely static subject, on a tripod, with nothing moving in frame for the roughly two to three seconds the sequence takes. Curtains stirring from an HVAC vent, a plant leaf drifting, even a shadow moving as a cloud passes will produce ghosting artifacts in the merge. That rules out most occupied, functioning spaces. Where it earns its keep is empty staged interiors, showroom photography, or any shot destined for a large-format print where a client wants grout lines and fabric weave to hold up at eye level from three feet away. I use it maybe twice per shoot on average, for the one or two hero shots that are actually going to print big, and shoot everything else as a standard single frame or bracket.
Field workflow: bracket, don't guess
For anything with a window in frame, I default to a three-shot AEB bracket at one-stop intervals rather than trying to nail a single exposure that balances interior and exterior light. It's cheap insurance, and the alternative (chimping the histogram after every single frame while a client waits) slows a shoot down more than the extra two frames per setup ever will. Where the room is dim and even a bracketed exposure risks shutter speeds slow enough to blur, I switch to the electronic shutter, which also has the side benefit of being silent, useful when you're shooting in an occupied hotel lobby or office and don't want every frame announced with a mechanical clack.
In-body stabilization rated to 5.5 stops means I can get away without a tripod for a meaningful chunk of a shoot, particularly quick detail shots or vignette compositions where setting up sticks would eat time you don't have. I still use a tripod for anything with a bracket or anything going into a shift-lens setup, but the IBIS buys real flexibility for the parts of a shoot that are more about speed than pixel-perfect sharpness. The dual card slots matter more here than in most genres too. A staged interior shoot is frequently not repeatable. The stylist strikes the set the same afternoon, the space gets handed back to a tenant, or the light that made a shot work is gone by the next visit. Shooting to both cards simultaneously means a card failure doesn't cost you a shoot you can't redo.
Where the real time goes: after the shutter closes
Here's the part that doesn't show up in camera reviews. A single interior shoot, forty room setups, three-shot brackets on most of them plus a handful of pixel-shift composites, produces somewhere around 150 to 250 raw files by the end of the day. Almost all of them look nearly identical to the file next to them, because that's the point of a bracket, three versions of the same composition that differ only in exposure. Scrubbing through that set manually to find the correctly exposed frame from each bracket, and the sharpest handheld detail shot out of a run of four or five, is genuinely the slowest part of the job.
This is where I stopped doing it by hand and moved that step into imagic. Its sharpness scoring runs locally on the raw files and flags which frame in a handheld set is actually the crisp one, which matters more than you'd think when IBIS gets you a usable shot most of the time but not every time. The duplicate and burst clustering groups each exposure bracket together automatically instead of leaving you to scroll past three near-identical thumbnails per room and lose track of which set you're looking at. For the color side, I trained its apply_my_style preset on a batch of interiors I'd already graded by hand, warm-neutral white balance, moderate shadow lift, so a new shoot's raws come out already close to my usual look instead of starting from Sony's flatter default rendering. It's not magic, it still needs a pass of manual adjustment per room, but it cuts the baseline editing time down considerably, which is the actual bottleneck on a job that pays by the shoot, not by the hour.
The other reason it fits this kind of work specifically: a lot of interior shoots come with an NDA, a hotel that hasn't launched yet, an office space mid-renovation for a client who doesn't want it public. Processing everything locally without the files ever touching a cloud upload isn't a nice-to-have on that kind of job, it's a condition of getting hired again. If you're weighing culling tools for this kind of work, it's worth reading through how AI photo culling actually works before assuming every option in that category behaves the same way, because plenty of them assume your files are going up to a server somewhere first.
Keeping the look consistent across a whole shoot
One thing nobody warns you about going into architectural work: the biggest visible quality difference between a shoot that reads as professional and one that doesn't often isn't sharpness or composition, it's whether every room in the final set shares the same color temperature and contrast curve. A kitchen shot at 10am with cool north light and a bedroom shot at 4pm with warm side light will render completely differently straight out of camera, and if you grade them independently without a consistent baseline, the portfolio looks disjointed even though every individual photo is fine. I keep a reference set of past edits close by for exactly this reason, and it's part of why the trained-preset approach mentioned above works better here than a generic filter would; it's built from my own prior grading decisions on this kind of subject matter rather than a one-size-fits-all look. For anyone building that workflow from scratch, the guide to photo color grading is a reasonable starting point before you start training anything on your own edits.
Frequently Asked Questions
Do you actually need a tilt-shift or shift lens for interior work, or is correcting verticals in Lightroom good enough?
For web use and most client deliverables, correcting converging verticals in post is genuinely fine and most photographers never touch a shift lens. Where it starts to matter is large-format print work, because the crop you lose straightening a wide-angle shot in software can be 15 to 20 percent of the frame at the edges, and that's before you account for the slight softening that comes from stretching pixels to correct the geometry. If your output is mostly digital or magazine-sized prints, skip the shift lens. If a client is printing a hero shot at four feet wide for a lobby wall, it starts to earn its cost.
Is 33 megapixels enough for architectural and interior work, or should I be looking at a higher-resolution body?
For the vast majority of interior and architectural jobs, yes, 33MP is plenty, and it keeps file sizes and processing time manageable across a shoot that can already produce 200-plus raw files. Where you'd want more is if you're routinely delivering large-format prints straight out of camera without pixel shift, or shooting for clients who need extreme detail crops as a matter of course rather than an occasional request. The A7 IV's Pixel Shift Multi Shooting mode covers that gap for static, tripod-based setups without needing a higher base-resolution body.
How many bracketed exposures should I shoot per room setup?
Three frames at one-stop intervals covers the vast majority of interior lighting situations given the A7 IV's dynamic range, and it keeps your file count manageable across a full shoot day. I only go to five brackets in rooms with an unusually bright window against a genuinely dark interior, a sunroom against an unlit hallway, for example, where a single stop of headroom on either side of the base exposure isn't enough to hold both ends.
Can the A7 IV realistically replace a dedicated real estate or architectural rig, or is it a compromise?
It's not a compromise so much as a different set of trade-offs than a view camera or a dedicated architectural body would give you. You give up the extreme movements a real view camera offers and the astronomical resolution of a medium-format back, but you gain autofocus, IBIS, and a lens ecosystem that also covers video and general work, which matters if interiors are one part of a broader photography business rather than the whole of it. For working photographers who need one system to cover multiple genres, it's a genuinely strong fit rather than a downgrade from purpose-built architectural gear.