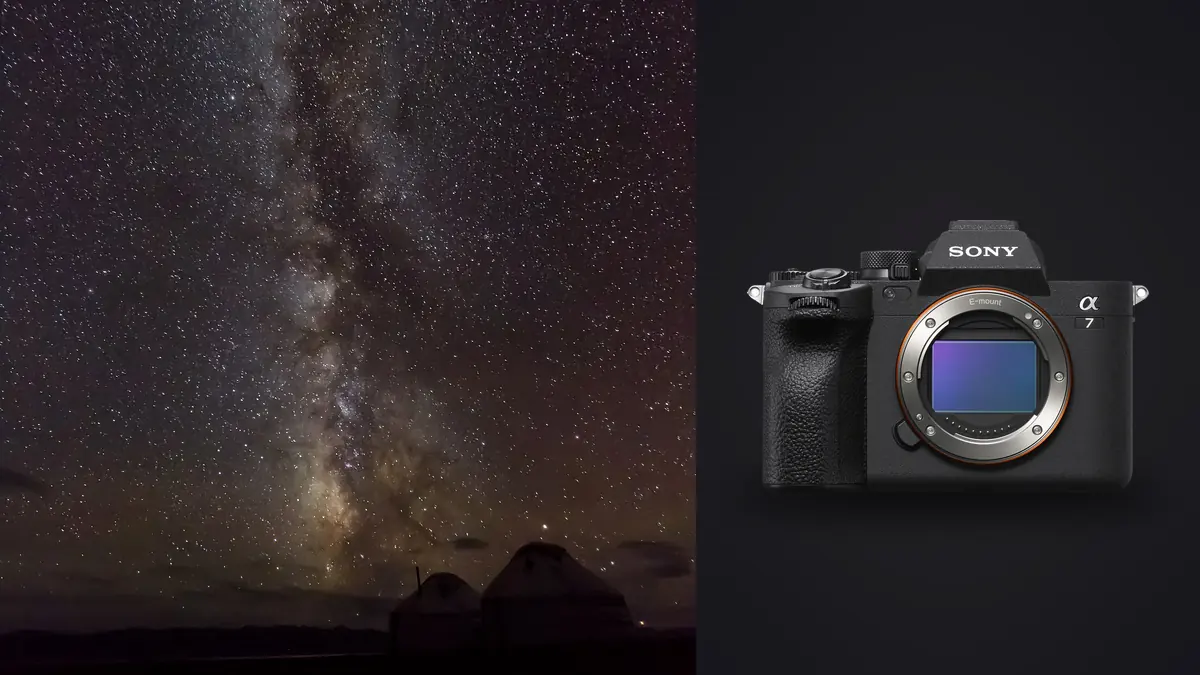
Night-sky work produces an odd kind of file pile. A single evening can leave hundreds of ARW files that look almost identical on a thumbnail strip, a few dozen dark and flat frames that look like nothing at all, and a handful of exposures ruined by a passing aircraft or a gust of wind. A sound RAW Workflow for the Sony A7 IV is mostly about keeping that pile organized so the stacking step at the end has clean input, rather than about any single clever edit.
This guide is built around the order of a real session: what the body gives you, which frames to shoot, how to settle a night's capture, how to cull a sequence without throwing away good data, and where a local editor fits next to dedicated stacking software. It uses only published camera facts and states plainly where a setting depends on your lens, sky and software.
What the A7 IV actually gives a night session
The A7 IV is a full-frame mirrorless body with a 33 megapixel back-illuminated sensor, Sony E-mount, and in-body image stabilization. It records Sony ARW files and has two card slots. Those facts translate into night-sky behavior in a few specific ways.
- 33 MP is a middle path. Pixels are small enough to resolve fine star detail on a good lens, and large enough that a long sequence will fill cards faster than a 24 MP body would. Plan card capacity before you plan the sky.
- E-mount means a wide lens choice. Fast wide primes from Sony and third parties are the usual astro kit, so lens coma and corner star shape become the limiting factor long before the sensor does.
- IBIS is a tripod liability. Stabilization is designed to cancel hand movement. On a locked-down tripod it has nothing to cancel, and many photographers switch it off for long exposures. Check the behavior of your lens and body setting rather than assuming it is harmless.
- Two slots let you split roles. Use one slot for the full RAW sequence and let the other mirror it, or send calibration frames to the second card so they never mix with the lights.
Sony's published specifications for the A7 IV list the card types and file options if you want to compare them before a trip.
The four frame types and why each one exists
Astro stacking software combines many exposures to push down random noise and then subtracts known defects using calibration frames. Knowing what each frame does tells you how carefully to shoot it, and which ones deserve your culling attention.
| Frame type | What it records | When to shoot it | Culling attention |
|---|---|---|---|
| Lights | The sky itself, with stars and foreground | During the session, same settings each frame | High: reject trails, wind shake, drift |
| Darks | Sensor heat noise and hot pixels at the same exposure and temperature | Cap on the lens, at the end of the session while the body is still warm | Low: only check they match the lights |
| Flats | Vignetting and dust shadows from your lens | Even light source, same lens and focus as the lights | Low: check exposure is even |
| Bias or offset | Read-out pattern from the shortest possible exposure | Any time, lens capped, fastest shutter speed | Very low |
The practical takeaway: lights are where culling effort pays off, and the other three are about consistency. Keep each type in its own folder from the first day, because a dark frame that wanders into the lights folder and gets treated as a sky exposure is a mistake that is easy to make and tedious to find.
Capture settings that protect the RAW file
Before the first exposure, settle the choices that cannot be fixed later.
Focus and exposure stay manual
Autofocus has nothing reliable to latch onto in the dark. Focus manually on a bright star using magnified live view, then lock the focus ring with tape if the lens allows it. Set exposure manually as well, so every light frame is mathematically comparable to the next one. A changing exposure from frame to frame defeats the reason you are stacking.
Long exposure noise reduction is a trade
Many cameras offer in-camera long exposure noise reduction, which takes a dark frame after each exposure and subtracts it. That doubles the time per frame and creates gaps in a tracked sequence. Many stackers prefer to do this subtraction themselves from a set of darks. Decide before the night starts, and keep the setting identical for the whole sequence so the data stays consistent.
Shutter and file choices
Use the mechanical shutter or electronic shutter you have confidence in, shoot uncompressed or the highest-quality ARW option the menu provides, and leave white balance at a fixed value. White balance does not change the ARW data, but it changes the preview you cull from, and a drifting preview makes frames look more different than they are.
Interval timers and time per frame
An intervalometer, either built in or external, keeps spacing even. Leave a second or two between frames for the buffer to clear. The right exposure length depends on focal length, whether you track the sky, and how dark the site is, so there is no single number worth quoting. A common starting rule for untracked wide shots is to keep stars as points rather than short lines, then verify at 100 percent on the first few frames.
A night in order: a worked scenario
Here is how a typical untracked Milky Way session could be arranged, step by step, with the file handling that goes with it.
- Dusk, daylight card check. Format both cards in the body, set the date and time correctly, and confirm the file naming. Wrong clocks cause confusing sort orders later.
- Blue hour, foreground frame. Shoot a lower-ISO exposure of the landscape while there is still light, so the foreground has clean detail that the dark sky exposures cannot give it.
- Full dark, focus and test. Focus on a star, take three test frames, and zoom to 100 percent. Adjust until stars are tight points and corners are acceptable, then lock everything.
- Sequence. Start the intervalometer and shoot the light frames in one unbroken run, stopping only if clouds or dew make the frames unusable.
- Flats in the dark. Without touching focus or zoom, place a diffuser and an even light source over the lens and shoot flats.
- Darks while warm. Cap the lens, keep the same exposure settings, and shoot darks. Doing this at the end keeps the sensor temperature close to the lights.
- Back at the desk. Copy both cards before doing anything else, then verify counts match.
Notice what is missing: any decision about editing. All of that waits until the files are safely copied and sorted.
Culling a sequence of near-identical frames
This is the stage where careless tooling does the most damage, because a sky sequence looks like the best case for automatic duplicate detection and also the worst case for automatic quality scoring.
What to reject by eye
- Satellite and aircraft trails. A trail across the frame is a contaminated light. Some stackers reject outliers automatically, others leave a faint line, so removing the worst offenders is safer.
- Wind shake. Stars that smear in one direction while neighbors stay sharp point to a gust or a bumped tripod.
- Dew and fog. Bloated star halos and falling contrast mean the lens is fogging. Everything after the onset is usually worth dropping.
- Cloud banks. Thin cloud may be recoverable, thick cloud is not.
- Focus drift. Temperature changes can nudge focus on some lenses during a long run, so compare the first and last frames at 100 percent.
Where AI scoring helps and where it does not
imagic can group duplicates and bursts and score frames for sharpness, but a star field gives a sharpness scorer a strange target, because there is nothing resembling a face or a subject to anchor on. Treat the scores as a way to sort the obvious failures to one end and then confirm by eye. For stacking, treat grouping as a map of the sequence rather than a recommendation to keep only one frame from each group, because the whole point of stacking is to use many near-identical frames. The desktop app processes files locally, which matters for a card with several hundred large files.
Developing the keepers consistently
There are two separate jobs in a stacked night image, and they use different tools.
Job one: the stack
Stacking, aligning stars, and applying dark and flat calibration belong to dedicated astro software. imagic does not do star stacking, so do not plan around it. Most stacking programs read ARW directly, which means you can hand them the culled keeper folder without converting anything.
Job two: finishing
After stacking, the result is a single image that needs stretching, color balance, and noise decisions. Keep the foreground frame from blue hour as a separate file and blend it with the sky in a program that supports layers, because imagic has no layers or compositing. What imagic is good for here is the consistent treatment of the unstacked foreground set and the single-frame shots that never go through a stacker, such as wide Milky Way arches or timelapse frames.
For those, the idea is to settle one look and apply it to the whole set, so the sequence does not flicker when played back. The same logic applies to any batch: set the white balance, tone curve and noise settings on one representative frame, then apply that look across the group.
Storage, backup and file hygiene
A night shoot can generate more data than a full day of ordinary photography, and calibration frames are the files most likely to be deleted by mistake later. A few habits keep that from happening.
- Name folders by date and frame type, such as a date followed by lights, darks, flats and bias.
- Keep calibration frames at least until the stack is finished and checked, because a re-stack with a different setting needs them again.
- Copy to two locations before reformatting cards.
- Write a short note with lens, focal length, aperture, ISO, exposure time, frame count and sky conditions. It costs a minute and saves guessing at the next session.
More camera-specific reading is collected under the Camera Hardware category.
Frequently asked questions
Should I turn off IBIS on the A7 IV for tripod astro work?
Stabilization is designed for hand movement, so on a rigid tripod many photographers switch it off to avoid any chance of it reacting to vibration. Check how your specific lens and menu settings behave, and compare a test frame at 100 percent with and without it.
Can imagic stack my star frames?
No. imagic does not do star stacking, so use dedicated astro stacking software for that step. It can help you cull a long sequence of ARW files and apply a consistent look to the single frames that do not go through a stacker.
How many dark and flat frames do I need?
There is no universal number, because it depends on your stacking software and how noisy your sensor is at the exposure you chose. Many people shoot a modest set of each type, then check the software documentation for its recommendation and shoot more only if the stack looks noisy.