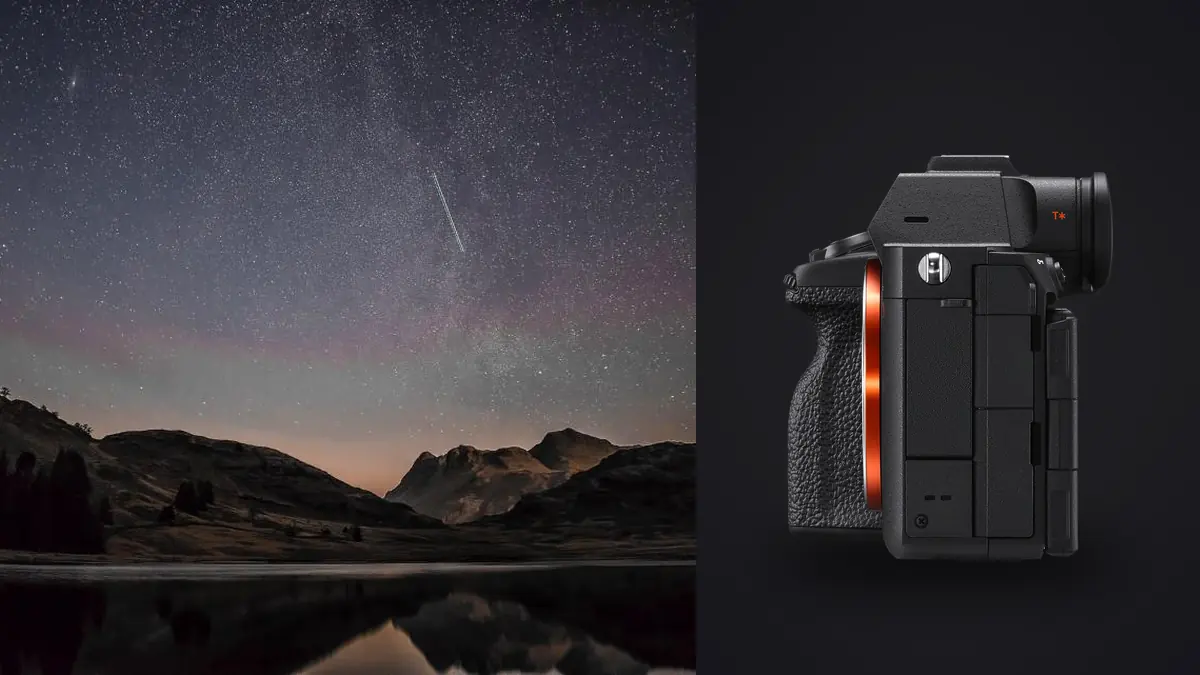
The Sony A7R V gets bought for portrait skin detail and landscape crops, and most of the marketing around it never mentions the night sky at all. But a lot of people who own one end up pointing it upward eventually, and the 61 megapixel sensor changes the star-stacking conversation in ways that don't show up on a spec sheet. More pixels means the old exposure rules stop working the way they used to, the raw file choices matter more, and the sheer number of frames a stacked night sequence produces turns into its own logistics problem. This is what I've learned running that camera through actual stacked sequences, not a lab test, just a tripod, a dark patch of sky, and a lot of trial and error.
Why the A7R V Changes the Star-Trail Math
Every wide-field astro photographer knows some version of the "rule of 500": divide 500 by your focal length and that's roughly how many seconds you can expose before stars smear into short trails. It's a decent rule for a 24 megapixel camera. It falls apart on a 61 megapixel one, because that rule was never really about focal length, it was about how much a star's movement shows up relative to the size of a pixel. Pack more than twice the pixels into the same sensor area and a star has to move a lot less distance before it smears across two or three of them instead of one.
On the A7R V, with its roughly 3.76 micron pixel pitch, a more honest guide is something closer to the NPF rule, which factors in aperture and pixel size along with focal length. In practice, with a 20mm lens at f/1.8, I land closer to 4 to 6 seconds before pixel-level trailing becomes visible at 100%, not the 25 seconds the old rule-of-500 math would suggest. That's a big gap, and it matters because every second you shave off a single sub-exposure means climbing ISO to compensate, or shooting more frames to make up the signal in a stack. If you're coming from a 24 or 33 megapixel body and just carrying over your old settings, your first night out with the A7R V will probably surprise you with how much softer the stars look than you expected.
The flip side is that this same pixel density is exactly what makes stacking worth doing in the first place. Stacking trades exposure time for frame count, averaging out the read noise and shot noise across dozens of short exposures instead of trying to gather it all in one long one. A high-resolution sensor with tighter per-pixel noise characteristics rewards that approach, because you're not just reducing noise, you're also recovering fine detail in dust lanes and star clusters that a single frame, even a long one, would never resolve cleanly.
Raw Format and the Star-Eater Question
Sony bodies have a long, occasionally frustrating history with what the astro community nicknamed "star eater," a pattern noise reduction step that could quietly suppress faint, single-pixel stars in long exposures, particularly in the older compressed raw format. Sony has walked this back significantly over successive bodies and firmware revisions, and the A7R V ships with a lossless compressed raw option alongside the older lossy compressed and uncompressed choices. For star fields, that lossless compressed setting is the one I use by default. It keeps file sizes more manageable than fully uncompressed raw while avoiding the block-averaging behavior that caused the worst of the star suppression in older lossy-compressed files.
Before trusting any camera with a full night of stacking, I'd still run a quick field test rather than take anyone's word for it, mine included. Shoot a 20 to 30 second single frame at ISO 3200 pointed at a dense part of the sky, pull it up at 100%, and look for a faint checkerboard or dot pattern where the dimmest stars should be. If you see it, dropping single-exposure length under about 3 to 4 seconds per sub (which is close to what the pixel math above already pushes you toward) sidesteps the issue almost entirely, since the aggressive noise reduction historically kicked in on longer single exposures rather than short stacked ones.
One setting that has nothing to do with raw format but gets missed constantly: Long Exposure NR, found in the custom menu, needs to be off. Left on, the camera doubles your exposure time on every sub-frame to shoot a dark frame afterward, which wrecks your interval timing and, combined with in-camera processing, can flatten out faint nebulosity you're trying to preserve. Shoot your own dark frames separately and subtract them in software instead, where you have actual control over the process.
Two Ways to Stack: Tracked vs. Untracked
There are really two different workflows hiding under the phrase "star stacking," and they call for different settings on this camera. One is a fixed tripod with no tracking mount, relying on stacking to build up signal-to-noise while keeping each sub-exposure short enough to avoid trailing. The other bolts the camera to a motorized star tracker that follows the sky's rotation, which lets you use much longer sub-exposures and far fewer of them, at the cost of a foreground that now streaks and needs a separate exposure to blend back in.
| Setup | Typical sub-exposure | ISO range | Subs for a clean stack | Where it falls apart |
|---|---|---|---|---|
| Fixed tripod, 14-24mm lens | 4-6 sec | 3200-6400 | 40-60 | Coma and star bloat wide open; foreground needs its own exposure |
| Fixed tripod, 35-50mm lens | 2-3 sec | 4000-8000 | 60-100 | Narrower field amplifies apparent trailing; shadow noise climbs fast at that ISO |
| Star tracker, 14-35mm lens | 60-120 sec | 800-1600 | 15-30 | Polar alignment error compounds over multi-minute subs |
| Star tracker, 135-400mm reach | 15-90 sec | 800-3200 | 30-60 | Small trackers hit payload limits; 61MP files fill the buffer between subs |
That last row is worth dwelling on, because it's specific to a high-resolution body like this one in a way it wouldn't be on a lower-megapixel camera. A lossless compressed raw at 61 megapixels runs somewhere around 60 to 90MB depending on the scene. Shoot a 30 second sub every 33 seconds for an hour and you're writing multiple gigabytes to the card in a session, and if you're on an SD UHS-II card rather than the CFexpress Type A slot, buffer clearing between frames can genuinely eat into your interval timing on a long telephoto stack. I switched to CFexpress Type A for anything past a 15-minute sequence for exactly this reason.
Camera Settings I Actually Use in the Field
Turn stabilization off once you're on a tripod
The A7R V's in-body stabilization is rated for roughly 8 stops of shake correction, which is excellent for handheld work and completely irrelevant once the camera is locked to a tripod head. Worse, IBIS systems on a static mount can occasionally introduce a very slight drift as the stabilization unit hunts for a reference point it isn't getting, which is the last thing you want across a 4-second sub you're relying on for pinpoint stars. I switch it off in the menu the moment the camera goes on sticks, not just for astro but for any long exposure work.
Manual focus, every single time
Autofocus, even the A7R V's genuinely strong subject recognition system, is built to find contrast and edges, neither of which a star field offers much of in the dark. I focus manually using the rear screen's focus magnifier zoomed to the brightest star I can find, adjust until it's the smallest, tightest point I can get, then tape the focus ring down so a stray bump mid-sequence doesn't cost me an hour of frames. A Bahtinov mask makes this faster and more repeatable if you're shooting the same lens night after night, but the magnifier alone gets you close enough for most wide-field work.
Let the camera run the sequence itself
One thing that's easy to miss is that the A7R V has interval shooting built directly into its menu system now, so there's no need to carry a separate intervalometer or tether to a phone app just to fire off sixty consecutive frames. I set the interval a second or two past my sub-exposure length to leave the buffer room to breathe, set a frame count with a small margin above what I expect to need (a passing cloud or a plane trail through frame 40 of 50 is not the night to discover you shot exactly 50), and let it run while I stay warm somewhere nearby.
Sorting Frames Before Stacking Software Ever Opens
A single night of untracked star stacking with this camera can easily leave you with 60 to 100 raw files, and a tracked deep-sky session across a couple of hours can push well past that. Not every one of those frames belongs in the stack. Clouds drift through, a satellite or plane leaves a bright streak across a third of the frame, dew fogs the front element halfway through, or the focus you taped down still creeps half a stop over two hours in falling temperature. Feeding all of that into stacking software unfiltered just means averaging good data with bad, and some stacking tools handle outlier rejection better than others.
This is where I've started leaning on imagic to do the first pass before the sequence ever touches dedicated stacking software. Since it scores focus and sharpness locally on the frames as a batch, it's fast to spot the handful of subs where focus drifted or a gust nudged the tripod, without scrubbing through a hundred nearly-identical thumbnails by eye at 2am with a headlamp. It also runs entirely offline, which matters more for this kind of shooting than it does for a studio session, because most decent dark-sky locations have no signal at all, and the last thing you want is a workflow tool that assumes it can phone home. If you haven't looked at how that kind of automated first-pass culling actually scores a frame, this breakdown of how AI photo culling works covers the mechanics in more detail than I'll get into here.
Stacking Software That Can Handle 61MP Files
Once the sequence is trimmed down to the frames actually worth keeping, the stacking step itself is where a lot of people hit a wall they didn't expect, and it's almost always a hardware wall rather than a software one. Sequator and Deep Sky Stacker are both free and both work fine with the A7R V's files, but stacking 60 frames at 61 megapixels each asks for real RAM, and I've had sessions choke or crawl on machines that handled the same job at 24 megapixels without complaint. Starry Landscape Stacker on the Mac side handles alignment on frames with a static foreground more gracefully than most of the Windows options, which matters if you didn't shoot a separate foreground plate. For anyone doing tracked deep-sky work with a small refractor rather than a wide lens, PixInsight is the heavier but more capable option once you're past a beginner stack.
None of those tools replace the culling step above, they just stack whatever you hand them, good or bad. Where imagic fits into this stage specifically is less about the stack itself and more about triage before you commit disk space and processing time to a sequence, and about the burst and duplicate clustering it does on frames that look nearly identical to a human eye scrolling fast. A stationary tripod star sequence is, structurally, a burst of very similar frames, and grouping them to flag the ones that don't match the pattern (a sudden brightness shift from a car's headlights sweeping the horizon, for instance) saves real time over a full night's shoot.
Blending a Foreground In
If you're stacking on a fixed tripod with a landscape element in frame, the foreground stacks along with the sky by default, which is usually fine since it isn't moving. Once you switch to a tracker, though, the mount follows the stars and the foreground streaks across your stacked frames instead. The standard fix is a separate foreground exposure shot with the tracker turned off, either during blue hour before the sky goes fully dark or with a longer, lower-ISO exposure and some light painting once it has. Blending that single foreground frame against the stacked, tracked sky in Photoshop or Affinity Photo with a simple luminosity mask is a five-minute job once you've done it a couple of times, and it's a much better result than trying to stack a moving foreground and living with the double edges.
Frequently Asked Questions
Is 61 megapixels overkill for a Milky Way shot?
For a single web-sized image, arguably yes. But the resolution earns its keep in a print, and more directly, it earns its keep in the stacking process itself, since averaging across dozens of high-resolution frames recovers detail in dust lanes and star clusters that a lower-resolution sensor simply never captured to begin with. The tradeoff is that you have to shoot shorter individual exposures to avoid trailing, as covered above.
Can I skip a star tracker entirely with this camera?
For wide-field Milky Way and nightscape work, yes, plenty of usable stacked results come off a fixed tripod with a 14 to 24mm lens. Once you're reaching toward 100mm or beyond to resolve a specific nebula or galaxy, a tracker stops being optional, because the sub-exposure lengths that avoid trailing at that focal length without one are too short to gather meaningful signal even across a hundred stacked frames.
Does pixel shift multi shooting help with star fields?
No, and it's worth saying plainly because the feature's name makes it sound relevant. Pixel shift composites rely on the sensor shifting by sub-pixel increments between several frames of a completely static scene to build a higher-resolution image, and the gaps between those shifted frames span more than enough time for stars to move and misalign the composite. It's built for architecture and studio product work, not the night sky.
How much does culling actually save on a night like this?
More than it seems like it should. A single stacked sequence that runs long enough to catch a passing cloud, a satellite streak, or a focus drift can easily have 10 to 15 percent of its frames worth discarding before stacking, and finding those by eye across a hundred nearly-identical raw files is genuinely tedious at the end of a cold night. Running that first pass locally, without needing a signal at a remote site, is the part that's made the biggest practical difference to how much I actually enjoy the process the next morning rather than dreading it.