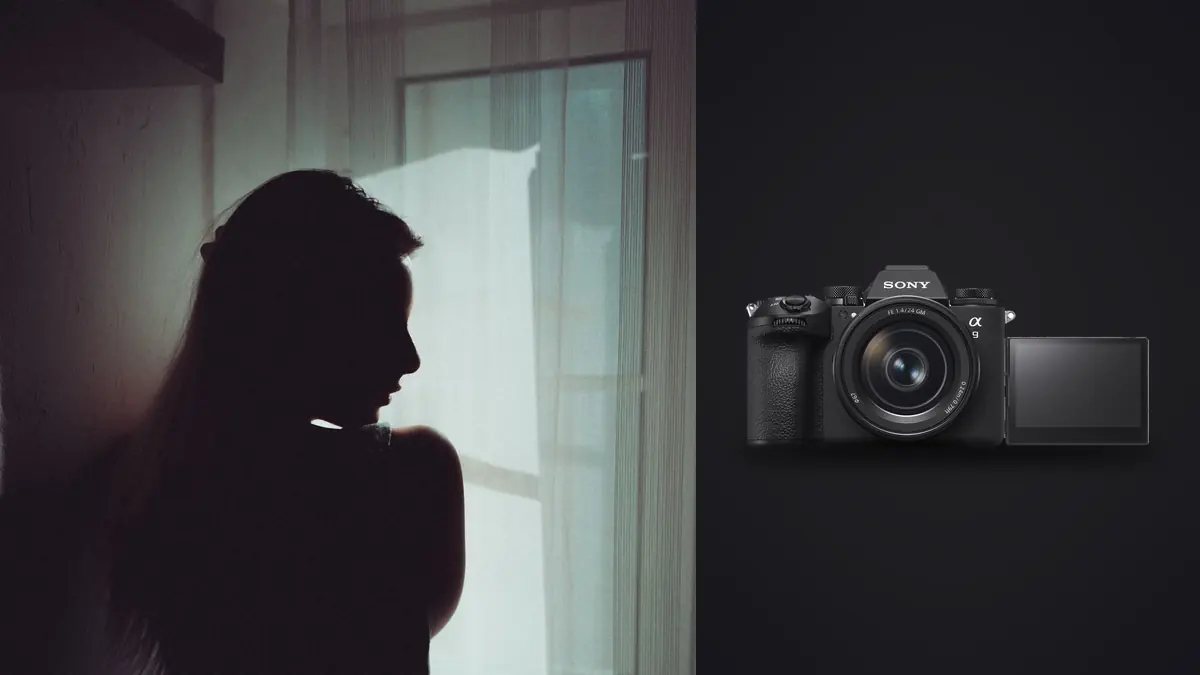
A reliable Sony A9 III boudoir and intimate portraiture RAW Workflow is a chain of decisions, not a preset applied after the card is full. Capture settings determine which detail survives, file organization protects the evidence, selection identifies the frames that answer the brief, and development prepares those frames for a defined destination. This guide keeps those stages connected so a correction in one stage does not create an avoidable problem in the next.
The A9 III uses a 24.6 megapixel full-frame global-shutter sensor, interchangeable E-mount lenses, fast subject tracking, and two dual-format card slots. Its defining shutter design can remove rolling-shutter shape distortion and expands flash timing options, but boudoir work rarely benefits from extreme frame rates. Privacy, directing, flattering light, and consistent ARW treatment are the priorities.
Translate the assignment into file requirements
Define the result before choosing a Sony A9 III RAW setting. Record the final image count, likely crop ratios, largest output, color space, delivery format, metadata requirements, and whether the photographs must work as a sequence. For boudoir and intimate portraiture, also identify the visual facts that technical scoring cannot infer, such as subject identity, gesture, spatial accuracy, garment continuity, species behavior, or the order of an event. These criteria become the basis for the edit.
Put consent and file handling in writing before the session. Define approved poses, coverage boundaries, who may be present, whether behind-the-scenes material is forbidden, the retouching level, proofing method, retention period, and permission for any portfolio use. Separate private delivery consent from promotional model release language. Record requests without requiring the subject to repeat them in front of a larger crew.
| File | Purpose | Handling rule |
|---|---|---|
| ARW original | Reversible camera evidence | Keep unchanged |
| Review derivative | Fast comparison or proofing | Label as a derivative |
| Working edit | Adjustment and version history | Keep linked to its source |
| Delivery export | Use in the approved destination | Build to a written specification |
Capture RAW files that remain editable
Choose a low or moderate drive rate that gives expression alternatives without turning every movement into an unnecessary burst. Test the global shutter with the actual flash units, modifiers, and power levels, because flash pulse duration and triggering behavior still affect usable timing. Protect luminous skin and pale fabric, keep ambient contribution intentional, and use a fixed manual exposure when the light setup is controlled.
Use eye detection as an aid, then verify focus on the nearer visible eye at the working aperture. Veils, hair, foreground fabric, mirrors, and backlight can pull attention away from the intended plane. For reclining poses, depth can run diagonally through the frame, so position the focus area deliberately and inspect face, hands, and the nearest detailed garment before changing the setup.
Make a representative test with the Sony A9 III under the actual light, then inspect the intended focus plane, subject movement, brightest color channel, darkest important texture, and frame edges at full resolution. A bright rear display can hide clipping, while a small preview can disguise motion or focus error. Stabilization can reduce camera movement, but it cannot stop a moving boudoir and intimate portraiture subject. Subject recognition can help acquisition, but it cannot decide which subject matters.
Assign separate jobs to lens, position, and light
Select an E-mount focal length that suits the room and the desired sense of distance. A normal or short telephoto can keep facial proportions calm, while a moderate wide lens can include environment if edge stretching is controlled. Leave physical space for the subject and crew, avoid shooting from a cramped corner merely to fit more room, and check mirrors and glossy furniture for unwanted reflections.
Record a neutral reference whenever the Sony A9 III boudoir and intimate portraiture lighting changes materially, and leave that frame beside the photographs it describes. The reference should establish a starting point rather than erase an intentional cast. Protect important highlights with the histogram and channel warnings instead of relying on screen brightness. RAW latitude can reshape recoverable tones, but it cannot recreate texture after a channel is fully clipped.
Preserve the RAW sequence during ingest
Use mirrored ARW recording when the privacy plan and card capacity support it, then place exposed cards under the same controlled handling as the copied files. Give each lighting setup or wardrobe change a marker frame without including sensitive written information in the photograph. Ingest to an access-controlled job folder, verify the copy, and do not create cloud previews unless the subject explicitly approved that route.
JOB_CODE/
  PURPOSE_BOUDOIR_AND_INTIMATE_PORTRAITURE/
  01_CAMERA_ORIGINALS/
    CAMERA_CARD_001/
  02_VERIFIED_COPY/
  03_REVIEW/
  04_WORKING_EDITS/
  05_EXPORTS/
  06_DELIVERY_NOTES/
Copy each Sony A9 III boudoir and intimate portraiture card or storage unit as a complete, uniquely named folder. Record the expected file count, create a second independent copy, and verify both before returning media to use. Keep separate camera folders until duplicate filenames, clock offsets, and sequence boundaries are resolved. Review files and exported JPEGs should never sit where they can be mistaken for the only ARW master.
imagic supports Sony ARW and processes culling and edits locally, which can fit a privacy-conscious portrait workflow. It does not provide cloud proofing, layers, advanced skin retouching, or generative fill, so secure proofing and detailed retouching need separate tools chosen under the consent plan.
Cull by sequence before judging isolated frames
Group the Sony A9 III photographs by action, pose, bracket, lighting setup, location, or composition before assigning selects. Remove obvious accidents from the working view first, including unintended releases, blocked frames, unrecoverable clipping, focus on the wrong plane, and duplicates with no independent value. Use a reversible reject status rather than deleting originals. The second pass can then compare technically viable alternatives against the boudoir and intimate portraiture brief.
Compare frames for expression, eye focus, hand shape, shoulder and hip alignment, fabric tension, background lines, and whether the pose communicates the intended mood without looking strained. Closed eyes may be deliberate, so do not treat them as an automatic rejection. Remove accidental or outside-boundary frames from ordinary review access while following the agreed retention and deletion policy.
imagic can score sharpness, exposure, closed eyes, and composition while grouping bursts and near-duplicates on the local Windows or macOS computer. In this Sony A9 III boudoir and intimate portraiture RAW Workflow, those results are an ordered review aid, not an editorial verdict. Privacy-sensitive files stay on the machine, and culling changes a status rather than deleting the camera original. Human review still decides meaning, consent, continuity, and intentional technical departures.
Develop the master in a stable order
Begin ARW development with a profile that keeps skin transitions smooth, then set white balance from a reference made under each light setup. Protect bright skin and satin highlights before shaping contrast. Retain natural pores and fine hair while addressing temporary distractions only to the agreed retouching level. Avoid using noise reduction or clarity to impose one texture across face, body, fabric, and background.
Apply broad corrections before local ones in the Sony A9 III boudoir and intimate portraiture set. A practical order is input profile, white balance, exposure, highlight and shadow placement, tone curve, color, lens correction, noise treatment, and capture sharpening. Revisit earlier controls after a major profile or exposure change. Judge sharpening at an appropriate magnification and inspect both a critical detail and a smooth area, since settings that clarify an edge can also turn noise or skin texture into a distraction.
Control color without erasing the scene
Window light, continuous fixtures, and flash can create different color zones across one pose. Correct the dominant source first, then use restrained local work where mixed light makes skin visibly inconsistent. Compare face, torso, hands, and reflected skin within the same frame. Preserve garment and set colors from the styling brief, and keep a monochrome conversion as a separate version rather than replacing the color master.
Build adjustment groups from real Sony A9 III boudoir and intimate portraiture capture conditions rather than applying one correction to the entire job. A new room, weather state, stage act, light source, lens, or exposure method can justify a new baseline. Synchronize controls that should match, then inspect the first, middle, and last keeper in every group. Crop, aggressive recovery, local masks, and subject-specific cleanup generally need individual confirmation.
Keep brackets, bursts, and composites traceable
A pose sequence records small changes in expression and body line, so group it as one decision set. Select the strongest complete frame instead of combining eyes, hands, or body parts from different moments unless the subject and retouching agreement explicitly allow compositing. Keep source identities in the working edit and prevent review JPEGs from being mistaken for approved private finals.
Any Sony A9 III boudoir and intimate portraiture composite or multi-frame result should remain traceable to all of its components. Normalize shared settings before alignment or blending, preserve unused edge area until geometry is final, and inspect seams at meaningful detail. If a frame was captured at a different time or exposure for a foreground, window, background, or moving subject, keep that distinction in the working notes and disclose it when the destination's editorial rules require disclosure.
Run quality control at image and set level
Inspect each approved Sony A9 III boudoir and intimate portraiture photograph at three scales. Full image view reveals composition and tonal balance, a practical output view reveals how the destination will look, and a critical detail view reveals focus, motion, noise, halos, dust, and masking defects. Then compare the set as a sequence. White point, black placement, saturation, crop logic, and sharpening should feel coherent without forcing unlike lighting conditions into an artificial match.
- Source check: confirm every edit points to the intended ARW original.
- Technical check: inspect focus, motion, clipping, noise, lens correction, and composite edges.
- Editorial check: confirm subject identity, sequence meaning, consent, and requested exclusions.
- Consistency check: compare neighboring keepers under the same capture condition.
- Output check: open a rendered file outside the editing view before delivery.
Export for the stated destination
Export only the approved selection through the agreed private channel, with filenames and metadata that reveal no more personal information than necessary. Verify that hidden alternates, location coordinates, contact sheets, and sidecar notes are not included accidentally. Supply web and print versions separately, confirm access controls with the recipient, and apply the written retention schedule to proofs and working derivatives after acceptance.
Set dimensions, profile, bit depth, compression, metadata, naming, and output sharpening for the Sony A9 III boudoir and intimate portraiture files from the delivery note. JPEG suits many web and gallery uses, while TIFF can preserve more information for a print or downstream retouching stage. Keep a full-resolution approved master when future derivatives are likely. Verify pixel dimensions and embedded profile, open representative files, and compare the delivered count with the approved selection.
The desktop photo workflow explains local processing boundaries, the single-photo editor offers a focused derivative workflow, and the AI & Technology collection connects this process to related photography systems. These references support the Sony A9 III plan, but the written boudoir and intimate portraiture brief remains the authority for the job.
Use a final RAW Workflow checklist
- Write the purpose, crop, output, sequence, and privacy requirements.
- Confirm ARW, compression, card role, focus method, and shutter behavior.
- Make a focus, motion, highlight, and color-reference test under working light.
- Keep each card or storage unit intact inside a unique camera-original folder.
- Create and verify two independent copies before reusing media.
- Group related Sony A9 III frames before comparing technical and editorial value.
- Normalize global development by real capture condition, then inspect exceptions.
- Preserve every required component of a bracket, stack, burst, or composite.
- Render to the delivery specification and inspect files outside the editor.
- Archive the originals, adjustment records, approvals, and export recipe.
Frequently asked questions
Should every Sony A9 III boudoir and intimate portraiture photograph be recorded as RAW?
RAW is appropriate for the Sony A9 III boudoir and intimate portraiture job when it needs recoverable white balance, highlight control, substantial tonal work, or a durable editing master. A JPEG-only choice can be reasonable for a controlled immediate use, but it should be tested against the actual output and kept clearly identified as the camera-rendered source.
Can automated scoring choose the final boudoir and intimate portraiture selection?
No. Scoring and duplicate grouping can narrow technically repetitive Sony A9 III boudoir and intimate portraiture files, but they do not know which moment, subject, relationship, garment, behavior, or spatial fact answers the brief. A photographer or editor must make the final editorial choice.
When is the Sony A9 III RAW Workflow complete?
The Sony A9 III boudoir and intimate portraiture process is complete when approved images have been rendered to specification, opened and checked, counted against the selection, delivered through a verified copy, and archived with the ARW originals and adjustment records. An edit that has not survived output verification is still unfinished.