Food Photography: Where Color Accuracy Is Everything
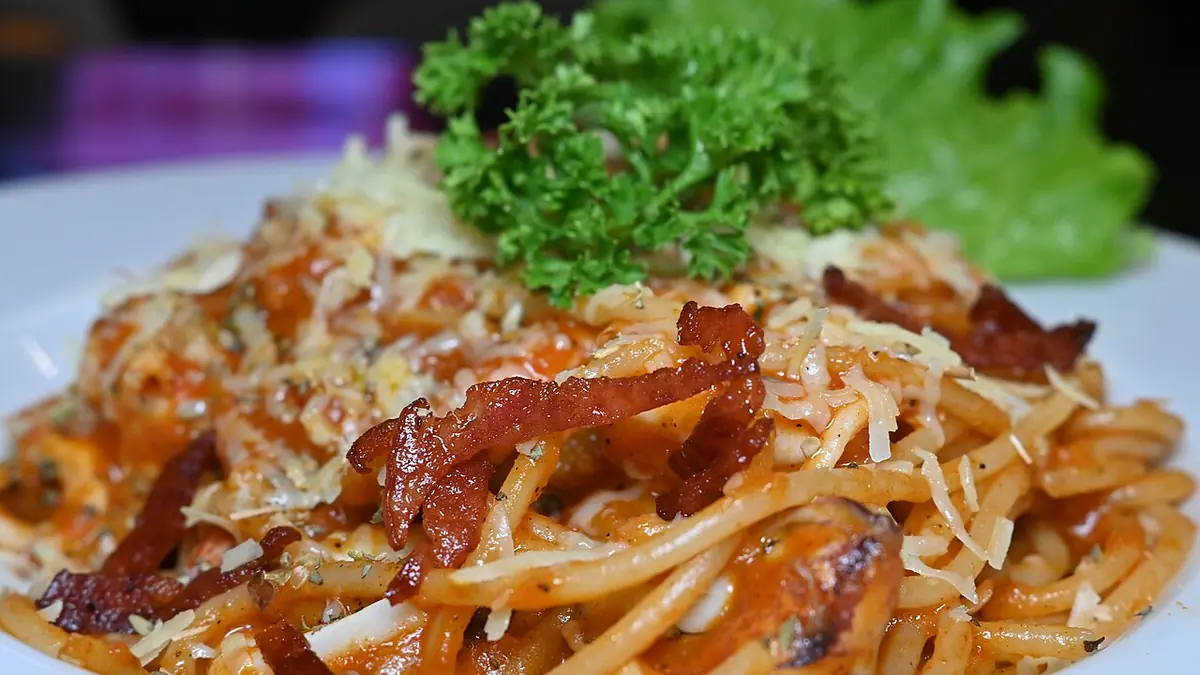
Food photography has one primary technical requirement above all others: the food must look delicious. This depends almost entirely on color accuracy and vibrance. A steak that looks gray or a salad that looks yellow-green instead of bright green makes the food unappealing — and costs the photographer client confidence. Getting color right efficiently, across an entire menu shoot, requires a systematic workflow, similar in spirit to high-volume product photography.
The Food Photography Volume Reality
A restaurant menu shoot might involve 40-80 dishes, each photographed from multiple angles with multiple lighting setups. That's 200-500 RAW files from a single shoot day, all needing consistent color treatment. Individual image editing at this volume isn't practical — batch processing is essential.
AI Culling for Food Photography
imagic's AI analysis handles the pre-selection stage efficiently:
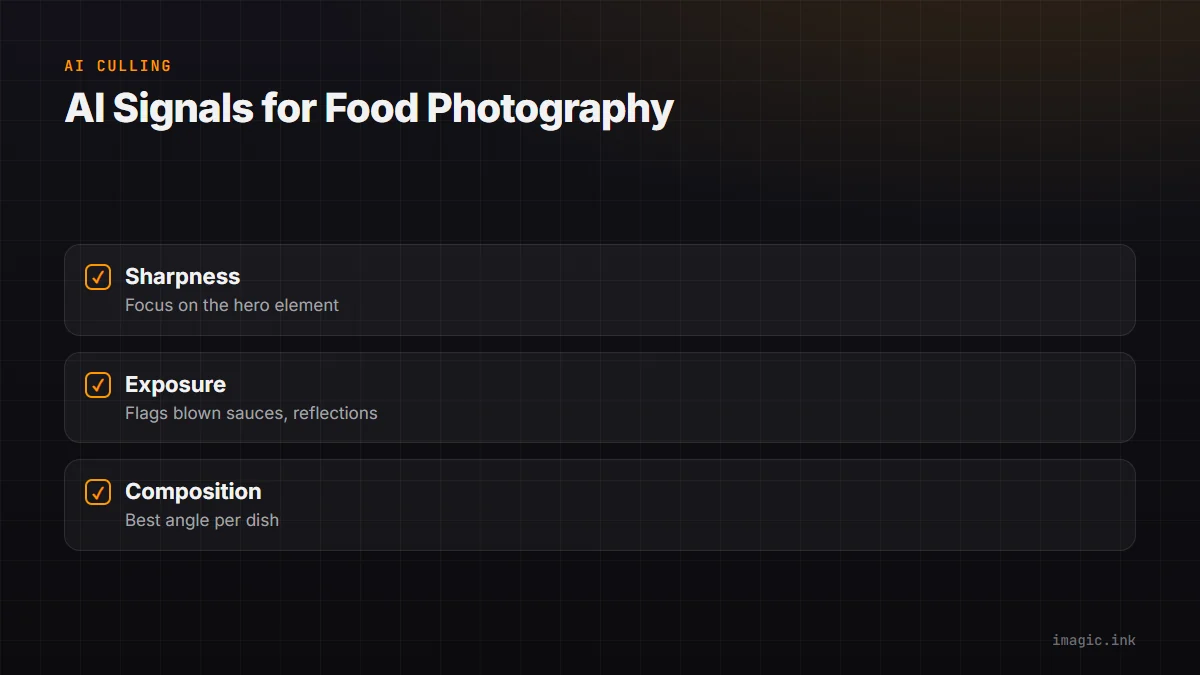
- Sharpness: Food photography requires sharp focus on the hero element. The sharpness score identifies frames where depth of field or autofocus didn't land correctly.
- Exposure: Food is often shot with bright, clean lighting. Overexposed highlights in creamy sauces or specular reflections on glassware are common issues — the exposure score flags these.
- Composition: For dishes shot from multiple angles, the composition score helps identify the most balanced frames for each setup.
White Balance for Food
White balance is critical for food color accuracy. A slight warm cast makes bread and pastries look more appetizing; a cool cast makes them look unappetizing. The baseline should be a custom white balance from a gray card or ColorChecker under your specific lighting setup. In RawTherapee, use the ColorChecker calibration module (via a Passport profile) to create a mathematically accurate color matrix for your specific lights and camera combination.
Color Vibrance vs. Saturation for Food
Saturation boosts all colors equally. Vibrance boosts muted colors more than already-saturated colors. For food photography:
- Use Vibrance (+10 to +20) rather than Saturation to enhance the natural colors of food
- Use targeted HSL adjustments to boost specific food colors: greens for salads, reds for meats, yellows for cheeses and pastries
- Reduce the saturation of backgrounds and props if they're competing with the food
Consistent Batch Processing
For a full menu shoot, group images by setup (same background, same lighting, same dish type). Create a RawTherapee processing profile for each setup that includes the correct white balance, base exposure, and vibrance settings. Apply via batch export from imagic's cull stage. Manual per-image adjustments are then limited to small variations in individual dishes rather than the entire color treatment.
Delivery Format for Food Photography
Restaurant clients typically need both web-optimized JPEGs (for social media and the website) and high-resolution files (for print menus and signage). RawTherapee can export both sizes from the same RAW file in a single batch pass. imagic's export workflow can route different file types to different output folders automatically.
Frequently asked questions
Why does food photography need more careful white balance than other genres?
Small color shifts read as unappetizing much faster in food than in other subjects: a slight cool cast makes bread and pastries look stale, while an inaccurate warm cast can shift sauces or meat toward an unnatural color. A ColorChecker-based custom white balance removes the guesswork.
Should I use Vibrance or Saturation for food colors?
Vibrance, generally. It boosts muted colors more than colors that are already saturated, which keeps skin tones on plates and neutral backgrounds from looking oversaturated while still making greens, reds, and yellows pop.
How does AI culling help with a large restaurant menu shoot?
imagic's sharpness, exposure, and composition scores let you pre-filter 200-500 frames from a full menu shoot down to the technically strongest angle per dish before you start color grading, which is where most of the time in a food shoot actually goes. See more workflow guides for other batch-heavy genres.