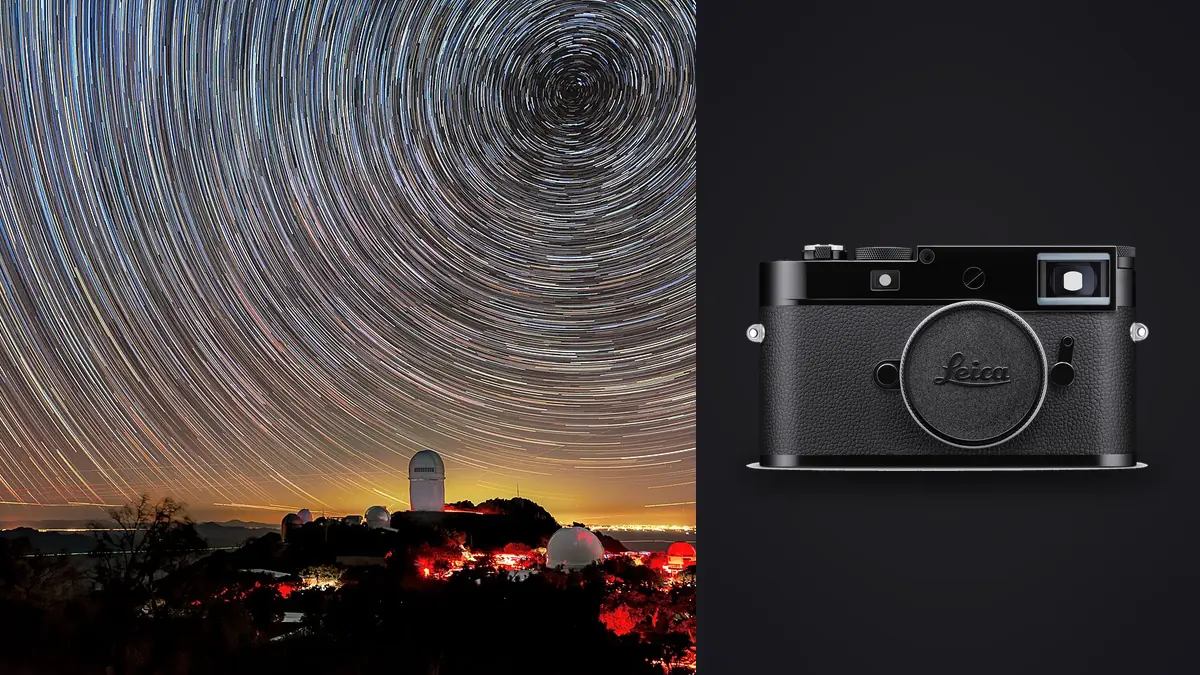
Nobody designs a $9,000 rangefinder with astrophotography in mind. There's no built-in intervalometer, no articulating screen, no autofocus, and a rangefinder patch that goes completely useless the moment you point it at a star field. And yet I've now run three separate nights of Milky Way stacking sessions with an M11 body and a couple of old M-mount primes, and the files that came out the other side of DeepSkyStacker were better than anything I'd gotten out of a Sony body with twice the "astro-friendly" feature list. This isn't a camera I'd recommend buying specifically for night sky work. But if you already own one, or you're weighing whether to drag it along on a dark-sky trip instead of buying a dedicated astro rig, here's what actually happens when you try.
Why bother with a manual rangefinder for this
The honest answer is lens quality and portability, not any feature purpose-built for astro. Leica's M-mount glass has minimal internal elements and coatings that were tuned for decades against exactly the failure mode that ruins night shots: veiling flare and chromatic fringing on point sources. A star is the least forgiving test target there is for a lens. Any coma smear, any purple fringing around Vega, any softness at the corners shows up instantly against a black background, and it doesn't hide the way it might in a daytime frame with more visual noise to distract from it. A well-collimated 35mm Summicron or a Voigtlander 15mm Super Wide-Heliar handles that test better than most autofocus zooms I've used, even ones costing twice as much.
The other reason is that the whole M-mount ecosystem is already built around manual focus, so you're not fighting a system that wants to hunt for contrast it can't find in a starfield. An autofocus lens in the dark is a lens that's going to rack back and forth looking for something to lock onto. A manual lens just sits where you put it. That's an advantage the M11 has by default, not by design.
Focusing on stars without a working rangefinder
The rangefinder patch is essentially decorative for this purpose. At infinity, the effective base length of the mechanism isn't precise enough to distinguish "close to infinity" from "actually at infinity," and a fraction of a millimeter of focus error at f/1.4 or f/2 is the difference between pinpoint stars and soft blobs. You have to use the rear screen.
The method that's worked for me: switch to Live View, find the brightest star or planet in frame (Jupiter or Vega work well), punch in with the digital magnification to the highest setting the M11 offers, and turn the focus ring until the point of light collapses to its smallest, tightest size. It takes longer than autofocus would, and the 2.95-inch fixed screen doesn't tilt, so on nights when I'm shooting low toward the horizon I end up crouched or lying on the ground to see it clearly. Once I've nailed focus, I put a strip of gaffer tape across the focus ring and the lens barrel so a stray bump doesn't undo twenty minutes of work.
One thing that caught me out the first winter I tried this: all-metal Leica lens barrels contract as the temperature drops through a session. A lens focused precisely at 9pm can drift measurably soft by midnight purely from thermal contraction, with no one touching the ring. I now recheck focus every 45 minutes to an hour on cold nights, which is tedious but cheap insurance against losing an entire stack to a slow drift nobody would notice frame-to-frame.
The missing intervalometer
This is the real gap. Star stacking depends on capturing dozens to hundreds of consecutive sub-exposures at a fixed interval, and the M11 doesn't have that built in anywhere in its menu system. Leica's FOTOS app gives you remote shutter release over Bluetooth, but it's a manual trigger, not a scheduled interval sequence, so it's not something you can set and walk away from for a two-hour stacking run.
What works in practice is a third-party mechanical intervalometer plugged into the M11's threaded cable release socket via a simple electronic release adapter. I've used a Neewer unit that cost under 30 euros and has been completely reliable across a dozen sessions. Set the interval, set the frame count, lock it in bulb mode, and walk away. It feels a little absurd running a budget accessory off a flagship rangefinder, but it's the only practical route to unattended sequences.
The other constraint worth knowing about before you commit to a long run: 60-megapixel DNG files are large, and buffer-to-card write time between frames matters more than it would on a lower-resolution body. If your interval is set tighter than the card can clear the buffer, you'll start dropping frames or getting inconsistent gaps in the sequence, which shows up as uneven star trail arcs if you're doing a trail composite, or as gaps in coverage if you're doing deep-sky stacking. A fast UHS-II card and an interval of at least 2 to 3 seconds longer than your exposure time has kept this from being a problem for me.
Picking a DNG resolution mode and matching your shutter speed to it
The M11's triple-resolution DNG (60, 36, or 18 megapixels) isn't just a storage-saving gimmick for this kind of work, it's a genuine noise-versus-detail tradeoff. Shooting at 36MP or 18MP bins photosites in-camera before the raw is written, which lowers per-pixel noise at the cost of final resolution. For wide Milky Way stacks where you're going to be stacking 40 to 80 frames anyway (and stacking itself suppresses noise through averaging), I default to 36MP. It gives me enough resolution for a large print while meaningfully cutting the visible grain in the individual subs I'm reviewing before I commit to a stack. Full 60MP is worth it only for close-in framing of a single bright target where you plan to crop hard afterward, and 18MP is mostly useful for star trail composites where per-frame noise floor matters more than final pixel count.
The other practical number is how long you can expose before star trailing becomes visible, which is tighter on this sensor than the old "500 rule" would suggest, because the pixel pitch on a 60MP full-frame sensor is small enough that motion blur shows up sooner than it would on a lower-resolution body. These are numbers from my own trial and error in the field, not a formula, so treat them as a starting point to test against your own tolerance for trailing:
| M-mount lens | Focal length | Max shutter before visible trailing (60MP mode) | Notes from the field |
|---|---|---|---|
| Voigtlander 15mm Super Wide-Heliar | 15mm | ~20 sec | Widest practical option for a full arch of the core; heavy corner vignetting wide open, stop to f/5.6 |
| Zeiss Biogon 21mm ZM | 21mm | ~14 sec | Cleanest corners of the three wides I've tried, minimal coma |
| Leica Super-Elmar-M 18mm | 18mm | ~16 sec | Sharp centrally, some field curvature that shows on stacked stars near the edges |
| Leica Summilux-M 35mm f/1.4 ASPH | 35mm | ~8 sec | Best for Milky Way with foreground interest close to camera; wide open coma is mild but present |
| Leica Noctilux-M 50mm f/0.95 ASPH | 50mm | ~6 sec | Gathers enormous light at f/0.95 but the exposure window is short; better suited to isolated star clusters than wide-field work |
At those shutter speeds and ISO 1600 to 3200, individual subs are underexposed by design. That's the point: you're not trying to get one perfect frame, you're building up signal across dozens of them in software afterward.
The stacking workflow I actually use
Nothing about the M11 changes the fundamentals of star stacking, it just changes how you get to the raw files. My routine: shoot 40 to 100 light frames at the settings from the table above, then immediately shoot 15 to 20 dark frames with the lens cap on at the identical ISO, shutter speed, and temperature (do this before you pack up and the camera warms up in the car, since dark frame noise is temperature-dependent). I run the light frames through Sequator for quick Milky Way composites where I want a fast look, and through DeepSkyStacker or Starry Landscape Stacker when I'm separating a static foreground from a tracked or stacked sky, since neither of those free tools care what camera produced the DNGs as long as they're standard raw.
Where the M11 workflow actually differs from a mirrorless body is upstream of stacking software entirely, in reviewing the take before you feed anything into a stack.
Culling a hundred nearly-identical star frames is its own problem
A two-hour interval sequence at, say, 90 exposures produces 90 DNGs that look almost indistinguishable at a glance, but aren't. Some will have the focus drift I mentioned earlier from barrel contraction. Some will have dew starting to bloom on the front element two-thirds of the way through the session (a real risk with exposed metal lens barrels on cold, humid nights, more than with modern lenses that run warmer or have hydrophobic coatings). Manually zooming into 90 60-megapixel files at 100% to check focus on each one is not a task I want to repeat every session.
This is where I've started leaning on imagic instead of doing it by eye. It scores sharpness locally on the actual pixel data rather than relying on in-camera focus confirmation (which the M11, being a rangefinder, doesn't even offer), so I can sort a full night's take by focus score and immediately isolate the handful of frames where the lens drifted soft partway through. It also clusters near-duplicate bursts, which matters here because a fixed-interval sequence is essentially one long burst by another name, and I don't need to see every frame's thumbnail to know which five are worth a closer look. Because the whole thing runs locally with no upload step, I'm not waiting on a connection to process a folder of 60MP raws that can run to 400MB+ per night, and I'm not putting unreleased shots on someone else's server before I've decided if the session was even any good. If you want the mechanics of how sharpness scoring and duplicate detection work under the hood, I wrote about it in more detail in how AI photo culling actually works.
Once I've got a clean set of subs picked out, I still hand the final blended composite off to a normal edit pass, and I've set up an apply_my_style preset in imagic trained on my own past night-sky edits (the color temperature and shadow lift I tend to reach for on Milky Way shots specifically). It's the same approach I lean on for matching an editing style automatically across a whole shoot, and it saves me from re-inventing the same curve adjustment every single time a new stack comes out of DeepSkyStacker looking flat.
Frequently Asked Questions
Does the M11's rangefinder patch work at all for focusing on stars?
Not reliably. The mechanical base length isn't precise enough at infinity to guarantee critical focus wide open, and you can't see a star clearly enough through the viewfinder patch to judge it anyway. Live View with digital magnification on the rear screen is the only method that's given me consistently sharp stars.
Can you actually do star stacking without a built-in intervalometer?
Yes, but you need a third-party accessory. A basic electronic cable release with an interval timer, connected through the M11's threaded shutter socket, does the job for well under the cost of most camera accessories. It's not elegant, but it's been reliable across every session I've used it on.
Which triple-resolution DNG mode is best for a Milky Way stack?
I shoot 36MP for most wide-field stacking. It bins pixels for a real noise reduction over full 60MP while still leaving enough resolution for a large print once you've stacked 40 or more frames. Full 60MP is worth reserving for tighter single-target shots where you plan to crop.
How many sub-exposures do you actually need before stacking is worth the trouble?
Diminishing returns set in somewhere around 40 to 60 frames for a typical Milky Way composite; you're trading total capture time against noise reduction, and past that point each additional frame buys you progressively less. For star trail composites where you're building an arc rather than suppressing noise, frame count is dictated by how long an arc you want, not by a noise floor.