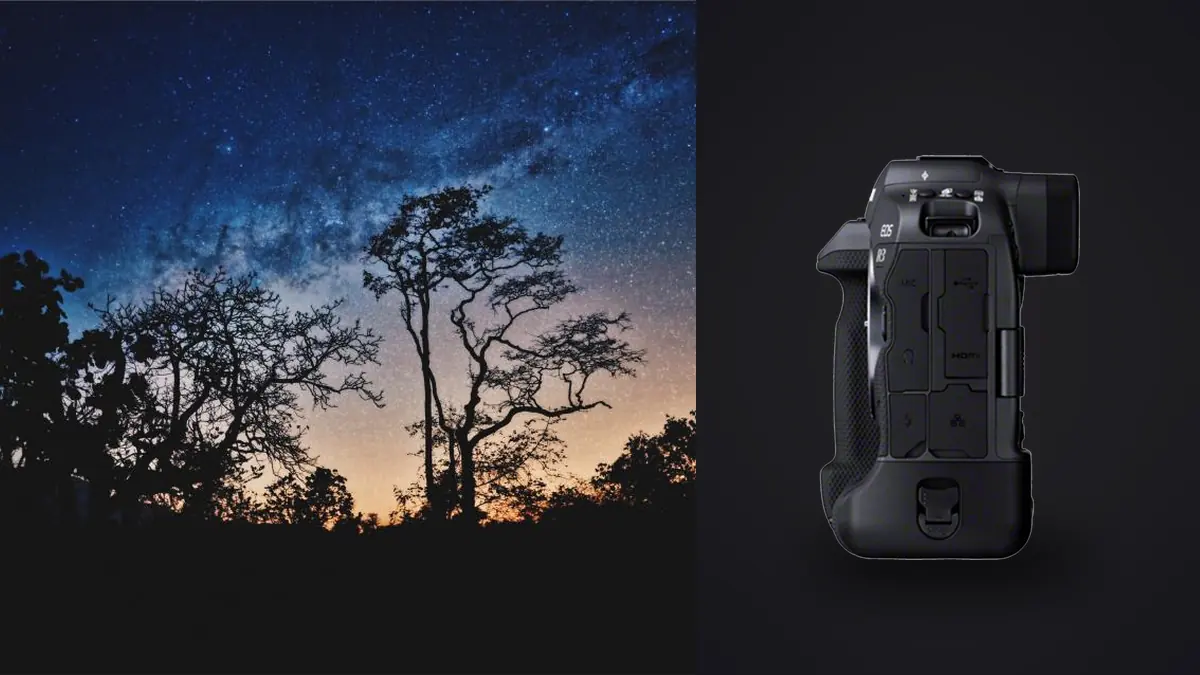
I took the Canon EOS R3 out for its first real dark-sky test in early spring, up a forestry track above 1,400 meters where the Milky Way core was still low but bright enough to throw a faint shadow off the dashboard. Two winters earlier I'd have brought an R6 and just accepted the noise in the shadows. With the R3 I found myself changing habits I'd built around older Canon bodies: shorter subs than expected, an ISO ceiling that felt almost reckless until I saw the stacked result, and an autofocus system that, for once, actually found a star on its own in near total darkness. What follows is a working writeup of what changed, what didn't, and the settings I've settled on after a dozen sessions with this camera under a tracker and off one.
Why the R3's Sensor Changes the Stacking Math
The R3 uses a 24.1MP stacked, back-illuminated sensor, which is a lower pixel count than most of Canon's current lineup and, for stacking purposes, that's a feature rather than a compromise. A 24MP full-frame sensor has a pixel pitch around 5.9 microns, noticeably larger than the roughly 4.4-micron pitch on a 45MP body. Bigger photosites gather more light per pixel at a given ISO, which means the raw shadow noise in each individual sub is already lower before you've stacked a single frame. In practice that translates to needing fewer subs to hit a clean result, or being able to push ISO further than I would on a higher-resolution body without the stack falling apart into color noise.
The stacked sensor design also gives the R3 a genuinely fast readout, which matters more for astro than it sounds. Rolling shutter distortion is close to a non-issue, and the electronic (fully silent) shutter is usable for star work without the banding you sometimes get from LED light pollution or a dashboard display bleeding into frame. I now shoot electronic shutter by default at trailheads with any ambient artificial light nearby, mechanical only when I'm worried about star-eater style in-camera processing quirks on very long single exposures.
The autofocus system is the other genuine surprise. Canon rates the R3's AF sensitivity down to about -7.5 EV in low-light AF mode, and I've had it lock directly onto Vega or Arcturus through the viewfinder rather than forcing me through the usual routine of manual focus, 10x zoom, and fine-tuning by eye on a dim rear screen. It's not perfect on dimmer stars or in heavy haze, and I still confirm with focus peaking before I commit to a sequence, but it's cut my setup time on a cold night by a good five minutes, which matters when you're losing feeling in your fingers.
Picking Your Subs: Exposure, ISO, and Frame Count
The old 500 rule (500 divided by focal length for maximum exposure before star trailing) was written for cameras with far less resolving power than a modern full-frame body, and it doesn't hold up well on the R3 either, just in the opposite direction from what you'd expect. Because the pixel pitch is relatively forgiving, I get away with slightly longer untracked exposures at a given focal length than I did on my R5, sometimes an extra second or two before trailing becomes visible at 100% crop. I still don't push it much past 10-13 seconds at 20mm on a wide lens, because "technically not visibly trailed" and "actually sharp enough to stack cleanly" aren't the same standard.
Here's roughly what I actually dial in depending on the target, based on sessions over the past few months:
| Target | Lens / aperture | ISO | Single exposure | Subs shot | Total integration |
|---|---|---|---|---|---|
| Milky Way core, untracked | RF 15-35mm f/2.8 @ 15mm | 6400 | 8 sec | 40 | ~5.3 min |
| Milky Way core, tracked (Star Adventurer 2i) | RF 15-35mm f/2.8 @ 20mm | 3200 | 90 sec | 25 | 37.5 min |
| Andromeda, tracked + guided | RF 100-400mm @ 400mm, f/5.6 | 1600 | 120 sec | 40 | 80 min |
| Star trails (additive, not integration) | RF 15-35mm @ 16mm, f/4 | 800 | 30 sec | 240 | ~2 hr |
| Aurora, fast-moving structure | RF 24mm f/1.8 Macro IS STM | 4000 | 2 sec | continuous burst | variable |
The Andromeda row is the one people underestimate. At 400mm even a decent tracker without autoguiding will drift enough over 120 seconds to soften the core of the stack, and I lose more subs to guiding error there than to anything else on this list. Below about 50mm I don't bother guiding at all; the R3's tracking accuracy on a lightweight mount is good enough over a 90-second sub that the drift is smaller than the pixel pitch can even register.
Tracked vs Untracked: What Actually Changes with the R3
Untracked wide-field is where the R3 earns its keep for anyone shooting from the car park rather than hauling a full rig up a hill. Because the files are cleaner at ISO 6400 than a 45MP sensor's equivalent files, an untracked 40-sub stack at f/2.8 gives me a foreground and sky combination that needs noticeably less noise reduction in post than the same sequence shot on higher-resolution bodies I've used. That matters because heavy noise reduction on a stacked file tends to smear fine star detail into mush, so starting from a cleaner base file actually shows up in the final image.
Tracked work is where the LP-E19 battery in the grip becomes a real advantage over anything I've shot with a smaller battery body. A full night of guided deep-sky imaging with the intervalometer running continuously, live view active for focus checks, and the rear screen periodically lighting up to review frames will drain a smaller battery in under two hours in cold weather. The R3's grip battery has gotten me through four-plus hours at low single digits Celsius without a swap, which is one less thing to manage with cold fingers and a headlamp.
Where a Night Like This Turns Into a Cull
A tracked deep-sky session or a two-hour star trail sequence leaves you with somewhere between 200 and 400 RAW files by the time you pack up, and a meaningful chunk of them are unusable: frames with periodic tracking error, a satellite or plane streak through the frame, dew fogging the front element after the temperature drops, or a headlamp beam from another photographer blowing out the foreground. Scrubbing through that many nearly-identical frames on a laptop screen at a trailhead, on battery power, with no signal, is genuinely tedious, and it's exactly the kind of task I've stopped doing by hand since running the sequences through imagic first.
The useful part for this specific workflow is that a night of star subs looks, to any culling tool, almost exactly like a long burst sequence: dozens of frames that are visually near-identical but differ in the details that actually matter, sharpness, a stray trail, a foggy corner. imagic's local sharpness and focus scoring flags the soft frames from wind-shaken tripods or dew fogging almost immediately, and the duplicate and burst clustering groups the sequence into a handful of tight clusters instead of forcing you to compare 300 individual thumbnails one at a time. If you haven't looked at how AI photo culling actually works under the hood, it's worth understanding before you trust it with a whole night's shoot. Because it runs entirely offline, it's also usable at the site itself, which matters more for astro than almost any other genre, since you're out there specifically because it's dark and remote, which usually also means no signal.
Calibration Frames: What the R3 Needs (and Doesn't)
I turn off Long Exposure Noise Reduction in-camera for anything I'm going to stack, since it doubles the capture time by shooting an internal dark frame after every light frame, and that's wasted time when you're doing dark subtraction properly in software anyway. Instead, at the end of a session I shoot 20-30 dark frames with the lens cap on, matching ISO and exposure time to the lights, ideally before the ambient temperature has shifted much from when the lights were captured, since sensor thermal noise on any camera is temperature-dependent. Flats come from a T-shirt stretched over the lens against a lit phone screen, or a proper flat panel if I remembered to pack it, to catch the vignetting from the RF 15-35 at f/2.8 wide open. Bias frames at the fastest shutter speed round it out. None of this is R3-specific; the sensor doesn't need special handling compared to other Canon bodies, and the standard calibration routine from any DSLR or mirrorless astro guide applies without modification.
Stacking Software: Sequator, DeepSkyStacker, or Starry Landscape Stacker
For untracked Milky Way stacks with a foreground, I use Sequator on Windows because its sky-versus-ground masking handles a horizon line reasonably well without much manual tweaking, though it still needs a manual mask touch-up when there's a tree line or jagged ridge involved. For tracked deep-sky work I move to DeepSkyStacker, which handles the dark, flat, and bias calibration properly and gives more control over the stacking algorithm (I use Kappa-Sigma clipping to reject the satellite trails and cosmic ray hits rather than averaging them into the noise floor). On a Mac, Starry Landscape Stacker does a similar job to Sequator with slightly better handling of foregrounds that include moving elements like grass or water. All three want the RAW files fed in directly rather than pre-converted TIFFs; converting first throws away the bit depth headroom you actually need for a clean stack.
For star trails specifically, the process isn't integration at all, it's additive blending in Photoshop or StarStaX, stacking with a Lighten blend mode so each frame's star positions accumulate into arcs rather than averaging down into a single sharp point. That's why the star trail row in the settings table above uses a much shorter total exposure per sub and a much higher frame count than the deep-sky rows; you're not trying to gather light efficiently, you're trying to record enough discrete positions to draw a smooth arc.
Getting a Consistent Look Across a Season of Nights
Once you're a few months into shooting the same ridge or the same stretch of dark sky, you end up with a folder of finished stacked images edited across different nights, different moods, and honestly different levels of patience at 2am. They rarely match each other in the way a proper portfolio should. What's worked for me is building a set of edits I'm genuinely happy with, the way I pull down highlights on the airglow, the teal-to-magenta balance I lean toward in the core, and training imagic's apply_my_style feature on those. Because it's trained on my own edits rather than a generic preset pack, applying it to a fresh stacked TIFF gets me most of the way to a matching look before I do any fine adjustment by hand, which has done more for the consistency of my astro portfolio than any single editing technique. It's also, again, fully local, so a laptop with no connection at a remote site can still apply that trained look the same night the files come off the card.
If your broader capture-to-edit routine still involves a lot of manual sorting before you even get to the creative work, it's worth reading through some general workflow tips for cutting that overhead, most of which apply just as directly to a folder of 300 star subs as they do to a wedding or event shoot.
Frequently Asked Questions
Do I need to shoot at the R3's full 24 megapixels for star stacking, or does cropping help?
Shoot full frame. Cropping in-camera throws away the larger pixel pitch that makes the R3 clean at high ISO in the first place, and you can always crop the finished stack in post with no quality penalty since you're stacking dozens of frames into one file anyway. The only reason to crop in-camera is if you're chasing frame rate for a burst-mode aurora sequence, where a smaller sensor readout area can bump your fps.
Is the R3's electronic shutter actually usable for stacked deep-sky subs?
Yes, and I use it as the default for tracked sequences now. The stacked sensor's fast readout avoids the banding that plagued electronic shutter on older Canon bodies under artificial light, and the reduced vibration compared to the mechanical shutter helps on longer telephoto subs where even shutter shock can soften a frame slightly. The one place I still switch to mechanical is very long single exposures past a few minutes, mostly out of habit rather than a measured difference.
How much does the in-body stabilization actually help for untracked astro shots?
Not much, and that's expected. IBIS is built to counter handheld shake at fractions of a second, not the earth's rotation over an 8-13 second exposure on a tripod. I leave it off for tripod-mounted star shots since there's a small chance of IS motors introducing their own micro-vibration on a static, already-stable setup. Where it does help is handheld aurora bursts at wider apertures and shorter shutter speeds, which is a different shooting style entirely.
What ISO ceiling should I actually use on the R3 before the stack falls apart?
For untracked wide-field work I don't go past ISO 6400 even though the camera is technically usable well beyond that; past that point the extra noise in each sub costs more stacking benefit than it gives back in signal. For tracked deep-sky subs with longer individual exposures, I drop to ISO 1600-3200, since the longer exposure time is already doing the work that a higher ISO would otherwise be compensating for. The extended ISO range above 102400 isn't something I've found a real use for in stacking; it's there for extreme low-light single frames, not for building a clean integration.