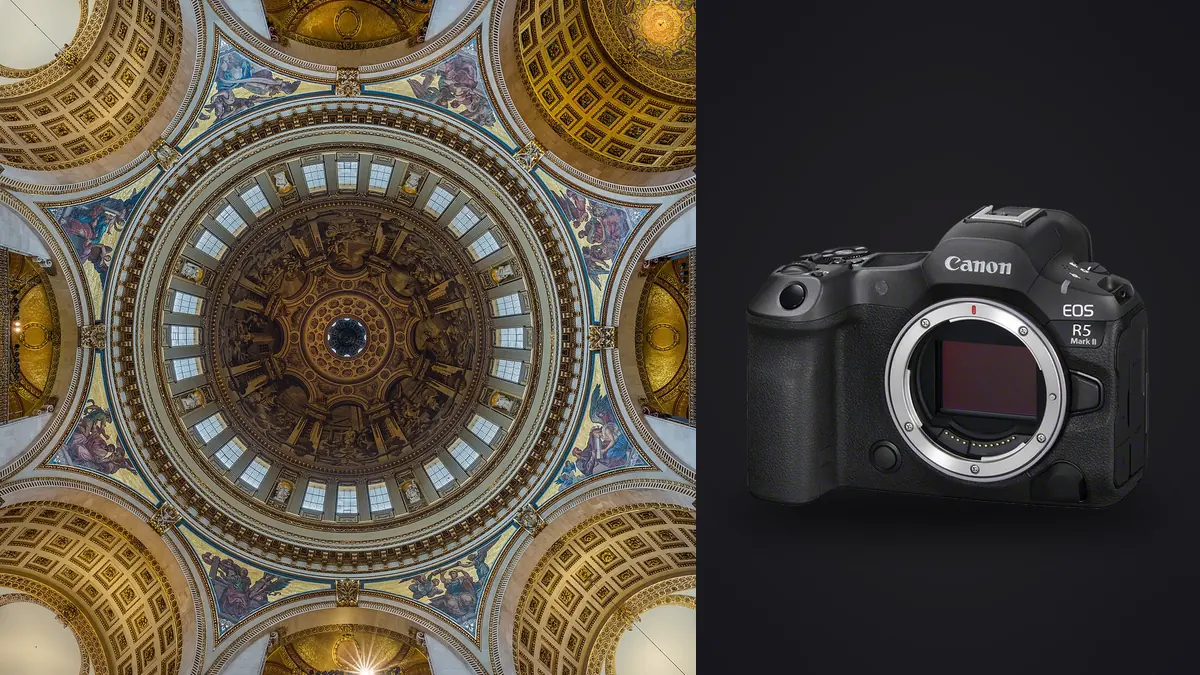
The first time I brought the Canon EOS R5 Mark II onto a real interior job, a narrow mid-century living room with a wall of west-facing glass, I wasn't testing autofocus speed or burst rate. I was testing whether the sensor could hold detail in both the fireplace brick in shadow and the eucalyptus outside the window without me stacking six exposures by hand. That's the entire game in architectural and interior work: dynamic range, resolution you can crop into, and a body that doesn't fight you when the light in a room is uneven, which it almost always is.
I want to walk through how the R5 Mark II actually behaves on interior and architectural shoots, not the marketing bullet points, and where it genuinely changes the workflow versus the older R5 or a Nikon Z8, which is the camera most of my colleagues shooting real estate and hospitality interiors are also carrying right now.
Resolution is a lighting tool before it's a print tool
45 megapixels sounds like a spec for billboard printing, but on interior jobs it's actually a lighting shortcut. When you're shooting a hotel suite and the client wants both the wide establishing shot and a tight crop on the headboard detail for a different use (web banner versus print collateral), you'd normally need to reposition and relight for the tight shot. With this sensor, I shoot the wide at f/8 and crop into it for 80% of the "detail" requests instead of re-rigging lights. The files hold up at 100% crop far better than the 45MP figure alone suggests, mostly because Canon's back-illuminated stacked design keeps noise controlled even when I'm underexposing the window by a stop to protect highlight detail outside.
That underexposure habit matters more here than in any other genre I shoot. Interior work almost always means a huge exposure gap between the interior ambient and whatever daylight is coming through glass. On the R5 II I meter for the highlights outside the window and pull shadow detail up in post rather than the reverse, and the sensor has enough headroom that a two-stop shadow lift on the far corner of a room doesn't turn into visible noise the way it did on cameras I used five years ago.
Where the resolution doesn't help
It's worth saying plainly: 45MP does nothing for you if your verticals are converging or your horizon is tilted two degrees. I still see photographers assume a higher-res sensor "fixes" composition problems in post. It doesn't. It just gives you a bigger, sharper version of the same mistake. Use the electronic level in the viewfinder, actually look at it, and get the camera square to the walls before you fire.
The window-pull bracket, and what I actually set
Almost every interior with natural light coming in needs a bracketed exposure blend, what most of us just call a window pull. The R5 II's auto exposure bracketing goes wider per frame than I need most of the time, so I've settled into a few presets depending on the room rather than using one blanket setting for every space. Here's roughly what I dial in, based on how bright the exterior view actually is relative to the room:
| Room condition | Base ISO | Aperture | Bracket spread | Frames |
|---|---|---|---|---|
| Bright exterior, small windows (bathroom, hallway) | 100 | f/8 | 2 EV | 3 |
| Living space, floor-to-ceiling glass, midday sun | 100 | f/9 | 2 EV | 5 |
| Overcast exterior, moderate glazing | 100 | f/8 | 1.3 EV | 3 |
| Evening interior, mixed tungsten and blue hour | 400 | f/6.3 | 1 EV | 3 |
| Dim interior, no usable window light | 800 | f/5.6 | 1 EV | 3 |
Five frames instead of three sounds excessive until you've tried to blend a two-frame bracket in a room with direct sun hitting a white wall. You need that middle exposure to avoid a visible seam where the blend software guesses wrong. The buffer on the R5 II eats a five-frame RAW bracket without any pause, which wasn't true on some of the older bodies I used to rent for this exact reason.
In-camera focus bracketing beats stopping down to f/16
For years the standard advice for architectural interiors was to stop down to f/11 or f/16 for depth of field front to back, room to window. I still do that for quick shots, but on anything where the room is deep, a long dining hall or a gallery space, diffraction starts softening fine detail at f/16 in a way that's visible once you're pixel-peeping a 45MP file. The R5 II's built-in focus bracketing mode lets me shoot a stack at f/8, where the lens is actually at its sharpest, and blend for depth in post instead.
In practice I set the camera to eight or nine frames with a moderate focus increment, focus on the nearest foreground element I want sharp, and let it step through the stack automatically. It takes maybe four seconds longer than a single frame at f/16 and the resulting composite is noticeably crisper in the midground, where most interior compositions put the furniture that actually sells the room. The tradeoff is you now have eight to nine files per angle that need to get blended and the rest culled, which is a real time cost if you're doing it manually across forty camera positions in a day.
Lenses: what's actually native, and what you'll still adapt
The RF mount has good wide options for interiors now, the RF 14-35mm f/4L is what lives on my camera for most walkthrough work, and the RF 16-35mm f/2.8L if I need the extra stop for a dim stairwell. But if you do true architectural work where converging verticals matter, meaning actual shift capability rather than just correcting in Lightroom, Canon still hasn't shipped a native RF tilt-shift lens as of this writing. My TS-E 24mm f/3.5L II and TS-E 17mm f/4L both still ride on the EF-to-RF adapter, and they work fine, full electronic communication, no autofocus loss since these are manual-focus lenses to begin with.
| Lens | Mount | Best for | Downside |
|---|---|---|---|
| RF 14-35mm f/4L IS | Native RF | Fast repositioning, walkthrough video, tight rooms | No shift, correcting verticals crops the frame |
| RF 16-35mm f/2.8L | Native RF | Low light interiors, exteriors at dusk | Heavier, more distortion at 16mm than the f/4 |
| TS-E 24mm f/3.5L II | EF via adapter | True perspective control, large rooms | Manual focus, manual everything, slower per shot |
| TS-E 17mm f/4L | EF via adapter | Tight interiors, small bathrooms, stairwells | Extreme distortion if not leveled precisely |
The honest answer for most residential and hospitality shoots is that the RF 14-35mm gets used 80% of the time because it's faster to work with, and the tilt-shift comes out for the hero shots the client is actually going to print or run as a magazine spread. Correcting perspective digitally on a 45MP file still leaves you plenty of resolution after the crop, which is another place the sensor size earns its keep.
Shooting quietly while people are still working around you
A lot of interior and architectural work happens on occupied job sites or in hotels that are still operating. The electronic shutter on the R5 II is genuinely usable for this in a way it wasn't on the original R5, because the stacked sensor's fast readout keeps rolling shutter distortion low even if someone walks through the shot or a ceiling fan is turning. I shoot fully silent for hotel lobby and restaurant work now, no mechanical shutter clack while staff are trying to operate around me, and I haven't run into the banding or skew problems that used to make me distrust electronic shutter around fluorescent or LED fixtures. The camera's anti-flicker detection catches most of the mismatched LED panels I run into in commercial spaces, which used to show up as uneven horizontal banding across a frame before I'd notice it on the back of the camera.
Where mechanical shutter still wins
I still switch back to mechanical for anything with strong reflective surfaces in motion, like water features or glass elevators, since I've had one or two frames with subtle banding under specific LED dimmer settings that a mechanical shutter avoids entirely. It's rare, but on a job where I'm not going back for a reshoot, I'd rather not gamble.
The part nobody mentions: what happens after the shoot
Here's the thing the spec sheets don't tell you. A single day of interior work with five-frame brackets and eight-frame focus stacks across thirty-five camera setups leaves you with somewhere north of one thousand RAW files, most of which are near-duplicates of each other by design. That's not a complaint about the camera, it's just the nature of bracketing and stacking, but it means the culling step is now the actual bottleneck in your day, not the shoot itself.
This is where I stopped trying to do it by eye in Bridge or Lightroom and moved that part of my workflow to imagic. It runs the sharpness scoring locally on the machine, no upload, which matters because interior clients such as developers and hospitality brands often don't want unreleased property photos touching a cloud service before launch. It also groups the exposure brackets and focus stacks into clusters automatically, so instead of scrolling through nine nearly identical frames per stack trying to remember which one was the sharpest on the countertop, I get the stack grouped with the sharpest frame flagged and I'm picking blend candidates in a fraction of the time. If you haven't looked at how that kind of automated grouping actually works under the hood, the breakdown at how AI photo culling works covers the duplicate-detection logic in more depth than I will here.
The other piece that's specific to architectural work is consistency across a project. A hotel shoot might span twelve rooms shot over two days in different light, and the client expects the whole gallery to look like one coherent set, not twelve slightly different color treatments. I built a preset in imagic off my own past edits using the apply_my_style feature, trained on a batch of interiors I'd already finished and was happy with, and now new shoots come in close to my finished look before I touch a slider. It's not a substitute for actually grading each room, window light and tungsten mixed light behave differently enough that you still need manual correction, but it cuts the starting-from-zero time on every single folder.
A day's storage math, because it catches people out
A 45MP RAW file off this camera runs somewhere in the 55 to 65MB range depending on scene complexity. On a day where I'm doing five-frame brackets and occasional nine-frame focus stacks across thirty-plus setups, I'm regularly clearing 150 to 200GB before I've even started video coverage for a walkthrough reel. I run a CFexpress card as primary and the SD slot as an overflow or immediate backup rather than trusting a single card on a shoot I'm not driving back to reshoot. If you're coming from an older body and used to interior days generating 40 to 50GB, budget differently for this camera, or you'll be swapping cards mid-shoot at the worst possible moment, usually right as the light you were waiting on finally arrives.
None of this is unique to architectural photography specifically, high-volume bracketing work in any genre creates the same pile-up, but interiors push it further than most because you're stacking two techniques, exposure bracketing and focus bracketing, on top of each other for a lot of frames. If your current culling routine is built around eyeballing thumbnails, it's worth reading through the faster workflow tips before your first big commercial interior job, because the habits that work fine for a 200-frame wedding gallery fall apart at 1,200 near-duplicate architectural frames.
Frequently Asked Questions
Is 45 megapixels overkill for interior and architectural photography?
Not for commercial or hospitality work where clients repurpose the same shot for print collateral, web banners, and social crops from a single capture. It's more than most residential real estate listings need, but if you're delivering to a design firm or hotel brand that wants flexibility across formats, the extra resolution buys you cropping room instead of extra lighting setups.
Do I need the tilt-shift lenses, or is perspective correction in software good enough?
For casual real estate work, software correction on a high-resolution file is genuinely fine. For architecture you're delivering as hero images or print spreads, a tilt-shift lens gets you cleaner corners and less resolution loss from cropping, because you're not throwing away pixels to straighten lines after the fact. I use both depending on the job's budget and how much the final image will be scrutinized.
Should I shoot electronic or mechanical shutter for occupied interiors?
Electronic, most of the time, specifically because it's silent and the stacked sensor keeps rolling shutter artifacts low even with people moving through frame. I only fall back to mechanical around strong reflections or unusual LED dimming setups where I've personally seen banding, which is uncommon but worth testing on a new location before you commit to a full day of electronic-only shooting.
How do you manage culling when every setup produces eight or nine near-identical frames?
Manual review doesn't scale past a certain shoot size. I lean on imagic's local sharpness scoring and burst clustering to group the brackets and stacks automatically and surface the sharpest candidates first, which turns a multi-hour culling session into something I can finish the same evening instead of losing a day to it before editing even starts.