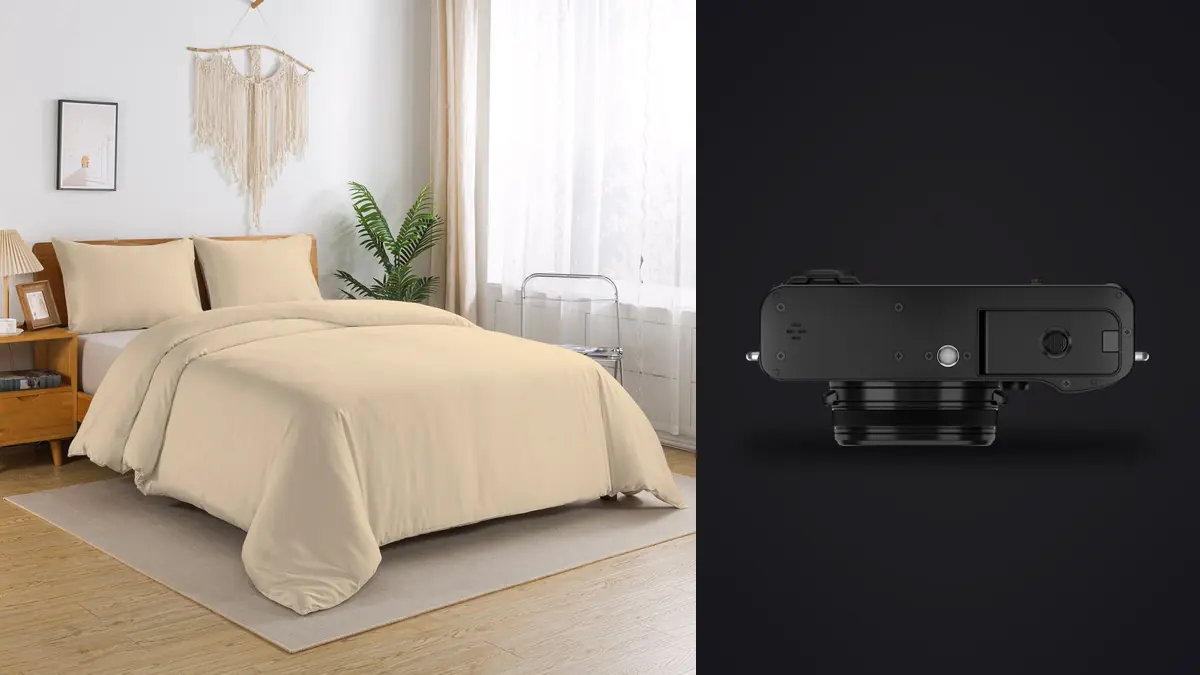
The Fujifilm X100VI combines a 40.2-megapixel APS-C sensor, fixed 23mm f/2 lens with a 35mm-equivalent view, in-body stabilization, a leaf shutter, built-in four-stop neutral-density filter, and hybrid optical-electronic viewfinder. For boudoir and intimate portraiture, that compact design can make a room feel less equipment-heavy. It also imposes a perspective: tight framing requires the photographer to move close, and moving close changes facial and body proportions.
Advanced use means turning the fixed lens into a consistent visual language rather than treating it as a zoom that happens not to move. It also means building consent, privacy, lighting, and file handling into the session. The X100VI can be discreet, but discretion must never become ambiguity about what is being photographed or where files will go.
Troubleshoot a fixed-lens boudoir frame
Troubleshooting X100VI boudoir photographs requires separating perspective from focus and motion. If features near the frame edge look stretched, increase camera distance and crop more loosely instead of changing focus settings. If the room stays sharp while the subject moves, raise shutter speed despite stabilization. If flash exposure varies, inspect leaf-shutter timing and recycle rather than adding compensation at random. If bright ambient light forces an unwanted aperture, confirm the built-in ND state. Treat privacy errors as workflow failures too: verify card handling, wireless settings, review visibility, and approved file destinations before continuing the session.
Use the fixed view as a session design constraint
A 35mm-equivalent lens naturally includes environment. It works well for a person within a bedroom, studio corner, window alcove, or carefully arranged set. It is less naturally suited to a tight headshot made from very close range. If the camera moves too near, the closest features become disproportionately large and body lines can stretch toward the edges.
Mark useful camera distances during setup. One position can produce an environmental full figure, another a three-quarter portrait, and a carefully chosen closer position can make a waist-up frame without distorting the face. Move the subject or redesign the composition when the room does not provide enough distance; do not solve every frame by stepping forward.
The high-resolution sensor allows a moderate crop, but cropping should refine a planned frame. The digital teleconverter previews tighter views by using fewer pixels; it does not change perspective. A true portrait perspective comes from camera-to-subject distance, so settle that distance first and crop second.
Keep faces and limbs away from stretched edges
Wide environmental portraiture makes edge discipline essential. A hand extended toward a corner can appear much larger than the face. A foot near the bottom edge can lengthen dramatically. These effects may suit an expressive editorial frame, but they should be intentional.
Place the face and critical body lines nearer the central region for conventional rendering. Use the room's architecture, curtains, bedding, or shadows to carry the outer frame. When making a low angle, check the relationship between the nearer knee, hands, chin, and lens. Small height changes often correct proportion without changing the entire pose.
Review frame edges before asking for expression. Remove bright outlets, partial furniture, clipped fingers, and objects that seem to grow from the body. The fixed lens encourages working the composition physically, which is an advantage when that movement remains calm and clearly communicated.
Make the leaf shutter part of the lighting plan
The X100VI uses a leaf shutter in its fixed lens. It can synchronize flash at shutter speeds beyond the conventional limits of many focal-plane shutters, within the camera and flash system's supported behavior. That flexibility helps balance a bright window with a soft flash source or keep ambient light under control without relying only on aperture.
Test the exact trigger and flash at the planned shutter, aperture, and power. A flash at high output may have a duration or recycle pattern that produces uneven frames even when synchronization is technically allowed. Lower power, bring a larger diffused source closer, or slow the shooting rhythm to keep output stable.
The leaf shutter is also quiet. Quiet operation can support a relaxed room, but it may remove the audible cue that a frame was made. Tell the subject when shooting begins and ends, and keep a visible or verbal rhythm. Silence should improve comfort, not make capture uncertain.
Use the built-in ND filter to preserve the chosen aperture
The four-stop neutral-density filter reduces incoming light without changing color by design. In a bright room, it can allow a wider aperture or a shutter setting compatible with the intended flash and ambient balance. It is particularly useful when window light is part of the scene and the photographer wants shallow depth without overexposure.
ND does not create dynamic range and does not reduce the contrast between a bright window and a dark interior. It lowers all incoming light. To change the ratio, adjust blinds, move the subject, add fill, or alter the source. Treat the filter as an exposure control, not a recovery tool.
Assign ND activation to a control that is easy to verify and difficult to trigger accidentally. When it remains enabled after the light drops, Auto ISO or shutter speed may compensate invisibly. Check the icon and exposure state whenever moving between sets.
Separate camera shake from subject movement
In-body stabilization helps when the camera is handheld in dim light. It does not freeze breathing, hair, hands, or fabric. Choose shutter speed for the movement in the pose, then let stabilization reduce the photographer's residual motion.
For a static portrait, use single-point or face-and-eye autofocus and verify the nearest important eye. For a slow turn or step, use continuous autofocus and ask the subject to finish on a mark. A short pause at the endpoint gives the focus system a clean moment without making the movement look rigid.
At f/2 and close distance, the nearer eye and far eye may not share the same plane. Turn the face slightly, stop down, or choose one eye deliberately. The 40.2-megapixel file makes a focus miss easy to see; it does not expand depth of field.
Choose the optical or electronic viewfinder for the interaction
The optical finder keeps a view beyond the bright frame and can make timing feel immediate. Its framing has parallax at close distance, so edges and exact subject placement require attention. The electronic finder previews the recorded framing, exposure, and focus more directly, which is safer for close composition and low light.
Use the rear screen for a low or high angle when it improves body lines, but avoid turning every frame into screen-based inspection. Maintain eye contact between sequences and explain camera movement before changing position. Intimate portraiture depends on communication more than on a particular finder.
Keep display brightness consistent. An overly bright screen in a dim room can make underexposed files look complete. Check the histogram and highlight warning, especially on pale skin, satin, mirrors, and window edges.
Build soft light without crowding a small room
A broad window, bounced flash, or diffused continuous light can establish the main shape. Keep stands and cables out of paths and out of reflected surfaces. The compact camera saves space only if the lighting kit does not fill every route around the subject.
Use negative fill to restore contour in a pale room. A black fabric or flag placed outside the frame can deepen one side without increasing global contrast in editing. A white reflector can open a shadow. Move these tools rather than asking the subject to twist into the light uncomfortably.
Mirrors deserve a full inspection. Check the reflected camera, source, stand, doorway, and body line. The 35mm-equivalent view includes more room than a long portrait lens, so equipment placement must be planned from both direct and reflected angles.
Keep color and texture intentional
Fujifilm film simulations can provide a useful preview and may be part of a JPEG delivery. For RAW work, choose a consistent preview, lock white balance for each lighting setup, and record a neutral reference. Auto white balance can drift as the frame includes more wall, bedding, skin, or colored clothing.
Do not make skin brittle with excessive clarity or sharpening simply because the sensor resolves fine detail. Establish tone and color first. Preserve fabric texture where it matters, and use a dedicated retouching tool for work beyond global, non-destructive adjustments.
imagic can apply a style learned from the photographer's own edits, assess technical quality, and group nearby duplicates locally. It does not provide layers or detailed retouching. Use its result as a starting point and export approved JPEG or TIFF files only after a careful privacy review.
Make privacy part of camera and card handling
Agree on wardrobe boundaries, poses, attendees, publication, and delivery before capture. Permission for a private gallery is not permission for a portfolio. Reconfirm when the session moves into a more revealing look or a different use is proposed.
The X100VI records to a single UHS-I SD slot, so the camera does not provide an in-body second-card backup. Use reliable media, avoid filling the card to its limit, and copy the session to two controlled local destinations before formatting. Keep the card in direct possession until that verification is complete.
Disable wireless transfer when it is not part of the agreed workflow. Use neutral folder names when discretion matters, protect access to previews, and separate portfolio candidates from private delivery. The photos should never appear on another device merely because an automatic connection was left enabled.
The local desktop workflow explains on-computer review, and Guides includes related portrait preparation.
Plan wardrobe transitions around the unchanged viewpoint
A fixed lens makes visual continuity easy to see. When wardrobe changes from a simple silhouette to layered fabric, the same camera distance may no longer show the garment clearly. Review each look for volume, reflective surfaces, and details that need a separate frame before the subject changes.
Keep a small sequence map rather than repeating identical compositions. One look may need the full room, another may benefit from a profile against the window, and a detailed fabric may need a moderate crop from a carefully controlled distance. The lens remains fixed, but camera height, subject position, and background can change the visual rhythm.
Capture a safe orientation pair for every agreed look. The compact camera encourages spontaneous movement, yet album and editorial layouts still need predictable coverage. Confirm horizontal and vertical files before dismantling the lighting or changing wardrobe.
Advanced X100VI session checklist
- Confirm consent, wardrobe boundaries, publication rights, and who may be present.
- Mark camera distances for environmental, three-quarter, and closer views.
- Keep faces, hands, and feet away from stretched corners unless exaggeration is intentional.
- Test leaf-shutter flash behavior and recycle at the exact exposure.
- Verify whether the built-in ND filter is active after every lighting change.
- Choose shutter speed for subject movement; stabilization is support only.
- Lock white balance and capture a neutral reference for each setup.
- Inspect direct and reflected frame edges before refining expression.
- Make two verified local copies before reusing the single card.
Frequently asked questions
Is the X100VI lens too wide for boudoir?
It is well suited to environmental and three-quarter portraits when camera distance is controlled. Very tight views made too close can exaggerate faces and limbs, so crop moderately or choose a different camera for repeated headshots.
Does the built-in ND filter soften the background?
It reduces light, which may allow a wider aperture in bright conditions. The aperture and camera distance create the depth effect; the filter itself does not change depth of field.
Can stabilization replace flash in a dim room?
It can reduce camera shake for a still pose, but it cannot freeze the subject or shape light. Use an appropriate shutter and add or modify light when movement and direction require it.
Is one SD card safe enough for a private session?
The camera has one card slot, so careful media and immediate backup habits are essential. Keep the card controlled and create two verified local copies before formatting it.