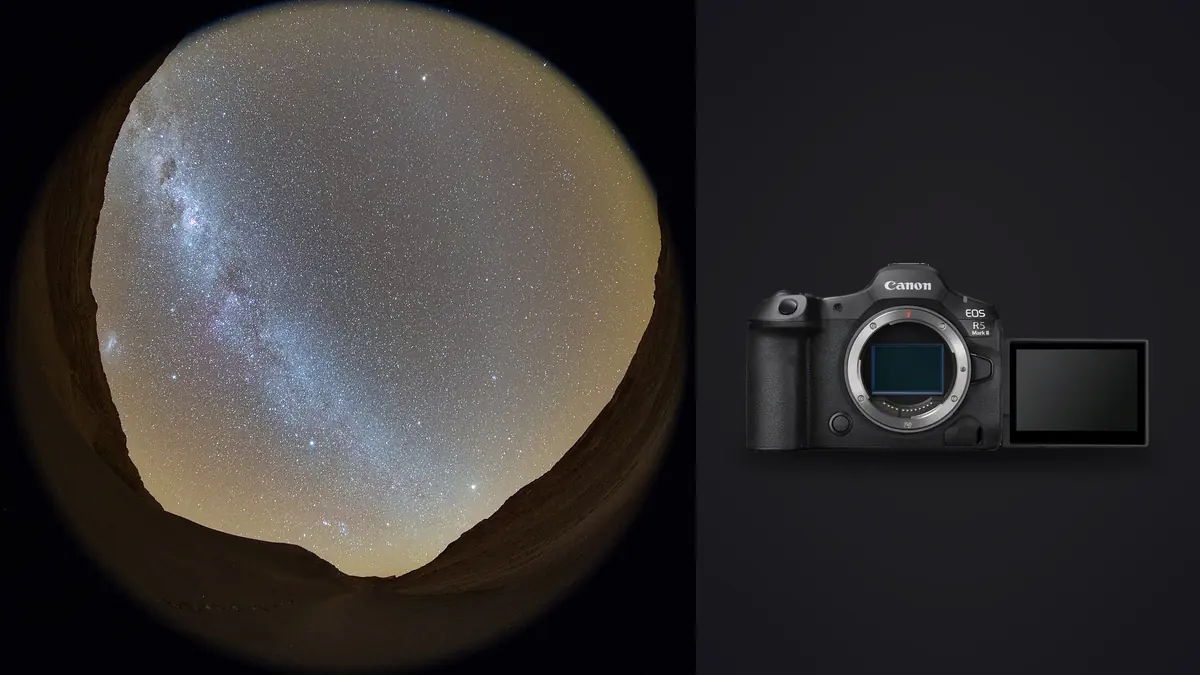
I've dragged the R5 Mark II out to three different dark-sky spots this year, and it's changed how I think about a night shoot compared to the original R5. Not because Canon rewrote the rulebook on astrophotography (a full-frame body is still a full-frame body once the sun goes down), but because the sensor readout, the battery options, and a couple of menu defaults quietly remove friction from a workflow that used to eat an hour of setup before you got a single usable frame. This is a practical guide to shooting star trails and tracked Milky Way stacks with this specific body: the settings I actually use, where the camera helps, and where it doesn't matter at all no matter what the spec sheet implies.
What the stacked sensor actually changes for night work
The R5 Mark II is Canon's first R5-series body with a stacked CMOS sensor, and most of the marketing around that has been about sports and wildlife, 30fps bursts, blackout-free viewfinder tracking, that kind of thing. None of it is the reason to buy this camera for star stacking. What matters for a stationary tripod pointed at the sky is quieter: read noise at ISO 1600 to 3200 is noticeably cleaner than the original R5, roughly on par with what I'd call a half-stop to a full-stop improvement in usable shadow detail before banding creeps in. That's the range most people actually shoot star trails and tracked Milky Way subs at, so it's not a hypothetical benefit.
The faster readout also means less rolling-shutter skew if you're using the electronic shutter for a fully silent sequence, though for anything longer than a couple of seconds this is irrelevant since nothing in the frame is moving fast enough to skew. Where it does matter is mechanical wear: if you're planning a 400-frame star trail stack, or repeating that over a dozen nights across a season, running the electronic first-curtain or fully electronic shutter instead of the mechanical shutter saves actual shutter actuations. I switched to electronic first-curtain for tripod work permanently after doing the math on how many exposures a season of Milky Way chasing racks up.
Star trails and tracked stacking are not the same exercise
People use "star stacking" to mean two very different things, and the camera settings for each are different enough that mixing them up ruins a night. A star trail stack takes dozens to hundreds of exposures on a static tripod and blends them with a lighten/screen algorithm so the stars draw arcs across the frame. A tracked deep-sky stack uses a motorized mount (a Star Adventurer, an iOptron SkyGuider, something similar) that follows the sky's rotation, so each sub-exposure has pinpoint stars, and you stack for noise reduction rather than for trail length, usually to pull out Milky Way core detail or a faint nebula.
Here's roughly how I set the R5 Mark II up for each, based on a mid-latitude dark site with a fast wide prime (think f/1.8 to f/2.8):
| Parameter | Star trail stack (static tripod) | Tracked deep-sky stack |
|---|---|---|
| Sub-exposure length | 20-30 sec | 60-120 sec |
| ISO range | 800-1600 | 1600-3200 |
| Aperture | f/2.8-f/4 | f/1.8-f/2.8 |
| Frame count for a full session | 150-400+ | 20-60 |
| Total integration time | 1.5-3 hours | 20-60 minutes |
| Interval gap between subs | 1 sec or less (near-zero gap matters) | 1-3 sec (less critical) |
| Mount required | Any stable tripod | Motorized star tracker |
| Typical stacking software | StarStaX (lighten blend) | Sequator, Deep Sky Stacker, or Starry Landscape Stacker |
The interval gap is the detail people underestimate on star trails. If your camera takes 20 seconds to write a 45-megapixel RAW file to a card before the next exposure fires, you get a visible dashed line instead of a continuous arc. The R5 Mark II's buffer and card write speed (especially with a fast CFexpress card in the primary slot) keeps that gap tight even on long sessions, which was a real problem on older bodies with slower card interfaces.
Settings to lock in before it gets dark
Turn off long exposure noise reduction, even though it seems backwards
This trips up more people than anything else. Canon's in-camera long exposure noise reduction works by taking a second "dark frame" exposure of equal length immediately after your real shot, then subtracting it to cancel out hot pixels and thermal noise. It works fine for a single long exposure. For a star stack, it's actively harmful for two reasons. First, it doubles the time between usable frames, so a 30-second sub becomes a 60-second cycle, which halves how many trail segments you capture in a given night and can introduce gaps in the trail. Second, stacking software already does dark frame subtraction properly using a batch of dedicated dark frames shot with the lens cap on, which is more statistically sound than one dark frame per light frame. Leave this off in the menu (Shooting menu, "Long exp. noise reduction," set to Off) and shoot your own set of 15-20 dark frames at the same ISO, shutter speed, and body temperature at the end of the session instead.
Focus manually, and don't trust autofocus or focus peaking alone
Dual Pixel AF is genuinely good on this body, good enough that I'll use it for framing checks in twilight before the sky is fully dark. Once it's actually dark, autofocus on stars is unreliable at best, and I don't rely on it. My process: switch to manual focus, pick the brightest star or a distant light near the horizon, punch in with the 5x or 10x magnified live view, and turn the focus ring until the point of light is as small and tight as it'll get. Focus peaking helps a little on a bright planet like Jupiter or Venus but is close to useless on dimmer stars, the contrast just isn't enough to trigger it reliably. A Bahtinov mask over the lens is still the most repeatable method if you own one; I keep a cheap one in the bag specifically for this.
In-body stabilization off, exposure simulation on
IBIS has no job to do on a locked-down tripod and can actually introduce a very slight softness on long exposures if it's still hunting for a stabilization point in near-total darkness, so I switch it off entirely for tripod astro work rather than trusting "tripod detect" mode. Exposure simulation in the EVF, on the other hand, is worth leaving on so you can preview roughly how a test frame will look before committing 30 seconds to it, though at ISO 3200 and f/1.8 the simulated view still won't be a perfect match for what the RAW file actually holds.
Keeping the camera running for three hours straight
A full star trail session is a battery-life problem as much as a photography problem. The stock LP-E6P will get you a few hundred frames in mild conditions, noticeably fewer once temperatures drop below freezing, since cold weather is hard on every lithium battery regardless of brand. The workaround I use every time now is USB-C power delivery straight into the camera from a small power bank while the built-in intervalometer runs the sequence unattended. It's not a workaround unique to this body, but it's a real, supported feature on the R5 Mark II, and it means I can start a 300-frame sequence, walk off to shoot something else with a second camera, and come back to a battery that never dropped below 80%. Weather sealing on the body has held up fine through some genuinely damp coastal nights with dew forming on everything else in the bag, though I still keep a lens warmer strap on the front element since dew on glass will quietly ruin the back half of a session and you won't notice until you're home reviewing files.
Culling the sequence before you ever open stacking software
This is the part nobody talks about enough: a 300 to 400 frame star trail sequence is going to include ruined frames. Headlights from a car two ridgelines away, a plane crossing the frame with a blinking light, a satellite flare, a gust that shook the tripod for one exposure, a patch of cloud drifting through for ten frames in the middle. On a single-image shoot you'd just delete the bad one and move on. On a stack, you need to find every bad frame in a folder of 300+ nearly identical dark images, which is exactly the kind of visually repetitive sorting task that's slow and error-prone by eye at 1am.
This is where I actually use imagic on astro sequences, separate from how I use it on a normal shoot. Its local focus and sharpness scoring won't tell you much about a starfield in the way it flags a soft portrait, there's not enough conventional edge detail in a field of stars for that kind of scoring to be meaningful, but the duplicate and burst clustering is genuinely useful here: it groups the near-identical interval frames together so you can flip through a cluster fast and pull the two or three with a plane streak or a wobble, rather than scrubbing linearly through the whole folder. Because it runs entirely on the machine with no upload step, a 300-frame RAW folder from a single night doesn't turn into a slow round trip to somebody's cloud server before you can even start sorting, which matters when you've got three or four nights like this backed up waiting to be processed. Once the trail stack or tracked composite is finished and flattened, I've also started running the "apply_my_style" preset trained on my own edits to get the final color grade close to my normal look before fine-tuning by hand, which saves rebuilding the same curve and white balance adjustment from scratch every single time. If you haven't looked at how that kind of local culling actually scores images under the hood, there's a longer breakdown at how AI photo culling works that goes into more depth than I will here.
None of this replaces the actual stacking software. Sequator, Deep Sky Stacker, and StarStaX all do the alignment and blending math, and none of what imagic does competes with that or tries to. It's strictly a before-the-stack step: get rid of the ruined frames and find the near-duplicates fast, so the folder you feed into the stacking tool is clean. For anyone running a broader night-photography workflow across multiple sessions a week, the general habits in 10 tips for a faster photo workflow apply here too, even though that piece isn't astro-specific.
Lens choice matters more than most of the camera's spec sheet
I get asked which RF lens to pair with the R5 Mark II for this more than any camera setting question. For wide Milky Way and star trail work, coma control in the corners at wide apertures matters more than raw resolution, since stars near the edge of frame will smear into little seagull shapes on a lens that isn't corrected well. The RF 15-35mm f/2.8 is solid stopped down to f/4, still shows a bit of coma wide open in the far corners. The RF 14-35mm and dedicated primes in the RF 24mm and RF 35mm f/1.8 range handle corner stars noticeably better, and since f/1.8 lets you drop ISO or shorten your sub length while keeping the same exposure, that's usually the bigger practical win over an f/2.8 zoom for this kind of shooting.
Frequently Asked Questions
Does the R5 Mark II have the "star-eater" noise reduction problem some Sony bodies had?
No. The star-eater issue on certain Sony bodies came from an in-camera algorithm that treated isolated bright pixels (i.e. stars) as noise and smoothed them away even in RAW files at long exposures. Canon's RAW files from the R5 Mark II don't apply that kind of pixel-level smoothing, star points stay sharp and pinpoint in the RAW data as long as long exposure noise reduction is switched off in the menu as described above.
Do I need a star tracker, or can I get good results on a static tripod?
Depends entirely on what you're going for. Static tripod shooting is the only way to get star trails in the first place, so no tracker needed there, and it's genuinely the easier entry point. For pinpoint stars with real Milky Way core detail or nebula structure, you need a tracker; without one, individual subs are limited to roughly 10-20 seconds before stars visibly trail at wide focal lengths (the "500 rule" or the more accurate NPF rule for this sensor's pixel pitch will get you close), which caps how much light you can gather per frame and how deep you can stack.
How many frames do I actually need for a clean stack?
For star trails, it's really a function of how long an arc you want. Twenty minutes of 20-second subs (roughly 60 frames) gives a short, subtle arc; three hours gives the dramatic full-circle rotation around the celestial pole if you're pointed at Polaris (or the south celestial pole equivalent). For tracked deep-sky stacking, 20 to 30 subs at 60-90 seconds each is a reasonable starting point for Milky Way core detail, more if you're chasing a specific faint target and have the tracking accuracy to support longer subs without star elongation.
Is the flip-out screen actually useful for this, or is it a gimmick for this kind of shooting?
It's more useful than I expected before I owned the camera. Framing a composition pointed steeply upward at the Milky Way, or low toward the horizon for a trail composition, is a lot more comfortable checked from the articulated screen than crouched behind the EVF at an awkward angle for the several minutes it takes to nail focus and framing before you start the actual sequence. It doesn't change image quality, obviously, but it changes how many nights you're willing to put up with the setup process before you start shooting.