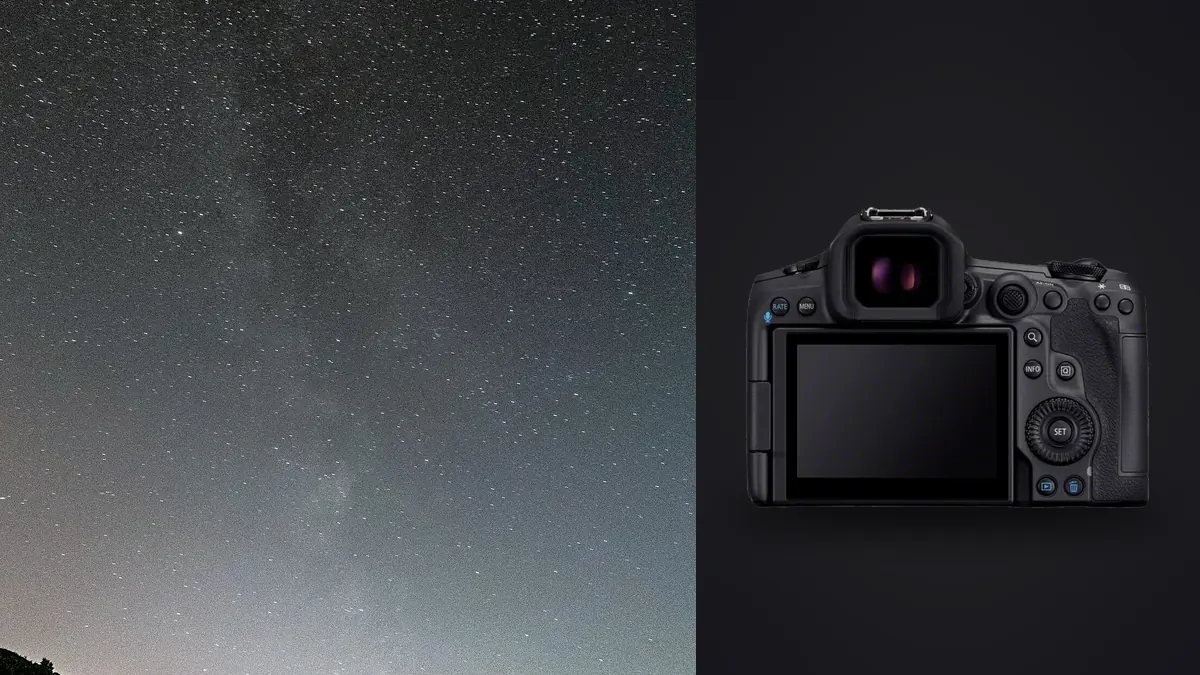
Astrophotography equipment works as a chain. A bright lens is of little help if the tripod shifts, precise focus does not survive dew, and a strong foreground is useless when access closes before darkness. The Canon EOS R5 Mark II brings a detailed full-frame sensor, an RF mount, and useful live-view tools, but the final result depends heavily on lens behavior, support, power, and site preparation.
This is a kit and location guide for wide star fields and landscape astrophotography, including captures intended for later stacking. It does not assume that one expensive accessory solves every problem. The aim is to carry only what protects focus, alignment, exposure, and safety through a long session.
Choose lenses by star shape, not aperture alone
A wide maximum aperture helps gather light, but corner behavior matters just as much. Stars reveal coma, astigmatism, field curvature, and color fringing that ordinary daytime scenes can hide. Review independent full-resolution samples from the exact lens, and pay attention to the aperture where corners become acceptable. A lens advertised as very bright may work best stopped down.
Focal length determines both composition and tracking tolerance. An ultra-wide lens includes more sky, lengthens the practical untracked exposure, and makes foreground placement critical. A moderate wide lens gives the Milky Way or constellation more presence but reveals small tracking errors sooner. A normal or short telephoto can isolate star fields, although it asks more from the mount and focusing.
Native RF lenses offer direct communication and a straightforward fit. Adapted EF lenses can also be practical when already owned, provided the adapter locks securely and the lens performs well at infinity. Test infinity focus, corner alignment, and heater clearance before traveling. Do not discover at midnight that the focusing ring moves when the heater strap tightens.
Build support from the ground upward
A tripod should be stable at the height actually used, not only on a showroom floor. Extend thicker leg sections first, avoid raising the center column unless necessary, and press each foot into firm ground. On sand or soft soil, settle the legs and recheck level after the camera is mounted. A hanging bag can add instability in wind, so use weight only when it cannot swing.
A ball head is compact and fast for landscape framing. A geared head offers slower, precise changes when aligning horizon and sky. Whichever is chosen, confirm that it holds the R5 Mark II and lens without creeping during a sequence. Tightening after composition can move the frame enough to complicate stacking.
Use a remote release, interval function, or short self-timer to avoid touching the camera during exposure. Route any cable so it does not tug in wind. Stabilization is not a substitute for support, and its behavior on a locked tripod should be tested with the intended lens. Save the result as a checklist item rather than relying on conflicting generic advice.
Control dew before it reaches the glass
Dew can end a session while the camera still appears dry. The front element radiates heat toward the clear sky and may cool below the surrounding air. A lens hood delays exposure to moisture, but a low-power dew heater provides more reliable prevention in humid conditions. Fit it around the lens barrel near the front without obstructing focus or zoom controls.
Power the heater from a source sized for the full session and keep connectors protected from wet ground. Start with modest heat before condensation appears; trying to clear a soaked element consumes more power and can create uneven temperature. Check the lens with a dim red light between sequences without shining toward other observers.
When returning to a warm vehicle or building, place cold equipment in a closed bag so it warms gradually. Condensation should form on the outside of the bag rather than inside the camera and lens. Do not detach a cold lens in humid air. Allow time for acclimation before packing the equipment away permanently.
Plan power and storage for long sequences
Long live-view use, repeated exposures, cold weather, and image review reduce practical battery life. Carry charged spares in an insulated pocket and know whether external USB power is appropriate for the setup. A cable attached in darkness can snag or transmit movement, so secure it to a tripod leg with enough slack at the camera.
Use reliable cards with ample headroom. RAW sequences and dark calibration frames accumulate quietly, and stopping to delete files at night invites mistakes. Format cards in the camera after backup, then label which card begins the session. If writing to two cards, confirm the routing and capacity before the first sequence.
Dim the rear screen to preserve night vision and reduce power use. Bright previews also make an image appear better exposed than it is. Judge the histogram and clipping indicators, then return the display to a low level. Cover unnecessary indicator lights if site rules permit and the covering will not trap heat.
Select a dark site responsibly
A dark map is only a starting point. Check legal access, opening hours, parking, gates, weather, moon phase and position, horizon obstructions, and safe walking routes. Obtain landowner permission where required. Never block roads, enter closed land, or place a tripod where others can trip over it.
Scout the foreground in daylight. Find stable tripod positions, identify cliffs or water edges, and note how a chosen sky direction aligns with the landscape. Record a compass bearing or simple phone reference without depending on service at the site. Daylight scouting also reveals power lines, trees, and buildings that are hard to interpret in darkness.
Protect darkness for others. Use a dim red light pointed at the ground, shield vehicle lights, and ask before illuminating a foreground near another photographer. Avoid touching wildlife or vegetation to improve a composition. The best site is one where the photograph can be made without creating a hazard or damaging the place.
Focus and frame before the main sequence
Autofocus is rarely the final method for stars. Use magnified live view on a bright star, turn the ring until the point becomes smallest and most defined, then check a frame at high magnification. Infinity marks are only a reference and temperature can change the result. Recheck after the lens cools or after any contact with the barrel.
Compose with enough room for alignment and final crop. If stacking untracked sky frames, the stars move relative to the foreground, so edges may be lost during alignment. Decide whether the foreground will come from one exposure or a separate controlled capture, and keep the tripod fixed. Any combination happens later in appropriate editing software, not inside imagic.
Take a short test sequence before committing to dozens of frames. Confirm star shape in the corners, histogram separation from the left edge, foreground clipping, and interval spacing. Review the first and last test for movement. Correcting the lens aperture or tripod now is far easier than discovering the problem after an hour.
Keep captures organized for stacking
Make sequence boundaries obvious. Photograph a hand or dark frame between compositions, or record sequence numbers in a note. Capture calibration frames only when the intended stacking method calls for them, using consistent settings and conditions. Avoid presenting one universal calibration recipe because software and capture approaches differ.
At ingest, place each composition in its own folder with the exposure settings and location note. Do not mix test frames, bumped frames, foreground alternatives, and final sky sequence without labels. The organizational work is small compared with trying to identify a tripod shift among nearly identical thumbnails.
A local review app such as imagic can help flag exposure or sharpness issues and group similar frames while files remain on the workstation. It does not merge star stacks. Use dedicated stacking software for alignment and combination, then return to a non-destructive finishing workflow for tone and export. The camera hardware section has more system planning guidance.
Pack a practical night kit
- Camera and tested lens: include caps and any secure adapter.
- Stable tripod and head: add a plate tool that fits in darkness.
- Release method: remote, interval setup, or self-timer plan.
- Dew control: hood, heater, protected power, and dry cloth.
- Power and cards: charged spares and verified free capacity.
- Safety equipment: layered clothing, water, headlamp, and location plan.
- Low-impact light: dim red option and a way to shield it.
Run the list at home with gloves if the destination is cold. Small controls, plate screws, and battery doors behave differently when hands are numb. A complete rehearsal also reveals whether the full bag can be carried safely from parking to the selected viewpoint.
Plan foreground light as a separate exposure
A strong night foreground does not automatically need to be bright. Decide whether it should read as silhouette, retain quiet texture, or carry enough detail to lead into the sky. Make that decision during daylight scouting so the required exposure and any low-impact light can be prepared without trial and error around other visitors.
When adding light is legal and appropriate, keep it dim, directional, and brief. Shield the source from other observers, roads, homes, and wildlife. A large soft source placed close can require less intensity than a small light from far away. Never enter unsafe terrain merely to hide a lamp.
If the foreground needs a different focus or exposure, capture it without moving the tripod and label the file clearly. Changing vegetation, waves, people, or vehicle lights can complicate later combination. The final blend belongs in suitable editing software and should preserve a believable relationship between land and sky.
Also make one complete single-frame reference. It records the scene's natural balance and provides a fallback if separate foreground and sky files do not combine cleanly.
Record the foreground exposure and light position in the same note as the sky sequence. If the first combination looks artificial, those details make it possible to reduce the lit foreground or return to the natural reference instead of guessing how the scene was constructed.
Frequently asked questions
What matters more for stars, lens speed or corner quality?
Both matter, but a slightly slower aperture with clean corners often produces a more useful frame than maximum aperture with smeared stars. Test the exact lens across the apertures you can realistically expose.
Does the Canon EOS R5 Mark II stack star images in this workflow?
The camera records the source frames. Alignment and stacking are completed later in dedicated software, using a method appropriate to the sequence and foreground.
Is a dew heater necessary at every dark site?
No, but it is valuable in humid conditions and when clear skies cool the front element quickly. Check the forecast and carry a tested solution when dew could end the session.