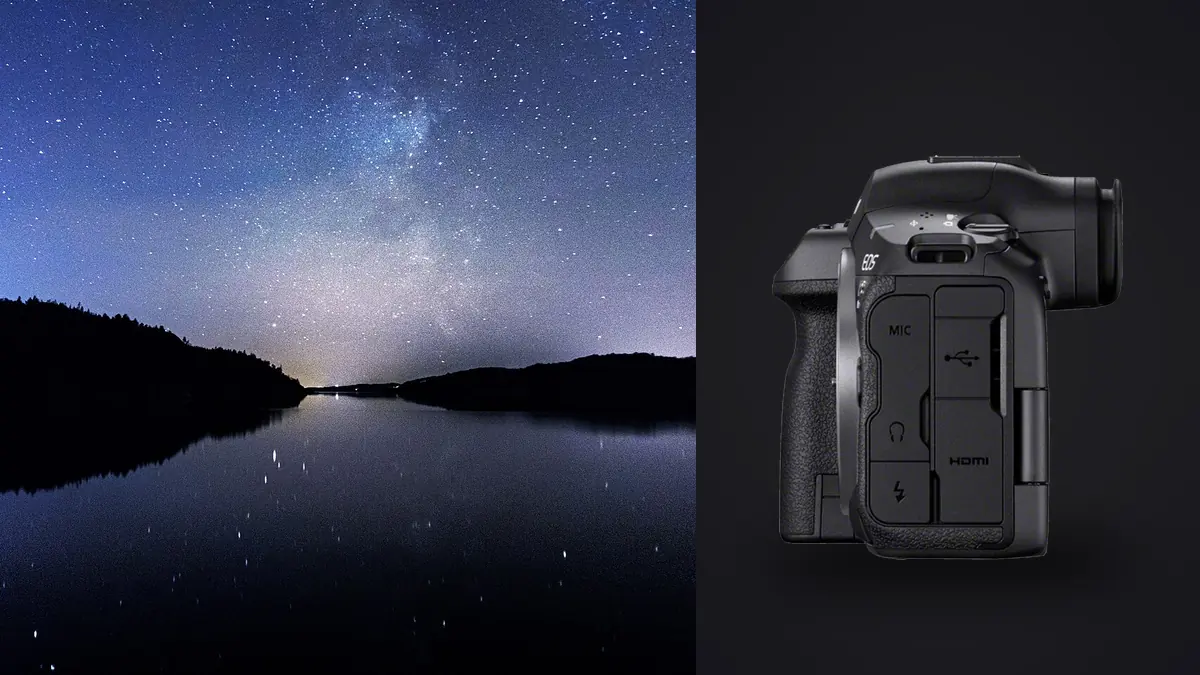
The first time I pointed the Canon EOS R5 Mark II at a dark sky, I did what most people do with a new body: I set it up exactly like the camera it replaced and expected the same results. That was a mistake. The stacked 45-megapixel sensor behaves differently under long exposures than the original R5, the autofocus system reacts to starlight in a way that catches people off guard, and the sheer file count you generate when stacking exposes gaps in a workflow that never mattered when you were shooting single frames. This is what I've learned running the R5 Mark II through three seasons of Milky Way trips and one very cold star trail shoot in the high desert.
What the stacked sensor actually changes
Canon's marketing leans hard on the R5 Mark II's speed, 30fps electronic shutter, faster readout, less rolling shutter. None of that sounds like it should matter for a tripod-mounted 20-second exposure of the sky. But the same stacked BSI sensor that enables the fast readout also reads out with lower amplifier noise per row, and that shows up in shadow detail once you start stacking. Subs shot at ISO 3200 to 6400 on this body hold up noticeably better through a stack than the equivalent frames I used to pull off an R6. Star color in particular stays truer at higher ISO. Reds and blues in nebulosity don't collapse into the same muddy gray as fast as they did on older Canon sensors once you push exposure in post.
The tradeoff is resolution. Forty-five megapixels means smaller photosites, and smaller photosites mean each individual pixel captures less light before you even factor in atmospheric seeing. For wide, untracked Milky Way shots this mostly just means you need to be more careful about exposure length, which brings up the second big change: how fast stars actually trail across a 45MP sensor.
The old 500 rule doesn't hold anymore
If you learned exposure timing on a 20 or 24 megapixel body, throw out the 500 rule for this camera. At 45 megapixels, star trailing becomes visible at pixel level well before the old math predicts it. I use the NPF rule instead, which factors in aperture and pixel pitch, not just focal length. On a 20mm lens at f/1.8, the NPF rule puts pinpoint stars at roughly 8 to 10 seconds on the R5 Mark II, compared to the 25 seconds the 500 rule would have told you on a full-frame body from a decade ago. Shoot 20-second exposures at this resolution expecting round stars and you'll be disappointed when you zoom in at 100%, even though the image looks fine on the back screen.
Dialing in exposure before you commit to a night
Every star stacking session with this camera starts the same way for me: a single test frame at the planned settings, checked at full magnification on the rear screen with focus peaking on, before I let the intervalometer run unattended for an hour. The R5 Mark II's screen is bright enough that this actually works in the field, which wasn't always true of older Canon LCDs.
For focus, I don't trust autofocus on stars even though Canon advertises AF sensitivity down to roughly EV -6.5 with a fast lens attached. It will occasionally lock onto a bright planet or Jupiter and nail it, but on a typical star field it hunts. Manual focus using live view zoomed to 10x on the brightest star in frame, then locking the focus ring with a strip of gaffer tape, is still the reliable method. Do this every time you change lenses or the temperature drops more than a few degrees, because the focus-by-wire ring on RF lenses can creep slightly as the barrel contracts in the cold.
In-camera settings worth checking before you shoot
A few menu items matter more for stacking than for normal shooting:
- Long exposure noise reduction: leave it off. It doubles your exposure time (the camera takes a dark frame after every shot) and on Canon bodies historically it has a reputation for suppressing faint stars along with hot pixels, sometimes called the "star eater" effect. The stacked sensor's faster processing pipeline seems to be gentler about this than older EOS bodies, but I still shoot a short test series with it on and off before a big session and compare at 100% crop. Trust what you see over what the spec sheet implies.
- Image stabilization: switch it off on a locked-down tripod. IBIS rated at 8.5 stops is genuinely useful for handheld wide-field frames braced against a car roof or rock, but on a solid tripod it can introduce a very faint hunting artifact into long exposures.
- Shutter type: electronic first curtain for anything under about 30 seconds on a tripod removes the small amount of shutter shock that mechanical curtains introduce, which matters more than people think when you're trying to keep pinpoint stars pinpoint.
- Built-in interval timer: the R5 Mark II's menu-based bulb timer and interval shooting mode means you don't need an external intervalometer for basic sequences. I still carry a cheap wired remote as backup because running the menu timer drains battery faster than an external trigger holding the shutter open.
Matching settings to the kind of stack you're building
Not every star stacking project uses the same recipe. What you're stacking for, noise reduction on a wide Milky Way shot, a tracked deep-sky target, or a multi-hour star trail, changes ISO, exposure length, and frame count substantially. Here's roughly what I run on the R5 Mark II for each scenario, based on actual sessions rather than a generic spec table.
| Scenario | Typical lens/aperture | ISO | Shutter per frame | Frames to shoot | Stacking target |
|---|---|---|---|---|---|
| Untracked wide Milky Way | 20mm at f/1.8 | 3200 | 8-10 sec (NPF rule) | 40-60 | Noise reduction only, no trailing |
| Tracked wide Milky Way | 24mm at f/1.4 | 1600 | 60-90 sec | 20-30 | Deeper signal, cleaner core detail |
| Star trails (full sky arc) | 16mm at f/4 | 800 | 30 sec, interval timer | 250-400+ | Continuous trail composite |
| Tracked telephoto (nebula/cluster) | 200mm at f/4 on tracker | 1600 | 120-180 sec | 30-50 | Signal-to-noise for deep sky detail |
The star trail row is the one that trips people up on this camera. Four hundred frames at 45 megapixels each is a lot of data. On a 128GB CFexpress card in RAW you'll fill it faster than you expect, and if you're shooting a wired interval sequence overnight you need to plan card capacity the way you'd plan battery capacity, not as an afterthought.
Battery and card logistics that actually matter in the field
The LP-E6P battery gets you somewhere around 250 to 320 shots per charge under normal conditions, but cold weather cuts that hard. On a 20°F night in eastern Oregon I watched a fully charged battery drop to under 40% in about two hours of continuous long-exposure shooting with the rear screen active for focus checks. Carry at least two spares, keep them in an inside jacket pocket rather than the camera bag, and swap before you hit 20% rather than running one down to nothing, since cold batteries recover some capacity once warmed but a full discharge in freezing temperatures seems to age them faster.
Shoot RAW to the CFexpress slot if your card supports it. The SD slot is fine for JPEG backups or a second copy, but for a four-hour interval sequence you want the faster, larger-capacity card carrying the primary files. I've had a UHS-II SD card struggle to keep up with buffer clearing during back-to-back long exposures when the interval between frames was tight, which isn't something you notice until you get home and find gaps in the sequence.
Sorting the aftermath
Here's the part nobody warns you about before your first serious star stacking trip: you come home with hundreds, sometimes a thousand-plus, nearly identical RAW files, and stacking software wants only the good ones. A single bad sub with a satellite trail, a gust of wind that shook the tripod, or a cloud drifting through will visibly wreck a stack if you don't catch it first. Scrolling through 400 dark, nearly indistinguishable thumbnails in a standard file browser to find the two or three that are soft is miserable, and I used to lose an hour to it after every trip.
I run these sequences through imagic before they ever touch DeepSkyStacker or Sequator now. Its local sharpness scoring flags the handful of subs where wind or a settling tripod leg introduced motion blur that isn't obvious at thumbnail size but will smear detail once you stack fifty frames together. The duplicate and burst clustering groups near-identical consecutive frames instead of forcing you to eyeball three hundred almost-the-same star fields one at a time, which is exactly the situation an all-night interval sequence produces. Because it processes everything locally, it works at the trailhead or the campsite with zero signal, which matters more than it sounds like it should when you're trying to decide before you break camp whether you got enough clean frames or need to reshoot.
Once you've picked your final stack and pushed it through your usual astro processing, imagic's apply_my_style preset is useful for a different reason: it's trained on your own past edits, so if you've already established how you like your night sky color balance and contrast treated, running your remaining trip photos (the foreground shots, the gear setup frames, the wide establishing shots of the sky before you started stacking) through that preset keeps the whole gallery consistent without you manually matching sliders to a stack you spent an hour perfecting in a separate app. If you haven't settled on a repeatable culling process yet, our workflow speed guide covers the broader habits worth building before you're standing in a field at 2am trying to decide what to keep.
What I'd tell someone buying this camera specifically for astro
If star stacking is the primary reason you're considering the R5 Mark II over cheaper options, know what you're actually paying for. The resolution buys you cropping room and print size, not necessarily cleaner stacked results at typical viewing sizes, since a stack from a 24MP sensor downsampled to the same output resolution can look comparably clean. What you are paying for is the faster, quieter electronic shutter, the improved low-light AF for anything with a visible edge (moonlit landscapes, campfire-lit foregrounds), and a sensor readout that handles high-ISO shadow detail a step better than the camera it replaced. If your budget is tight and star stacking is the only reason for the upgrade, the original R5 or an R6 Mark II will get you 90% of the way there for meaningfully less money. The Mark II earns its price on speed and AF, and astrophotography is the one genre that barely touches either.
Frequently Asked Questions
Do I need a star tracker to get good stacked results with the R5 Mark II?
No, but it changes what kind of stack you're building. Without a tracker you're limited to short exposures (roughly 8-10 seconds at wide angles per the NPF rule) and you stack purely to reduce noise across many short frames. With a tracker you can stretch individual exposures to 60-180 seconds, which pulls in far more signal per frame and produces noticeably deeper detail in the Milky Way core or a nebula target with fewer total frames needed.
Is 45 megapixels overkill for wide-field star stacking?
For prints or heavy crops, no. For a typical wide Milky Way shot viewed at normal sizes, the extra resolution mostly means smaller stars and tighter trailing tolerances rather than a visible quality jump over a 24 or 30MP body. Many photographers downsample their final stacked file to around 20-24MP anyway, which also has the side benefit of averaging down some residual noise.
Should I turn off long exposure noise reduction for star stacking?
Generally yes. It doubles your time per frame (a same-length dark frame is captured after each exposure), which is expensive when you're trying to gather 40-plus subs in a limited dark-sky window, and stacking software already handles noise reduction across your frame set. Shoot your own dark frame library separately at the start or end of a session instead, and apply those in your stacking software rather than relying on in-camera processing.
What's the biggest workflow bottleneck after a night of star stacking?
It's rarely the stacking itself, software like Sequator or DeepSkyStacker handles the CR3 files from this camera without issue. The bottleneck is sorting the raw take beforehand: finding the handful of soft or trailed frames buried in a folder of three or four hundred near-identical shots before you feed them into a stack. That's the step worth automating rather than doing by eye at 1am.