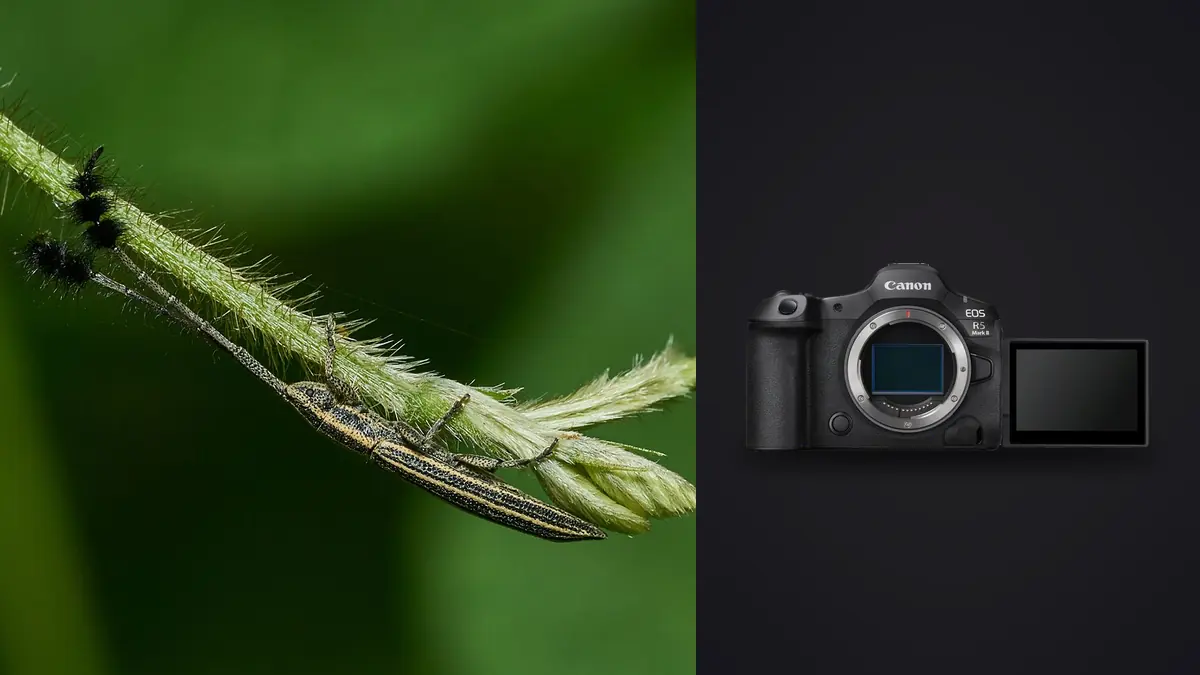
The Canon EOS R5 Mark II brings a 45-megapixel back-illuminated stacked full-frame sensor, Dual Pixel CMOS autofocus, in-body stabilization, mechanical and electronic shutter options, and high-speed capture to insect macro. Those features make it easier to collect a sequence and easier to see why it failed. At close distance, a few millimeters of focus error, a moving leaf, incomplete flash recycle, or a reflective wing can separate a detailed file from an unusable one.
Troubleshooting starts with the symptom. A soft eye with a sharp wing is focus placement. A sharp leaf with blurred legs is subject movement. Double edges across the frame suggest camera movement. Alternating flash brightness suggests recycle. Horizontal bands point toward pulsing light and shutter interaction. Change the cause that matches the evidence.
Pair the macro lens with the habitat
This Lens and Location Guide starts with subject size, working distance, and the condition of the site. A true macro lens provides known close-focus behavior, while extension tubes or close-up accessories change focusing range and may complicate handling. More working distance can help with wary insects and diffuser clearance, but it also magnifies support and aiming errors. Choose a location with legal access, stable footing, safe separation from roads or water, and backgrounds that can be simplified without moving vegetation. Calm, cool periods may reduce subject movement, while wind-exposed leaves demand faster capture. Never damage habitat or restrain an insect to make a lens choice easier.
Fix focus that lands behind the nearest eye
Face and animal recognition are not a guarantee of insect-eye priority. Compound eyes may be small, low contrast, partly hidden, or surrounded by sharper wing and leg detail. Use a small autofocus area and place it over the nearest important eye or head feature.
If the camera repeatedly selects an adjacent edge, switch to manual focus or focus once at the approximate distance. Move the camera gently forward and backward until the eye crosses the plane. A short sequence through that plane can cover tiny body movement without turning the entire encounter into a long burst.
Verify at magnification after the first stable approach. A fit-to-screen preview can make textured wings look generally sharp while the eye remains soft. Check the actual feature that carries the photograph.
Align the subject plane before closing the aperture
Depth of field is narrow at high magnification. A side-on insect lets the eye, thorax, and wing lie near one plane. A head-on subject recedes rapidly. Rotate the camera around the subject or wait for a more favorable pose rather than relying only on a smaller aperture.
Stopping down increases depth but eventually reduces fine detail through diffraction and demands more light, ISO, or exposure time. Choose the aperture that connects required features. The smallest available setting is not an automatic macro solution.
Stepping back slightly adds depth and can preserve a safer working distance. The 45-megapixel file supports a moderate crop, which may produce more real detail than an extreme close frame made at a diffraction-heavy aperture.
Separate stabilization from subject motion
In-body and lens stabilization reduce camera shake. They do not stop antennae, wings, legs, a breathing subject, or a flower moving in wind. If the support surface is sharp while the insect blurs, raise shutter speed, add controlled light, or wait for a pause.
If the entire frame shows the same directional double edge, improve support and release technique. Brace elbows, use a monopod or tripod where ethical and practical, and trigger without jabbing the camera. On a tripod, follow Canon and lens guidance for stabilization and verify the result.
Wind can move the subject through the focus plane even at a fast shutter. Watch magnified live view before release. If the eye repeatedly drifts in and out while the camera remains steady, change to a sheltered angle or wait. Do not clamp living plants or restrain wildlife to make the setup easier.
Use shutter mode according to movement and light
Mechanical shutter is a conservative baseline for flash and for scenes where rolling-shutter shape matters. Electronic shutter can provide silence and high speed, but very fast wings may skew and dimmed LEDs may band. The stacked sensor reduces some readout artifacts but does not eliminate every case.
Test several consecutive electronic frames at the actual shutter speed. Inspect straight stems, wing shape, and brightness across the image. A single clean frame does not prove a pulsing source is safe.
Use electronic first-curtain or other available shutter behavior only after checking bokeh and exposure at the chosen shutter and aperture. At very fast shutter speeds with a wide aperture, shutter implementation can affect the rendering. The exact safe combination depends on lens and mode.
Correct flash sequences that vary in brightness
When alternate frames are dark, the flash may not have recycled. Slow the drive, reduce flash power, bring a diffused source closer, raise ISO modestly, or wait for the ready indication. Changing camera exposure without addressing recycle makes the next full-power frame too bright.
Confirm synchronization and communication for the exact R5 Mark II, trigger, flash, shutter mode, and firmware. High-speed synchronization and third-party equipment can impose separate timing or power limits. Test on a static object before approaching an insect.
A small bare source produces hard specular points and a dark background. Enlarge and diffuse the source, angle it across shells or wings, and introduce controlled fill. Lower exposure alone will not soften the light ratio.
Protect reflective highlights without burying the subject
White petals, wet shells, and iridescent scales may clip in a small area while the overall histogram appears safe. Enable highlight warnings and inspect the relevant surface. Tiny point reflections can be allowed to reach white; broad patterned areas should usually retain texture.
Under stable light, manual exposure prevents a changing background from moving the subject value. A dark leaf behind the insect should not cause the camera to overexpose pale wings. Meter the subject, lock the baseline, and adjust only when the light changes.
If the face or body becomes too dark at a safe highlight exposure, change the ratio with fill, diffusion, or source angle. RAW recovery supports careful near-limit adjustment, but it cannot restore a fully clipped color channel.
Fix backgrounds without sacrificing required depth
A wide aperture can blur clutter, but it also reduces insect depth. First move the camera a few centimeters to place a clean distant patch behind the subject. Small positional changes have a large background effect at macro distance.
Increase subject-to-background distance when the natural scene allows. Do not move the insect or damage habitat. A longer macro lens can provide more working distance and a narrower angle, but it also adds size and can be harder to stabilize.
Check corners for bright gaps, clipped antennae, and partial stems. Concentration on the eye makes edge mistakes common. Use the articulated screen for a low angle when it avoids leaning into vegetation.
Diagnose lens, adapter, and support softness
Simplify the optical path when focus and motion appear correct. Remove a low-quality protective filter or close-up attachment, clean loose debris safely, and make a static reference at the same distance. A diffuser touching the lens or camera can transmit movement.
With an adapted lens, confirm the adapter seats fully and has no rotational play. With a long macro lens on a tripod, use the lens collar when provided so the mount is not carrying an unbalanced load. Check that a loose head does not sag after focus is set.
Compare a moderate aperture against wide open and very small settings. If one side remains weak while the other is sharp, alignment or lens condition may be involved. If detail falls evenly as the aperture closes, diffraction is the likely tradeoff.
Use focus bracketing only for stationary subjects
The R5 Mark II can capture focus-bracket sequences in supported configurations. The camera records frames at changing focus positions; combining them into extended depth requires compatible processing. A moving insect, wind, or changing reflection can create alignment ghosts.
Use a tripod or stable support, manual exposure, fixed white balance, and enough overlap between focus steps. Begin before the nearest required feature and continue beyond the farthest. Inspect the first and last files so the intended depth is actually covered.
imagic does not merge focus stacks, HDR brackets, or panoramas. Use suitable external software for that stage, then treat the composite as a separate output. Do not describe a live-subject composite as one unmanipulated instant when disclosure matters.
Use a field symptom table
| Symptom | Likely cause | First correction |
|---|---|---|
| Wing sharp, eye soft | Focus behind priority | Use a smaller point on the nearest eye. |
| Leaf sharp, insect blurred | Subject movement | Raise shutter speed or wait for stillness. |
| Whole frame has double edges | Camera movement | Improve support and release technique. |
| Every second flash frame dark | Incomplete recycle | Slow drive or reduce flash power. |
| Horizontal bands under LED | Pulsing light and readout | Change shutter speed or light setting. |
| Depth improves but detail falls | Diffraction | Open slightly and align the subject plane. |
Review technical evidence without erasing behavior
Copy RAW files and verify a second copy before culling. Group by encounter and focus sequence. Compare eye detail, body plane, behavior, complete appendages, and background rather than ranking thumbnails alone.
imagic can assess sharpness, exposure, composition, and near-duplicates locally, with reversible status decisions and non-destructive edits. Intentional shallow focus or motion may not align with a generic score, so keep final selection human.
Try a single frame in the web editor, or follow related material under Guides. Approved files can be exported as JPEG or TIFF after the local workflow.
Diagnose ambient-flash ghosting at close distance
A flash can freeze one sharp version of the insect while a longer ambient exposure records a second blurred outline. The result looks like missed focus or stabilization failure, but close inspection shows one crisp edge plus a faint displaced edge. Dark backgrounds and reflective legs can make the double image especially noticeable.
Test by making one frame with ambient reduced and another with flash disabled, without changing camera position. If the ghost disappears when ambient contribution falls, raise shutter speed within the supported synchronization behavior, lower ambient through ISO or aperture, or let the flash provide more of the exposure. Keep the background from becoming unnaturally black by changing source placement or adding controlled fill rather than slowing the shutter blindly.
Front- and rear-curtain synchronization place the sharp flash impression at different points in a motion trail. Neither fixes an unwanted trail; they only change its visual direction. For a crisp scientific or detail-oriented frame, reduce the ambient movement record. For an intentional motion study, choose the curtain behavior deliberately and disclose compositing or special technique when context requires it.
Frequently asked questions
Why is the insect eye soft when another feature is sharp?
The autofocus point or focus plane probably landed behind the eye. Use a smaller area, align the subject, or focus manually and move the camera through the sharp plane.
Does stabilization freeze insects?
No. It reduces camera shake, not moving legs, wings, antennae, plants, or breathing. Select shutter speed and light for the subject's movement.
Can this workflow combine a Canon focus bracket?
No. It does not merge focus stacks. Use compatible external software, then manage or edit the resulting still separately.
Why does macro flash exposure alternate?
The flash may be firing before it fully recycles. Slow the sequence, lower output, move the diffuser closer, or adjust ISO within the required quality range.