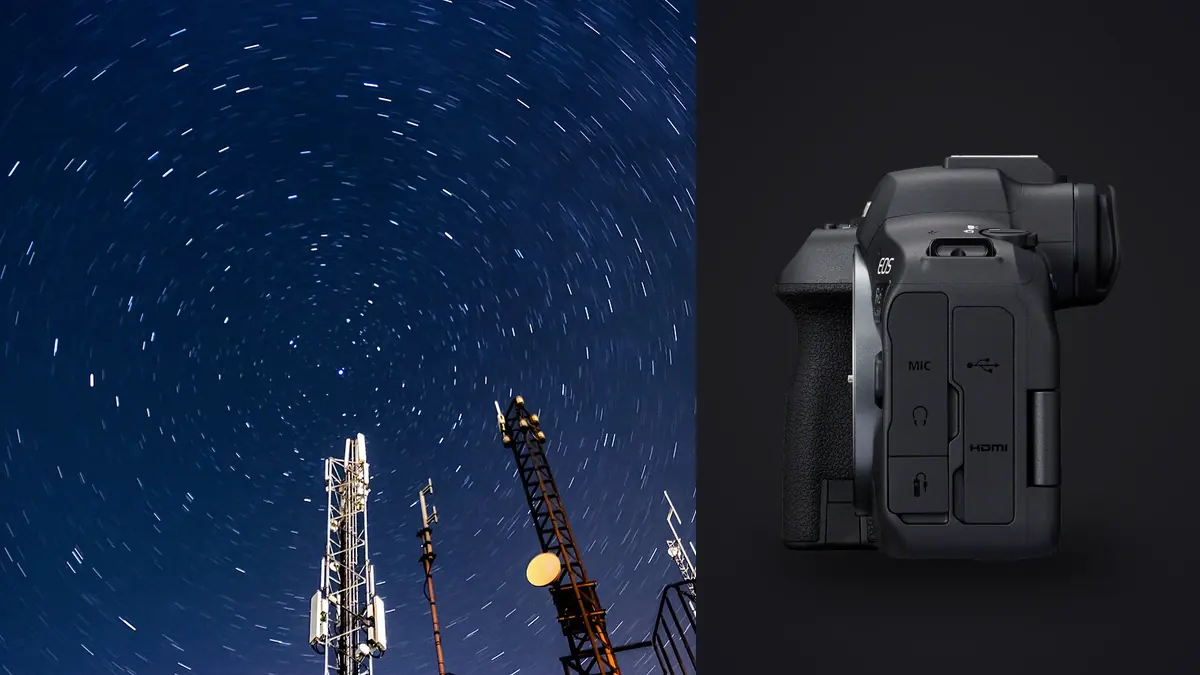
I took the R6 Mark II out to a ridge above the treeline specifically to answer one question: could a mainstream full-frame body, with no astro modification and no star tracker, produce a stacked Milky Way image good enough to print at 24x36? Three hours, one dead battery, and about 340 light frames later, the answer was yes, with caveats worth writing down before you spend a night finding them out the hard way yourself (imagic's Canon EOS R6 Mark II page has the full spec sheet if you want that side of it).
The sensor is the whole story here
Canon discontinued the EOS Ra, its one dedicated astro-modified mirrorless body, and never replaced it. That matters for anyone shopping the R6 Mark II specifically for night sky work: this is a stock IR-cut filter, same as any other Canon body. You will not pull the same hydrogen-alpha detail out of emission nebulae that a modified sensor gets. For Milky Way core shots, star trails, and most wide-field nightscapes, that limitation barely registers. For narrowband nebula work, it does, and no amount of stacking software fixes a filter that's blocking the wavelength you want.
What the sensor does give you is a dual conversion gain design that switches to a low-noise readout mode around ISO 800 to 1600 depending on shooting mode. Practically, this means pushing to ISO 1600 or 3200 for a stacking session doesn't cost you nearly as much shadow noise as older R6 files did at the same settings. I ran the same composition at ISO 800, 1600, and 3200 with matched exposure times (adjusting shutter to keep equivalent total light) and the 1600 frames stacked noticeably cleaner than either neighbor once DeepSkyStacker's sigma-clip algorithm had done its work. Your mileage will vary by exact scene brightness, but don't assume "lowest ISO possible" is automatically correct for stacking the way it is for a single long exposure.
Stacking is not one long exposure, and your settings should reflect that
If you've only shot night sky with a single 20 or 25 second exposure before, the mental shift for stacking is that you're deliberately shooting dozens to hundreds of shorter frames and letting software combine them afterward. Each individual frame can be noisier and the stack averages that noise down while the actual star signal reinforces. This is why the R6 Mark II's built-in interval timer function (tucked a few screens into the shooting menu, separate from the basic self-timer) matters more here than almost any other spec on the body. Set it once, lock focus, and walk away for forty minutes instead of standing there mashing the shutter button with a cable release.
The exact settings change a lot depending on whether you're tracking (a star tracker mount compensating for Earth's rotation) or shooting untracked off a static tripod. Here's what I actually used across three different targets on three separate nights, all with the RF 15-35mm f/2.8L at various focal lengths:
| Scenario | Shutter | ISO | Frame count | Total integration | Notes |
|---|---|---|---|---|---|
| Untracked Milky Way core, 15mm | 10s | 3200 | 120 lights | 20 min | 10s kept pinpoint stars at 15mm per the NPF rule for a 24MP sensor; longer and elongation showed at 100% |
| Tracked Milky Way core, 24mm | 60s | 1600 | 45 lights | 45 min | Star tracker did the heavy lifting; lower ISO possible because exposures could run much longer without trailing |
| Star trails, 20mm | 25s | 800 | 280 lights | ~2 hrs | Stacked in "lighten" comparison mode rather than averaged; no tracker needed, foreground stayed sharp across all frames |
| Foreground blend (single frame) | 90s | 1600 | 1 light | n/a | Shot separately with a headlamp light-painting the rocks, blended in later as a base layer |
The 10 second figure for the untracked 15mm shot isn't arbitrary. The old "500 rule" divides 500 by focal length and gives you 33 seconds at 15mm, which sounds generous, but that rule predates 24+ megapixel sensors. At this pixel density, 33 seconds shows visible star elongation on close inspection. The NPF rule accounts for aperture and pixel pitch and landed me closer to 10-12 seconds for genuinely round stars at 15mm on this body. If you're used to an older APS-C camera and carrying its exposure habits over, expect to shoot noticeably shorter subs on the R6 Mark II than you might assume.
Turn off the features that were designed for daytime shooting
A few defaults actively work against a stacking workflow and need to be switched off before you start:
- Long exposure noise reduction. This takes a matching dark frame after every exposure and doubles your time between subs. When you're trying to grab 200+ frames in a limited window before clouds roll in or the core sets below the ridgeline, that's a real cost. Stacking software applies its own noise reduction across the whole set, so leave this off and shoot a batch of dark frames separately at the end of the session instead (lens cap on, same ISO and shutter, ten or so frames).
- Auto Lighting Optimizer and Highlight Tone Priority. Both mess with the tonal response of your RAW files in ways that make stacking software's calibration less predictable. Off for the whole session.
- In-body stabilization, on a locked-off tripod. Canon's IBIS is generally smart about detecting a stationary camera and disengaging its correction, but on two separate nights I caught a very slight softness in test frames with IBIS active on a heavy tripod in wind versus the same setup with it switched off entirely. It's a small enough difference that I wouldn't call it definitive, but for anything on a fixed tripod for stacking, I switch IBIS off out of habit now rather than trust the auto-detect every time.
- Auto ISO. Obvious, but worth stating: lock your ISO manually. Drift between subs from an auto system reading a slightly different amount of ambient light ruins the consistency stacking software depends on.
Autofocus gets you close, manual gets you sharp
Dual Pixel CMOS AF II is rated down to roughly -6.5 EV with a fast lens, which in practice means it can sometimes lock onto Jupiter or a very bright star, but I wouldn't build a workflow around it. My actual process: point at the brightest star or planet in the frame, switch to manual focus, punch in with the rear screen's magnification (10x, not 5x, the difference matters at this scale), turn the ring until the star collapses to the smallest, tightest point you can get, then tape the focus ring down with a strip of gaffer tape. Recheck it every 20 to 30 minutes if the temperature is dropping fast, because focus-by-wire lenses can creep very slightly as the barrel contracts in the cold. I lost about fifteen frames on one session to exactly this before I started rechecking.
Power and cards for a session that outlasts your patience
The LP-E6NH is rated for roughly 450 shots under CIPA standard conditions, but that number assumes room temperature and normal shooting cadence, not four hours at 5 degrees Celsius with the screen lit for periodic focus checks. Realistically I get through two batteries on a proper multi-hour stacking session in cold weather, sometimes three if it's a star trail sequence. Bring spares and keep them in an inside jacket pocket, not the camera bag, because cold-soaked batteries lose voltage sag fast. The dual UHS-II card slots aren't doing anything exotic for astro work (you're not filling buffer the way you would in a sports burst), but I still run one card as backup in-camera for anything I can't reshoot, because a corrupted card three weeks after a trip to a genuinely dark site is a much worse problem than it sounds.
Where the culling actually happens
Nobody talks about this part enough: a stacking session generates an absurd number of nearly identical frames, and going through 340 RAW files by eye to find the handful where a gust moved the tripod, a plane crossed the frame, or focus crept is miserable work at 1am with cold fingers. This is the part of my workflow where I actually rely on imagic rather than scrubbing through Bridge one frame at a time. Its sharpness scoring runs locally against the actual pixel data, so it flags the two or three subs in a 120-frame sequence where stars are slightly soft from focus drift or vibration, without me needing to zoom into each one manually. The duplicate and burst clustering is also genuinely useful here, since an interval-timer sequence is essentially one long burst by another name, and having them grouped instead of dumped as 340 flat thumbnails makes the review pass faster.
The offline part matters more for astro than for most other genres, honestly. You're often shooting somewhere with no signal at all, and the last thing you want after a long cold night is software that stalls waiting on a cloud connection to do something as basic as generate a preview. Everything in imagic runs on the machine in front of you, which fits how remote most decent dark-sky sites actually are. For the read on how that culling logic works under the hood if you're curious, there's a breakdown at how AI photo culling works.
Once the subs are culled down to the frames actually worth stacking, and after I've run the composite through DeepSkyStacker or Sequator and brought the result back into a raw editor, I lean on the apply_my_style preset to get the final grade consistent with how I typically treat night images: the same shadow lift, the same star color balance I've settled on over a couple dozen sessions. It's trained on my own past edits rather than some generic "astro preset," so it doesn't fight me the way a purchased LUT pack sometimes does on a file that doesn't match its assumptions.
Mistakes I made so you don't have to
Skipping flat frames on the first real session cost me a visible vignette gradient across the stacked result that no amount of software correction fully removed afterward. Flats take five extra minutes (a white t-shirt over the lens, pointed at a uniformly lit surface or the twilight sky, same aperture and focal length as your lights) and they're not optional if you want a clean stack, especially at 15mm where corner falloff on the RF 15-35mm is noticeable wide open.
Second mistake: shooting the whole star trail sequence at f/2.8 because that's what I'd used for the Milky Way core the night before, without accounting for how much brighter ambient light pollution reads over a two-hour exposure window compared to a twenty-minute one. Stopping down to f/4 for trail sequences near any town glow saves you from blown-out sky gradient in the final composite.
Frequently Asked Questions
Does the R6 Mark II's built-in interval timer replace a separate intervalometer for stacking?
For most stacking sessions, yes. The in-camera interval timer handles frame count and gap between shots without any accessory. The one place I'd still reach for an external intervalometer is if you need bulb exposures longer than 30 seconds combined with an interval, since the built-in timer's bulb function works but the menu navigation for adjusting it mid-session in the dark is fiddlier than a dedicated remote with a physical dial.
Is an unmodified R6 Mark II actually good enough for astrophotography, or do I need an astro-modified body?
For Milky Way, star trails, and general nightscape work, the stock sensor is genuinely fine, and the dual gain readout at higher ISOs helps more than people expect. Where an astro modification earns its keep is narrowband and deep-sky nebula targets where hydrogen-alpha signal is the whole point. If that's not your target, don't spend the money on a modification or a used Ra.
What ISO should I be shooting for star stacking on this camera?
Somewhere in the 800 to 3200 range depending on how much total exposure you're getting per frame and whether you're tracked. Tracked setups can run longer subs at lower ISO since trailing isn't a limit; untracked wide-field work needs shorter subs and correspondingly higher ISO to gather enough signal per frame. ISO 1600 was my personal sweet spot across most untracked sessions on this body.
Can I combine star trail and Milky Way core shots from the same location into one project?
Yes, but treat them as two separate captures with two separate setting profiles rather than trying to force one exposure recipe to do both. I generally shoot the core sequence first while the galactic center is well-positioned, then switch to the longer, lower-ISO star trail settings once I've got the core frames banked, sometimes on a different night entirely if the core has already dropped too low.