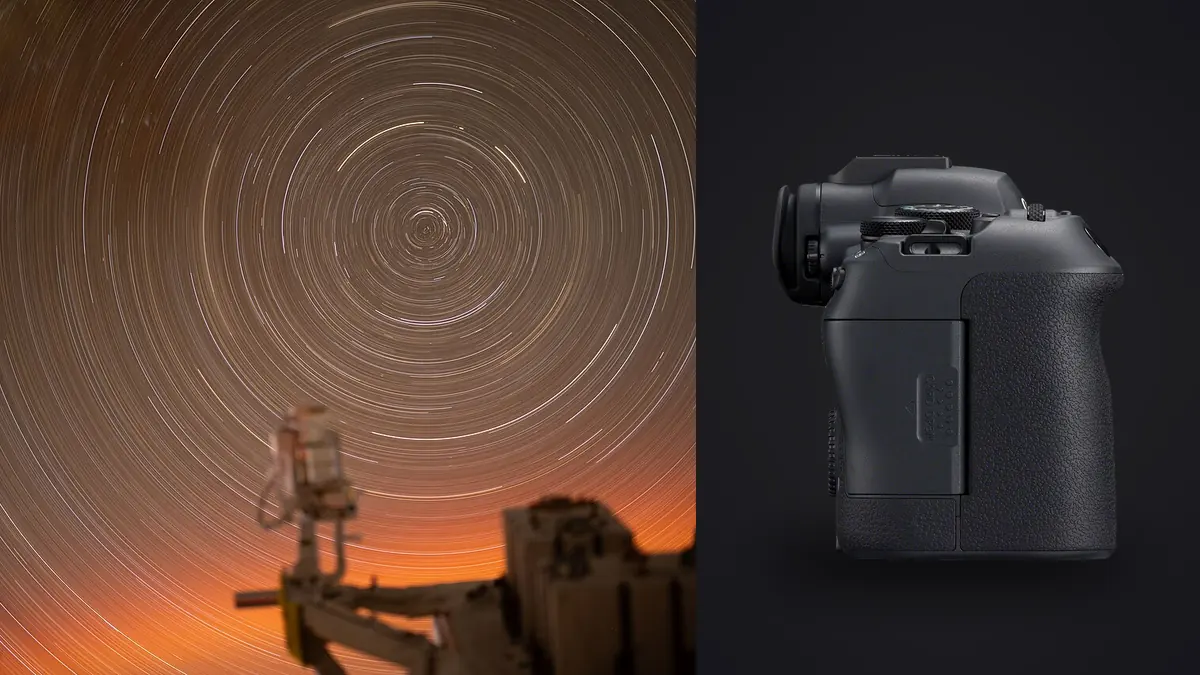
The first time I tried stacking Milky Way frames off the R6 II, I ruined about half the sequence without realizing it until I got home. Dew had crept onto the front element around frame eighteen of a thirty-frame set, and I didn't notice on the rear LCD in the dark. Twelve soft frames went into a stack meant to sharpen the sky, not blur it. That mistake is basically why this article exists: the camera itself is capable of very clean night results, but the workflow around it is where most people (myself included, that night) lose the shot.
What the R6 II Changes for Night Shooters
The R6 II carries a 24.2MP full-frame sensor, which is a step up in resolution from the original R6's 20.1MP but still keeps individual photosites reasonably large for a body in this class. In practice that means you can push to ISO 3200 or 6400 for a single sub-exposure and still have something workable after stacking, though I rarely go past ISO 6400 unless the sky is unusually dark and I want to keep exposure times short.
Two changes matter more than the sensor bump for stacking specifically. First, Canon finally built a proper interval timer into this body. The original R6 made you carry an external intervalometer or use the mobile app tethered over Wi-Fi, which is a pain when you're standing in a field at 2am and your phone battery is already dying from the cold. Second, in-body stabilization rated to roughly 8 stops helps far more during setup than during the actual exposure. I use it constantly when I'm hand-holding to scout a composition or checking framing against foreground rocks or trees before locking the tripod down, since a stable live view makes it much easier to judge where the core of the Milky Way will sit relative to the horizon.
The Interval Timer Quirk Worth Knowing
The built-in timer works well for exposures under 30 seconds set through the normal shutter speed dial. Once you move into Bulb mode for exposures longer than 30 seconds, though, the interval timer's minimum gap between shots doesn't always clear the buffer cleanly if you're also shooting RAW at full resolution with in-camera noise reduction switched on. I leave Long Exposure Noise Reduction off entirely during a stacking sequence (stacking software does that job far better with dedicated dark frames) and set the interval a full 3 to 5 seconds longer than my exposure time, just to give the buffer room to breathe between frames.
Dialing In Exposure Before You Touch the Shutter
Star trailing is a function of focal length, pixel density, and how far off the celestial pole you're pointed, and the 24.2MP sensor on the R6 II is dense enough that the old "500 rule" runs a little optimistic. I use something closer to the NPF rule as a starting point, then check actual pixel-level sharpness on the rear screen zoomed to 100% before committing to a full sequence. Here's what that looks like in practice with lenses I actually carry for this:
| Lens / Focal Length | Aperture Used | Max Exposure Before Trailing | Field Note |
|---|---|---|---|
| RF 14-35mm f/4L at 14mm | f/4 | ~18-20 sec | Widest comfortable framing for foreground-heavy compositions |
| RF 15-35mm f/2.8L at 15mm | f/2.8 | ~17-19 sec | Faster glass lets you shorten exposure and lower ISO slightly |
| Sigma 14mm f/1.4 DG DN (RF) | f/1.8 | ~16-18 sec | Sharp enough wide open for stacking; coma shows past f/2 |
| RF 24mm f/1.8 Macro STM | f/2 | ~11-13 sec | Good for tighter core compositions, less forgiving on trailing |
| RF 28-70mm f/2L at 35mm | f/2.8 | ~8-9 sec | Heavy lens for a tripod head in wind; usable for star clusters |
Those numbers assume you're pointed reasonably close to the celestial equator, where apparent star motion is fastest. Aim closer to Polaris and you can stretch exposures noticeably longer before trailing shows up at 100%. I still test every new composition with one throwaway frame at 100% crop before running the full sequence, because "close enough" numbers from a table are not the same as what your specific lens does wide open.
Building the Subframe Stack
My usual sequence for a Milky Way composition is 20 to 30 light frames at the exposure ceiling from the table above, followed by 8 to 10 dark frames shot with the lens cap on at identical settings, taken either right before or right after the light frames while the sensor temperature hasn't shifted much. I don't bother with flat frames for wide astro work unless there's obvious vignetting from a filter, which mostly comes up with the faster primes.
Foreground handling is where a lot of people overcomplicate things. I shoot one extra exposure of the foreground, either a longer single frame at lower ISO for a static scene, or a light-painted frame if there's no ambient light source nearby. That single frame gets blended in during editing rather than stacked, since stacking a foreground introduces its own alignment headaches for zero benefit; foreground elements don't move relative to each other the way stars do, so there's nothing for a stacking algorithm to average out.
Culling the Stack Before It Ever Reaches Stacking Software
Here's the part that dew ruined for me that first night, and the part most tutorials skip. A 25-frame sequence at 20 seconds each plus buffer gaps runs close to 15 minutes on the tripod. In that window you'll pick up at least one satellite streak, sometimes a distant aircraft's blink pattern, occasional cloud drift at the edges of frame, and if you're anywhere near coastal or high-humidity terrain, a real chance of condensation creeping onto the front element as the glass cools faster than the air around it.
I run the whole sequence through imagic before it goes anywhere near a stacking program. Because the sharpness scoring runs locally against actual focus data rather than a thumbnail, it flags the frames where dew or a passing gust of wind softened things, which is exactly the failure mode that's nearly invisible on a dim rear LCD at night but obvious once you're comparing scores across the set. I pull the flagged frames out, keep the clean ones, and stack from there. Since I'm often shooting somewhere with no signal at all, having that culling pass run entirely offline on the laptop in the car matters more than it sounds. I've had sessions two hours from the nearest town where uploading anything, let alone a folder of 45MB CR3 files, simply wasn't an option.
Picking Stacking Software That Works With CR3
None of the free stacking tools handle Canon's CR3 format natively without a conversion step, which catches people off guard the first time. DeepSkyStacker is free and does the job well for tracked or star-point stacking, but you'll want to convert to DNG first through Adobe's free DNG converter or open the files once in Camera Raw so the metadata reads cleanly. Sequator is Windows-only and has a gentler learning curve for landscape astro specifically, with a built-in sky-versus-ground mask that saves a manual blending step. On the Mac side, Starry Landscape Stacker is paid but handles the sky/foreground separation about as well as anything I've used, and it's worth the cost if you're doing this regularly rather than as an occasional side project.
For smaller sets, I'll sometimes skip dedicated stacking software entirely and use Photoshop's Statistics function set to Median across 8 to 12 frames loaded as a stack of layers. It's slower to set up and doesn't handle star alignment automatically the way DeepSkyStacker does, so it only works if your tripod genuinely didn't move a fraction of a pixel across the sequence, which is rarer than people assume once wind gets involved.
Grading a Stack Without Wrecking the Color
A raw stacked file out of any of these tools tends to look flat and slightly green from residual light pollution, even in areas with decent Bortle ratings. I pull white balance down toward 3800-4200K as a starting point rather than trusting auto white balance, which usually overcorrects and drains warmth out of any foreground light sources. Saturation on the sky itself should be handled carefully. It's easy to push the core of the galaxy into an artificial magenta that looks impressive on a phone screen for about five seconds before it reads as fake on a larger display.
Because I shoot enough of these sessions that the color decisions start to repeat (the same white balance range, similar contrast curve on the core, similar restraint on foreground shadows), I trained imagic's apply_my_style feature on a batch of stacks I'd already graded by hand. It doesn't replace judgment on a new sky, but it gets me to a sane starting point fast on a night where I've got 300 frames from four different compositions to work through before sunrise makes the drive home. If color grading generally is new territory for you, the full color grading guide covers the fundamentals I'm assuming here in more depth.
Mistakes That Wreck a Session
A few things have cost me entire nights, worth naming plainly:
Cold battery drain. The R6 II's battery life drops noticeably below freezing. I carry a spare in an inside jacket pocket, not the camera bag, and swap it halfway through a long session rather than waiting for the warning icon.
Autofocus confirmation, then forgetting to lock it. I focus manually using the 10x magnified live view on a bright star, but if I bump the lens ring afterward while adjusting composition, that focus is gone and I won't notice until I'm home reviewing frames at full size. Gaffer tape across the focus ring once it's set has saved me more than once.
Wind on longer glass. The RF 28-70mm f/2L is a genuinely heavy lens, and even a modest breeze introduces micro-vibration on a tripod that isn't rated for that mass out front. Hanging a weight from the tripod hook helps more than tightening the head further.
Not checking gradient banding from a nearby town. Even 20 miles from a small town, a light dome on the horizon can introduce a gradient across your sky that fights with the stack later. I frame slightly higher than I initially want to, then crop, rather than fight a gradient in post that I could have avoided in the field.
Frequently Asked Questions
Do I need a star tracker for the R6 II to produce clean stacked images?
No. Everything described here is untracked, meaning the camera sits on a static tripod and the stacking software handles star alignment across frames during processing. A tracker lets you use longer individual exposures at lower ISO, which is worth doing if you're regularly shooting deep-sky targets through a telephoto lens, but for wide Milky Way landscape work the untracked approach with 20 to 30 short exposures gets you most of the way there without the extra gear and setup time.
How many subframes actually make a visible difference in the final stack?
Noise reduction from stacking follows a square-root relationship, so going from 10 frames to 20 gives a bigger visible jump than going from 20 to 40. In my experience 20 to 25 clean frames is the point where returns start flattening out for typical wide-angle Milky Way work. More frames help more with fainter deep-sky detail, less with a straightforward core shot.
Can I just shoot one long exposure instead of stacking many short ones?
You can, but you're trading star sharpness for simplicity. A single 4 or 5 minute untracked exposure will show visible star trailing on the R6 II's sensor at any wide-angle focal length, since the sensor resolves enough detail to catch that motion clearly. Stacking short exposures gives you the equivalent total light gathering without the trailing, at the cost of more files to manage and a stacking step in post.
Why do my stars look like short streaks even after stacking?
This almost always traces back to misalignment during capture rather than the stacking software itself: a tripod that shifted slightly mid-sequence, a head that wasn't locked down fully, or wind moving a longer lens between frames. Stacking software aligns on the stars themselves, so if your camera moved between shots the software can usually still align correctly, but any individual frame that was soft or trailing during its own exposure will drag that softness into the average. That's part of why culling soft frames out before stacking, rather than after, makes a visible difference in the final result.
None of this requires exotic gear beyond a tripod and a lens you already own. The R6 II gives you a sensor and an interval timer capable of the job; the rest comes down to being disciplined about exposure limits, ruthless about culling soft frames before they enter your stack, and patient enough to test one throwaway frame before committing thirty minutes of battery and dark sky to a composition that might already be soft at 100%.