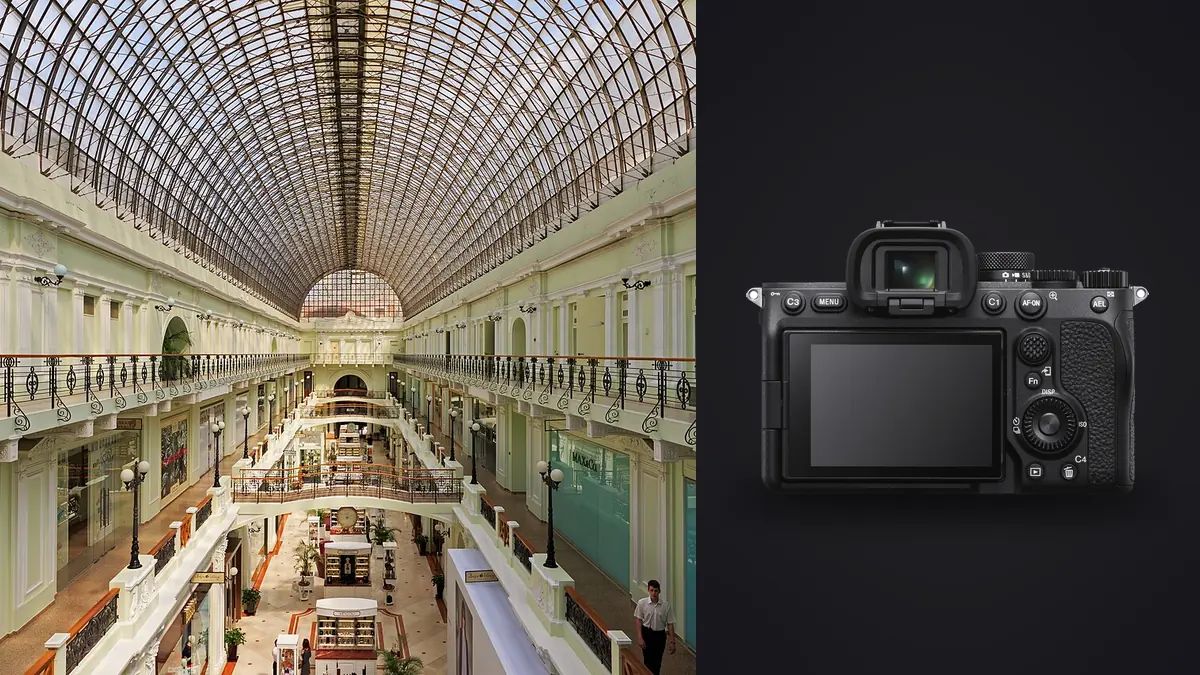
I picked up the A7 IV about eighteen months ago mostly for run-and-gun event work, then found myself using it far more often on hospitality and listing shoots than I expected. Interior and architectural photography is a strange discipline to bring a hybrid mirrorless body into: it's slow, tripod-bound, and forgiving of a camera that isn't the fastest thing on the market, but it's brutal about dynamic range, color accuracy, and file quality because every image gets pixel-peeped at a scale a wedding photo never will. A 40-inch print of a hotel lobby shows every compression artifact. A dim stairwell with a bright window at the end shows every stop of dynamic range you don't have.
This isn't a spec-sheet rundown. It's what actually matters when you're setting up a tripod in a kitchen at 7am before the light gets hard, and what I'd tell another photographer who's deciding whether the A7 IV is enough camera for this kind of work, or whether they need to save for something else.
The sensor's dynamic range is the actual selling point
Forget megapixels for a second. The single biggest reason the A7 IV holds up for interiors is the 33MP BSI sensor's dynamic range at base ISO, somewhere around 14 stops depending on whose lab test you trust. In practice, that means a room with a bright window and a shaded interior, the classic real estate nightmare, often needs only a two or three shot bracket instead of the five or seven shots I used to pull on older bodies to avoid banding in the shadows when I pushed exposure back up in post. Dual base ISO helps here too. Below ISO 640 the sensor reads out through the low-gain circuit, and I've found that shooting a touch underexposed at ISO 100 and recovering two stops in Lightroom introduces noticeably less noise than it would have on the A7 III. That matters in basements, windowless conference rooms, and anywhere the ambient light source is a single pendant fixture instead of daylight.
The tradeoff nobody mentions in reviews: the A7 IV's raw files are compressed by default, and even the "lossless compressed" option Sony added over the older lossy compression isn't quite the same as a fully uncompressed raw when you're stacking heavy shadow recovery on a window pull. I shoot lossless compressed for everything now, it's the right compromise, but if you were on an A7R IV with true uncompressed raw and are stepping down for the better ergonomics, know that you're giving up a small amount of highlight roll-off softness in exchange for smaller files and faster buffer clearing.
Pixel shift multi shooting, and why it's not the party trick it sounds like
Sony's Pixel Shift Multi Shooting mode fires 16 frames, shifting the sensor by half and one pixel increments between each, then stitches them in Imaging Edge Desktop into a file with roughly four times the resolution and far cleaner color detail than a single exposure. For architecture, where the subject is (in theory) not moving, this is genuinely useful in a way it usually isn't for people or landscapes with any wind. I use it selectively, not on every setup. It's worth the extra five minutes for a lobby or feature room going into a print campaign or a magazine spread, where clients are asking for 30-inch prints or full-bleed double-page spreads. For a standard listing gallery going on an MLS site at 2000px wide, it's wasted effort and wasted storage. The catch is real: any movement in the sixteen-frame sequence, a ceiling fan, curtains near an HVAC vent, even a coffee cup's steam, creates visible ghosting artifacts in the merge. I've had to redo a shoot because I didn't notice the ceiling fan was on low speed during a pixel shift sequence until I got home and the blades looked like a smear. Turn off every fan, kill the HVAC for the room if you can, and check the LCD at 100% zoom before you move the tripod.
Choosing lenses: the part that actually decides image quality
The A7 IV body is honestly the less important half of this equation. Native E-mount doesn't have a true architectural tilt-shift lens from Sony yet, which is the biggest gap compared to Canon's RF system. Here's how the realistic options stack up for interior and architectural work specifically:
| Lens | Focal Range | Max Aperture | Distortion Handling | Best Use Case |
|---|---|---|---|---|
| Sony FE 16-35mm f/2.8 GM II | 16-35mm | f/2.8 | Corrects cleanly in profile, mild barrel at 16mm | General listing work, tight rooms, versatility |
| Sony FE 12-24mm f/4 G | 12-24mm | f/4 | Noticeable barrel distortion, needs manual correction on straight lines | Cramped bathrooms, small closets, tight commercial spaces |
| Laowa 15mm f/4.5 Zero-D Shift | 15mm (fixed, with shift) | f/4.5 | Near-zero distortion, true shift for vertical correction | Facades, high-end interiors where converging lines are unacceptable |
| Sigma 14-24mm f/2.8 DG DN Art | 14-24mm | f/2.8 | Well corrected but heavy vignetting wide open | Dim interiors needing the extra stop over the 12-24mm G |
My kit is the 16-35 GM II for eighty percent of a shoot and the Laowa shift lens for anything where converging verticals matter, exterior facades especially. The Laowa is manual focus and manual aperture, which sounds like a step backward until you remember that architectural work is tripod-bound anyway; you're not fighting autofocus hunting in a dim room, you're focusing once, checking peaking on the articulating screen, and locking it down. If you already own Canon TS-E glass from a DSLR system, a good adapter (Sony's own LA-EA5 doesn't support TS-E, so you'd need a Metabones or Fotodiox with electronic contacts for aperture control) is a cheaper route into real shift capability than the Laowa, though you lose autofocus entirely, which for this genre you're not using much anyway.
Bracket settings that actually match the room, not a fixed formula
I stopped using a single "always bracket 5 shots at 2EV" rule a couple of years ago because it wastes time in easy rooms and still isn't enough in hard ones. What I actually dial in depends on the contrast ratio in front of me:
| Room Type | Typical Bracket | Spacing | Notes |
|---|---|---|---|
| Even ambient light, no direct window in frame | 1 shot | n/a | The 14-stop sensor range covers it; shoot raw, adjust in post |
| Window with visible sky, moderate room light | 3 shots | 2EV | Middle exposure for the room, bracket for sky and deep shadow |
| Bright exterior view through glass, dim interior | 5 shots | 1.7-2EV | Common in hotel rooms with floor-to-ceiling windows at midday |
| Mixed color temperature (tungsten lamps + daylight) | 3 shots at fixed WB | 2EV | Never auto white balance across a bracket; lock it or blend in raw |
The articulating rear screen matters more than people give it credit for here. Interior work means low tripod angles constantly, shooting up at a ceiling detail or down through a doorway, and being able to flip the screen out rather than crouching under a tripod leg to check focus peaking has saved my knees more than once. Combined with Imaging Edge Mobile for a live feed to a phone or tablet when someone wants to see the shot before I move on, it's a genuinely practical feature for this kind of shoot rather than a spec-sheet checkbox.
What a full day of bracketed interiors actually does to your card and your evening
A single hotel floor with twelve rooms, each shot at three angles with a five-shot bracket, is 180 raw files before you've touched a single common area. A full property with lobby, restaurant, pool, and a dozen guest rooms regularly pushes past 800 frames in a day, and a decent chunk of those are near-duplicate brackets or slightly different tripod positions where you nudged the head half an inch and fired again because the first framing felt off. Sorting that at the end of a twelve-hour shoot day by eye is how you lose an evening. I run everything through imagic before I open Lightroom now, mostly for two things: the duplicate and burst clustering groups my bracket sets and near-identical reframes together instead of making me scroll past 800 individual thumbnails one at a time, and the local sharpness scoring flags which frame in a handheld detail shot (a close-up of tile work or a light fixture where I didn't bother with the tripod) is actually the sharpest before I commit to editing it. Because it runs entirely on the machine with no upload step, unreleased listing photos and hospitality shoots under an NDA never leave the laptop before anyone has approved anything, which matters more in this genre than most; a leaked interior shot of a property before a launch date is a real problem for the property owner, not a minor annoyance. The other piece I've leaned on is the apply_my_style preset feature. Interior work benefits from a genuinely consistent look across a whole property gallery, cool or warm color balance, a consistent shadow lift, because viewers notice immediately if room 4 looks different from room 12. I trained a preset on a batch of interiors I'd already graded by hand and now run new bracket-merged files through it as a starting point rather than rebuilding white balance and tone curves room by room. It's not magic, and I still hand-adjust a chunk of frames, but it cuts the baseline grading time on a big property shoot substantially. If you haven't looked at how AI-assisted culling actually works under the hood, this rundown on AI photo culling covers the mechanics better than I can in a paragraph here, and the broader workflow habits in these tips for a faster photo workflow apply directly to bracket-heavy shoot days like the ones I just described.
Frequently Asked Questions
Is the A7 IV's autofocus even relevant for architectural work?
Barely. You're on a tripod, manually focusing with peaking or magnification for critical sharpness on a static subject, so the eye-tracking and subject-recognition autofocus that gets so much attention in reviews mostly goes unused. Where it does matter is walkthrough video for a listing or a quick handheld detail shot between setups, and there it's excellent, but it's not the reason to buy this body for interiors.
Do I need the A7R IV or A7R V's higher resolution instead?
Only if you're regularly delivering large-format prints without pixel shift, or shooting for clients who demand native 60+ megapixel files for their own downstream retouching. For gallery delivery, web listings, and most print sizes up to roughly 24 inches, the A7 IV's 33MP is plenty, and pixel shift closes most of the remaining gap for the rare job that needs more.
Can I get away with the kit 28-70mm lens for interior shoots?
Not really. 28mm on full frame is too tight for most rooms once you're standing against the opposite wall, and the corner sharpness and distortion control on a variable-aperture kit lens aren't built for the pixel-level scrutiny architectural clients apply. Budget for at least a 16-35mm class lens before you take on paid interior work.
How much storage should I plan for a full-day property shoot?
With bracketing and occasional pixel shift sequences, plan on roughly 40 to 60GB for a mid-size hospitality property, more if twilight exteriors get added at the end of the day. Dual card slots (CFexpress Type A and SD) mean I run simultaneous backup recording rather than relying on a single card surviving a full shoot day.
What's the realistic learning curve moving from a DSLR to this camera for interiors?
Shorter than most people expect. The core skills, tripod leveling, bracket exposure judgment, lens choice for distortion, carry over completely. The adjustment is mostly menu navigation and getting comfortable trusting the electronic viewfinder's exposure preview instead of chimping the LCD after every shot, which honestly speeds up a shoot day once it clicks.