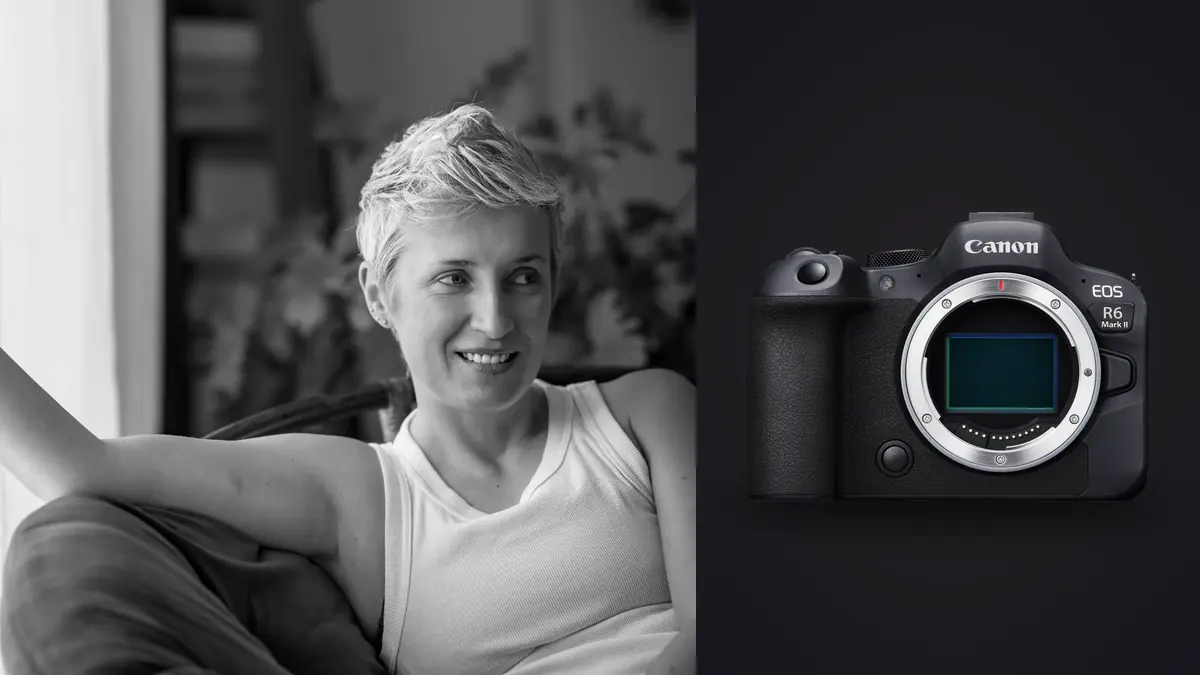
Boudoir technique is not defined by a wide aperture and a bedroom location. The work depends on consent that remains active throughout the session, posing that supports the subject rather than forcing a visual formula, light that preserves skin and fabric detail, and a file process appropriate for intimate images. The Canon EOS R6 Mark II is a capable full-frame body for that work, but its autofocus and burst options should serve the pace of the room rather than dominate it.
This advanced checklist treats camera configuration as one part of a controlled experience. It is designed for a planned session with clear boundaries, a private set, and a defined delivery agreement. Adapt the photographic choices to the person, the space, and the intended mood instead of copying every setting unchanged.
Make consent and privacy part of the technical plan
Before lights or camera bags enter the room, agree on who may be present, which kinds of images are within scope, which are not, and how the subject can pause or change direction. A signed model release and a photography agreement serve different purposes, so they should not be treated as interchangeable. If promotional use is requested, make that permission explicit and separable from the private-session agreement.
Turn off automatic wireless transfer unless it is intentionally part of a secured process. Confirm that no camera or computer is sending previews to a cloud account by default. Keep memory cards under direct control, and decide whether an assistant genuinely needs access to the full set. Privacy is reduced each time another device, person, or service receives a copy.
Discuss wardrobe, comfort, mobility, temperature, and preferred language for direction. Establish a simple stop signal that does not require explanation. Place robes, water, and a private changing area within easy reach. These choices affect pacing and expression more than any autofocus customization, and they create the conditions in which precise photographs can actually be made.
Prelight the set without using the subject as a stand-in
Use a mannequin, stand, chair, or clothed assistant to establish rough direction, background brightness, and exposure before the subject is on set. Mark the useful posing zone so the light remains predictable. This shortens the time spent waiting under lights and lets the photographer solve reflections, cable hazards, and clutter without adding pressure.
A large window can act as a soft source, but its intensity and color may change during the session. Note where direct sun will move and prepare diffusion or a second setup. Continuous lamps make the result visible and keep exposure preview intuitive, while flash can provide more motion control. Either approach needs a clear plan for modifier distance, spill, and catchlight placement.
Meter and test the brightest likely skin highlight, pale fabric, and reflective jewelry. Check the histogram and highlight warnings rather than judging brightness from the rear screen alone. Darkening a screen for a low-key room can make an underexposed file appear normal; a bright screen can do the reverse. Keep screen brightness consistent once the exposure reference is established.
Configure the R6 Mark II for a quiet, deliberate pace
Create a still-photo configuration that avoids accidental mode changes. Manual exposure is dependable under fixed light. Aperture priority with a carefully chosen minimum shutter speed can suit changing window light. Auto ISO is useful only when its upper range and compensation are understood. Save a separate custom mode for movement so a change in technique does not require rebuilding the main portrait setup.
Mechanical, electronic first-curtain, and electronic shutter options have different consequences for sound, flash, motion rendering, and artificial-light behavior. Use a compatible mechanical mode for conventional flash timing unless the complete camera and trigger system supports another method. Test electronic shutter under the actual LEDs because brightness bands or color changes can appear even when the room looks steady to the eye.
Disable attention-grabbing confirmation sounds. Reduce unnecessary rear-screen review, but keep enough feedback to catch exposure or focus drift. A silent camera is not automatically less intrusive if the photographer fires long, unexplained bursts. Short sequences with clear direction feel more intentional and create fewer near-duplicates.
Match lens choice to distance and body language
A moderate normal lens works well when the room is small and environmental context matters. A short portrait lens increases working distance, simplifies the background, and can make direction feel less physically close. A wider lens can show architecture or create deliberate perspective, but placing a body near the frame edge can stretch proportions. Check corners before committing to a pose.
Fast apertures isolate detail, yet extremely shallow depth can leave the near eye sharp and the far eye distracting. Choose aperture from the pose. A face turned across the frame needs more depth than a profile. A reclining pose that places face, hands, and feet at different distances may benefit from stopping down or changing the camera angle so the key features share a plane.
Do not switch lenses repeatedly in a dusty textile-filled room. Plan two or three visual chapters and assign a focal length to each. If two bodies are used, synchronize clocks and secure both cards afterward. A simple lens plan supports continuity and keeps attention on communication rather than equipment.
Direct poses through actions and checkpoints
Give one change at a time: shift weight, turn a shoulder, lengthen the spine, relax a hand, or move the gaze. Demonstrate only when appropriate and avoid touching without specific permission. Action-based prompts create natural transitions and help the subject understand what the camera is seeing.
Check hands, joints, garment edges, and pressure points before refining expression. A hand pressed flat can appear larger; a bent wrist can draw attention away from the face; a tight strap can create a distraction that is easier to fix on set than in post. Ask whether an adjustment feels comfortable rather than assuming appearance should override sensation.
Use tether-free verbal checkpoints if privacy or simplicity calls for keeping the set offline. Briefly show a representative frame only when that review supports confidence and consent. Do not scroll through unrelated images or let the camera leave controlled hands. The R6 Mark II screen can help confirm posture and lighting, but the subject should not be asked to judge critical focus on a small preview.
Tune autofocus for eyes, fabric, and partial profiles
Eye detection is a useful default for a single face, but sheer fabric, hair, mirrors, foreground objects, or a profile can interrupt recognition. Pair subject detection with an AF area that limits where the camera may search. If it chooses the wrong reflection or texture, move to a small point on the visible eye rather than waiting for automation to recover.
For a stationary pose, single autofocus can prevent the focus plane from wandering after confirmation. For slow movement toward or away from the camera, continuous autofocus is more appropriate. Keep the selected shutter speed high enough for the movement because accurate focus cannot remove motion blur. Review a magnified eye at each significant change of distance, lens, or light.
At very close range, eyelashes can appear sharp while the iris falls just behind the focus plane. Stop down slightly, change the angle, or focus on the eye surface rather than the nearest lash. If every frame in a sequence shifts to foreground fabric, simplify the AF region and remove the obstruction from the search area before changing tracking sensitivity.
Shape exposure around skin and textile detail
Low-key does not mean underexposed. A dark final image can still begin with a RAW file that preserves smooth tonal transitions and controlled highlights. Expose deliberately, then create mood with light placement and non-destructive editing. Deeply underexposing skin and lifting it later can reveal color noise and uneven transitions that were not visible on the camera screen.
Watch the brightest channel when colored light is used. A red or blue lamp can clip one color channel before the overall luminance histogram reaches the edge. Make a neutral-light reference frame when accurate wardrobe or skin color matters, then use the creative color with a known baseline.
White sheets, satin, sequins, and jewelry need separate attention. Change the light angle to control specular reflections before lowering the whole exposure. Negative fill can deepen shape without forcing the background to black, while a reflector can open shadows without adding another powered source. Each tool changes contrast as well as brightness.
Use movement without turning the session into a burst test
Small actions such as a turn, breath, fabric movement, or change of gaze can produce less rigid frames. Explain the movement, rehearse it once, and identify the point that matters. Use a short burst around that point. The camera's fastest drive mode is rarely necessary for controlled portrait motion and can make subtle expression changes harder to compare.
Choose shutter speed from the fastest moving element, often hair or fabric rather than the body. Stabilization helps with camera movement, not the subject. If continuous light is too dim to freeze the action at the chosen aperture, add light, open the aperture with an accepted depth tradeoff, or direct a slower movement.
Review motion sequences for expression and posture before technical perfection. Then compare focus within the best gesture. This order prevents the sharpest but least flattering transition from winning merely because it is easy to score.
Keep the private post-production path narrow
Copy every card to a protected job folder and a separate backup before formatting. Limit filenames and folder names to the information required for operations; intimate descriptions do not belong in paths that may appear in logs or previews. Encrypt storage where appropriate and document deletion or archive commitments made in the agreement.
Local processing reduces unnecessary exposure. imagic can ingest supported Canon CR3 files on Windows or macOS, group bursts, and score sharpness, exposure, closed eyes, and composition without uploading the photos. Its edits are non-destructive, and output can be rendered as JPEG or TIFF. Review the desktop workflow and the broader tips and workflow guides when designing a process that remains on the workstation.
Automated culling should not make sensitivity decisions. A technically strong frame can still fall outside the agreed scope, and a lower-scored frame may better respect the subject's preferred presentation. Perform a consent-aware human pass before editing, exporting, or showing any image.
Advanced session checklist
- Agreement: confirm scope, access, promotional permission, stop signal, and delivery method.
- Room: secure privacy, remove identifying clutter, warm the space, and make paths safe.
- Light: prelight with a stand-in object, test highlights, and control changing daylight.
- Camera: synchronize time, choose shutter mode, silence alerts, and prepare a movement configuration.
- Focus: limit the search area, verify the near eye, and recheck after distance changes.
- Direction: offer one action at a time, request permission before touch, and preserve comfort.
- Files: maintain card custody, create two verified copies, and keep processing local when required.
- Delivery: inspect every export, remove unintended metadata, and follow the agreed retention policy.
Frequently asked questions
Is eye autofocus enough for every boudoir pose?
No. Fabric, hair, reflections, profiles, and very shallow depth can distract or outpace detection. Restrict the AF area and use a small point when the camera does not select the intended eye.
Should electronic shutter be used to keep the session quiet?
Only after testing it with the actual lights and movement. Artificial light can cause bands or color variation, and moving subjects can render differently, so a quieter mechanical option may be safer.
How many people should have access to the RAW files?
Only those whose access is necessary and agreed. Keep cards controlled, avoid automatic cloud transfer, secure working storage, and apply the documented retention or deletion policy after delivery.