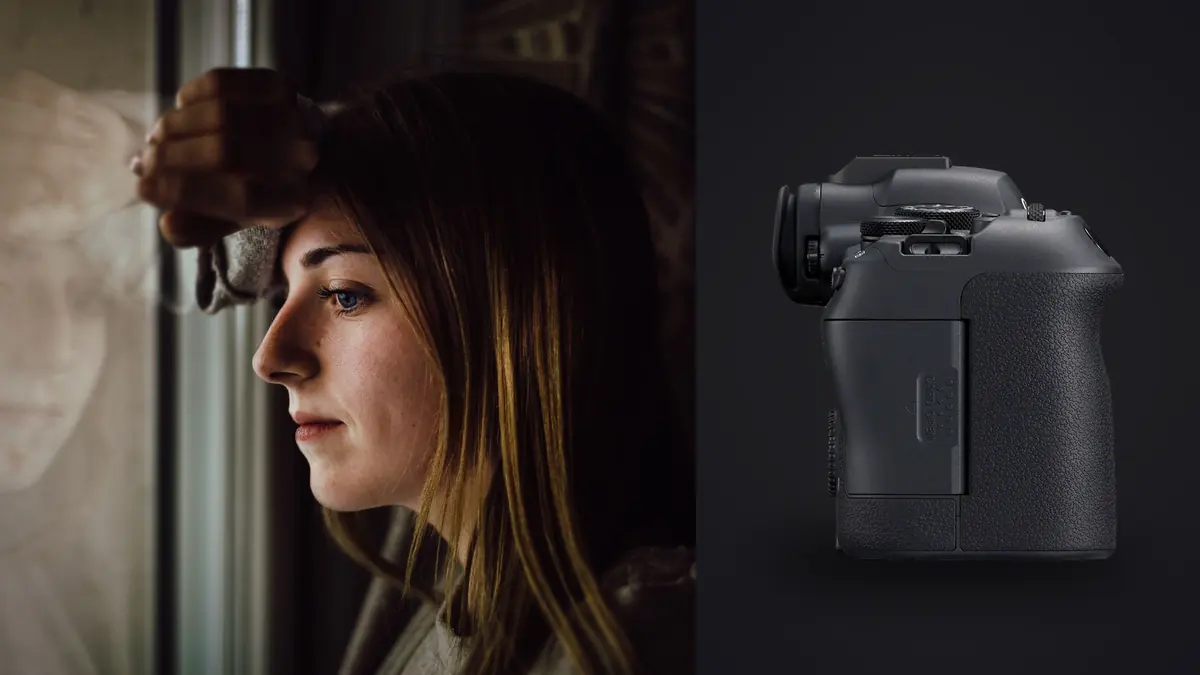
A Canon EOS R6 Mark II boudoir RAW Workflow must protect private files while preserving enough information to judge focus, movement, skin highlights, and color accurately. A soft portrait may come from subject movement, camera movement, a shallow focus plane, or autofocus choosing the wrong feature. Uneven skin color may begin with mixed light rather than with RAW development, so capture notes and controlled comparisons belong in the workflow.
Privacy and comfort are part of every stage. Review should never require unnecessary copies, casual cloud uploads, or a broader audience around the set. Confirm consent, capture boundaries, storage rules, retention, and who can view exports before files leave the cards. A technically correct edit does not repair a process that made the subject feel unsafe.
Begin the RAW quality pass with one variable at a time
Start by recording the conditions around a failed frame: lens, aperture, shutter speed, focus area, shutter type, light source, subject movement, and camera support. Compare it with a successful frame made seconds earlier. If several settings changed together, recreate the scene with a neutral target and alter only one item. This is faster than moving every slider in post and hoping the image becomes coherent.
Inspect the full frame before magnifying. A sharp garment and soft eye suggest focus placement; a uniformly smeared frame suggests camera movement; sharp furniture with a moving hand or face points to subject motion. Double edges often indicate movement, while a detailed eyelash beside a soft iris can mean the focus plane landed slightly forward. Each symptom asks for a different correction.
Use the rear screen for immediate confirmation, but judge demanding files on a calibrated display when possible. Screen brightness can make an underexposure look acceptable in a dark room. A small preview can hide fine movement and aggressive noise reduction. The purpose of review is to identify a repeatable cause, not to reject a pose solely because it looks different at high magnification.
Fix eye focus that lands on lashes, hair, or fabric
Eye detection needs a visible eye and enough contrast to recognize it. Side light, hair across the face, closed lids, masks, mirrors, and very shallow depth can make the camera choose a nearby feature. Begin with a focus area over the intended face rather than asking the camera to search the entire composition. If it selects the wrong person or a reflected face, reduce the area and reacquire.
At close portrait distance, the difference between iris, lashes, and eyebrow can exceed the useful depth of field. Stop down enough to cover the pose, especially when the face turns away from the sensor plane. Focus on the nearer visible iris, then confirm both composition and breathing movement. In-body stabilization reduces camera shake, but it does not keep a swaying subject inside a thin focus plane.
For a still pose, single autofocus can be practical if neither camera nor subject moves after focus. For breathing, turns, fabric movement, or a sequence between marks, continuous autofocus usually follows change more naturally. Do not switch methods during the session without a short verification series. Familiar control matters as much as the nominal mode.
Separate camera shake from subject movement
A portrait can look soft even when autofocus was correct. Check whether catchlights, jewelry, and stationary furniture share the same blur direction. If everything moves together, improve stance, add support, or raise shutter speed. If furniture is sharp while hands or facial features trail, the subject moved during the exposure and stabilization cannot solve it.
Give movement a clear beginning and end. Ask the subject to settle after a turn, or deliberately photograph through the motion with a shutter that freezes the important instant. Short bursts can capture changes in expression and fabric, but they should respect flash recycling and should not replace communication. Review the first, middle, and last frame to see whether softness grows as the motion accelerates.
With continuous light, increase output or move the source closer before relying on a very high ISO or an aperture too narrow for the intended look. With flash, effective motion control depends on ambient contribution and flash duration. A sharp flash-lit subject can still show an ambient ghost if the room exposure is bright enough to register movement.
Remove electronic-shutter bands and distorted motion
Electronic shutter can be quiet, which is appealing in an intimate setting, but some LED fixtures and dimmed continuous lights pulse. The interaction may create horizontal bands, uneven brightness, or color changes across the frame. Make a plain-wall test at the working shutter speed and inspect several frames. A single clean preview does not prove that every phase of the light cycle is safe.
If bands appear, try a mechanical shutter, a compatible anti-flicker setting, a different shutter speed, or a stable photographic light. Change one variable and repeat the test. Household lamps, decorative LEDs, and video lights can behave differently at different dimmer positions, so a setting that works at full output may fail after the mood is lowered.
Fast electronic readout can also render quick fabric, hair, or camera movement differently from a mechanical exposure. Straight room edges make distortion easy to spot. Mechanical shutter is a sensible fallback when silence is not essential. If sound matters, discuss it with the subject rather than accepting artifacts that will weaken the final set.
Recover skin highlight detail at capture
Bright shoulders, pale fabric, glossy makeup, and direct window patches can clip before the rest of the portrait looks bright. Use the histogram and highlight warnings as guides, then inspect a representative RAW file. Preserve broad tonal transitions on skin. A tiny specular point can be white, but a large featureless patch usually needs a lighting or exposure correction.
Shape the source before lowering the whole frame. Feather a softbox, move the subject away from a hard window patch, change the face angle, or add diffusion safely. Moving a light closer makes it larger relative to the subject and can soften transitions, although falloff changes. Flag spill that brightens a shoulder without helping the face.
Do not underexpose every frame to protect a lamp or irrelevant reflection. Decide which highlights carry subject detail and which background lights may remain bright. If the skin channel is preserved but shadows become too deep, use fill, reflection, or room control rather than assuming extreme RAW recovery will produce natural color.
Correct inconsistent skin color at the source
Mixed daylight, warm practical lamps, colored walls, and LED fixtures can place several color casts on one body. A global white-balance slider cannot make all of them neutral at once. Turn off unnecessary sources, gel lights toward a common color, block reflected spill, or choose one source as the deliberate key. Keep practical lamps only when their color contributes to the composition.
Make a neutral reference under the final lighting and repeat it when the source, modifier, or room changes. Locking a camera white balance can make previews more consistent, while RAW capture retains adjustment latitude. The reference should share the subject's light; a card held near the camera may receive a different mix than the face near a window.
Saturated colored light can clip a single channel while the overall brightness appears safe. If skin texture disappears under deep red or blue, lower the source, change its angle, add neutral fill, or reserve the color for the background. Color grading cannot restore information that a channel did not record.
Solve flash exposure and synchronization failures
When part of the frame is dark, first check whether shutter speed exceeds the supported synchronization behavior for the selected flash mode. Then check trigger seating, channel, group, and power. A black strip has a different cause from a uniformly dark frame. Repeated firing can also expose recycling limits, especially when a large modifier or small aperture demands high output.
Lower the required flash power by opening the aperture, raising ISO within the quality plan, moving the source, or using a more efficient modifier. Slow the capture rhythm so the light can recycle consistently. If later frames in a burst grow darker, do not apply one exposure correction to the entire sequence before confirming that the source actually delivered equal light.
Keep a simple fallback: one tested light, one trigger, and a manual exposure that works. Complex groups are helpful only when each contribution is clear. Photograph each group separately during setup, then combine them. This reveals whether an unexpected highlight comes from the key, rim, practical, or ambient light.
Avoid overcorrecting high-resolution skin detail
The R6 Mark II resolution is suitable for detailed portrait delivery without requiring extreme sharpening. A close screen view can make normal skin texture appear harsher than it will at final size. Judge sharpening and noise reduction after exposure and white balance are stable, then preview at the actual output dimensions.
Use optical choices and light direction to manage texture at capture. A hard grazing source emphasizes every raised detail, while a larger, more frontal source reduces micro-shadow contrast. This is not a reason to remove natural texture. It is a reason to make the lighting support the agreed visual style before considering selective retouching in software designed for that purpose.
imagic provides non-destructive batch adjustments and can export JPEG or TIFF, but it does not provide layers or generative fill, and its retouching is limited to the Heal / Remove brush, red-eye correction and portrait polish in Plus and Max. Plan any detailed retouching in a separate application. Keep the RAW as the reference and avoid baking an aggressive global skin treatment into every selected image.
Keep private files controlled during review
Use descriptive but neutral folder names, restrict access, and create a verified backup before cards are reused. Do not include intimate descriptions in filenames or unnecessary personal data in exports. Apply the written retention and deletion policy consistently. Consent for capture, delivery, portfolio use, and social use should be treated as separate decisions.
On Windows or macOS, imagic can process supported CR3 files locally, score sharpness, exposure, closed eyes, and composition, and group near-duplicates without uploading photographs. Culling sets a status and never deletes the original. A human review still decides whether a frame respects boundaries, whether expression is welcome, and whether the subject approved its intended use.
See the desktop workflow for local editing and export details, and use the AI and Technology articles for context on responsible automated review. Export only the approved selection, to a confirmed destination, with metadata and access appropriate to the agreement.
Use a private RAW workflow quality checklist
- Wrong focus feature: reduce the AF area, reacquire the intended eye, and add depth where needed.
- Uniform softness: check camera movement, support, shutter speed, and lens stability settings.
- Moving features: raise shutter speed or create a clear pause in the pose.
- Horizontal bands: test mechanical shutter, flicker controls, shutter speed, and light output.
- Flat white skin: protect meaningful highlights and reshape the source.
- Patchy color: remove mixed sources and make a neutral reference in subject light.
- Dark flash frames: confirm synchronization, trigger state, recycling, and group output.
- Harsh processing: judge the file at delivery size and keep adjustments non-destructive.
Frequently asked questions
Why does eye autofocus sometimes choose eyelashes?
The visible contrast of lashes, hair, or an eyebrow can be stronger than the iris, especially in side light or at a close distance. Use a smaller starting area and enough depth of field to cover normal breathing and slight turns.
Should boudoir portraits use electronic shutter for silence?
Only after checking the actual lights and movement. Electronic capture can show bands under pulsing fixtures, so mechanical shutter remains a useful fallback when its sound is acceptable.
Can imagic retouch skin after culling?
No. imagic can cull, apply non-destructive adjustments, and export JPEG or TIFF, but it has no layers, and its retouching is limited to the Heal / Remove brush, red-eye correction and portrait polish in Plus and Max. Detailed skin work belongs in a separate editor.