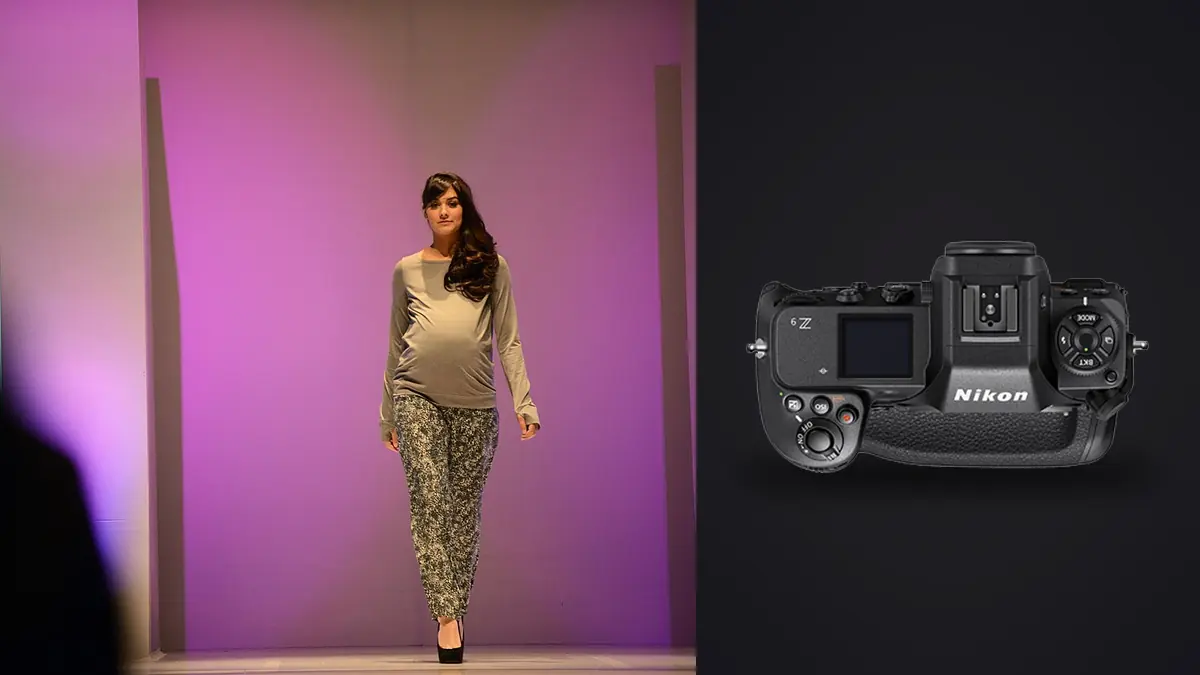
A commercial lookbook can fail in ways that are easy to misdiagnose. A dark band may come from a light rather than the shutter, a soft eye may be subject motion rather than autofocus, and inconsistent garment color may begin with mixed illumination rather than RAW processing. The Nikon Z9 gives the photographer extensive control, but useful troubleshooting still starts with evidence from the failed frame.
This Lens and Location Guide starts with room dimensions, camera distance, background, light, and crew circulation. Those choices determine which lens can preserve garment proportions and which technical problems are likely to appear. Symptom-led checks remain useful, but they are tied here to the studio or location condition that created them rather than presented as a universal camera recipe.
Choose the Z lens from framing distance and deliverable
A moderate zoom can cover full-length, three-quarter, and detail views without moving the camera through the crew's working area. A prime can provide a distinct rendering or aperture but may force position changes that alter perspective between required angles. Compare the actual framing distance for front, back, side, and movement views before selecting either.
Short camera distance enlarges features nearest the lens and can make hands, feet, or a forward knee dominate. A longer lens used farther back can compress the set and reduce available room for lights and backdrop separation. Mark the approved camera line and model zone, then verify that the chosen focal length can meet every mandatory crop.
Test fine fabric, edge sharpness, flare, focus behavior, and working aperture on the intended lens. A lookbook lens must resolve the product consistently across the part of the frame where it will be placed, not merely look sharp at the center.
Scout the studio or location as a production system
Measure usable depth after accounting for backdrop, subject distance, camera, lights, tether station, and safe walkways. Identify ceiling height, lift access, power circuits, window direction, wall color, mirrors, public traffic, and changing daylight. A room that appears large when empty can become constrained once the complete set is built.
Plan one camera direction that controls reflections and another that can serve as a fallback if sunlight or venue activity changes. Mark where the model can move without leaving consistent light. Confirm privacy for changing, secure storage for garments and cards, and a closed review area when unreleased work must remain confidential.
When a frame is partly dark, test shutter and light timing
A hard dark edge across a flash-lit frame points first to synchronization. Confirm that the camera is using a capture mode supported by the trigger and flash system, then reduce shutter speed and repeat. Because the Z9 relies on electronic shutter capture, assumptions carried over from a mechanical-shutter body can be misleading. Use Nikon's current reference guide and the lighting manufacturer's compatibility information for the exact combination.
Test one light at a time. Disable optical slave modes, radio groups, high-speed functions, and delay features until a single head fires consistently. Replace or recharge trigger batteries, reseat the transmitter, and confirm that every receiver uses the intended channel. If a pack is being fired before it has recycled, the next frame may be dim rather than partially blocked; increase the interval or reduce output to distinguish recycling from synchronization.
With continuous LED fixtures, a dark or bright horizontal pattern can be flicker banding. Make a short shutter-speed series while aperture and ISO stay fixed. If the band spacing changes with shutter time, the light's modulation is implicated. Try the camera's flicker-related options where applicable, a shutter time aligned with local mains frequency, or a fixture designed for photographic use. Keep the test files so the rental house or lighting team can see the symptom.
When exposure drifts, isolate every automatic variable
Lookbooks need consistency across poses and garments. In a controlled set, manual exposure for camera and flash removes background tone from the metering equation. Auto ISO, exposure compensation, flash TTL, and changing zoom-head position can each alter output. Record a gray card and a simple exposure reference after the final lighting arrangement, then repeat it whenever a modifier, power level, or key distance changes.
Check whether the model is stepping toward or away from the key light. With many modifiers, a small distance change alters both brightness and softness. Mark the usable floor area and decide whether the assignment wants locked lighting or deliberate movement. If motion is part of the look, meter the boundaries and accept a planned range rather than expecting identical histograms from different positions.
White garments and reflective materials can show clipped channels before the combined luminance histogram appears alarming. Inspect the RAW file and individual color behavior in the chosen developer. Preserve texture in the product that must be sold, while allowing a deliberate specular reflection to remain bright. Do not underexpose every file simply because a metal button or sequin reaches the limit.
When the eye is soft, find the actual sharp plane
Magnify beyond the face and locate the sharpest detail. If hair behind the eye is crisp, focus landed behind. If a lapel in front is sharp, the target moved forward. If no plane is sharp and edges smear in one direction, camera or subject motion is likely. If one eye is crisp and the other is not, shallow depth and head angle may explain the frame even though autofocus worked.
For a static pose, use a controllable AF area and place it over the nearer eye or a high-contrast facial feature. For walking sequences, continuous AF and subject recognition can help, but the starting position remains important when other faces, racks, or reflective displays enter the frame. Watch the indicated target during rehearsal and adjust the area before the final pass.
Increase depth of field by changing aperture, camera distance, pose angle, or focal length rather than assuming focus mode alone can solve it. Increase motion control with a shorter exposure or a cleaner pause in the movement. Flash duration may contribute when flash dominates the exposure, but ambient light can still record a blurred edge. Make one frame with the modeling or ambient contribution reduced to identify which light is drawing the smear.
When garment color changes, rebuild the reference chain
Color consistency begins by removing unplanned mixtures. Window light, ceiling fixtures, LED panels, flash, illuminated signs, and colored walls can all affect fabric. Turn off unnecessary sources, flag reflections, and use one intentional family of light where possible. If mixed color is part of the set design, keep it away from areas where merchandise color must remain reliable.
Photograph a neutral target and, for demanding reproduction, a suitable color reference under the final light. Keep the target in the same illumination as the garment rather than near the camera. A reference frame does not automatically produce correct color, but it provides a known comparison for white balance and profiling. Repeat it after changing gels, fixtures, modifiers, or locations.
Confirm the whole viewing path before blaming the camera. Use a managed display, disable automatic screen color shifts, and evaluate exports in the requested color space. Some saturated fabrics cannot be represented identically by every display or output process. Make a proof and communicate material limitations rather than forcing one aggressive adjustment across the collection.
When fine patterns look wrong, test scale and processing
Closely spaced fabric detail can interact with the sampling grid and produce moire or false color. The effect often changes when camera distance, focal length, aperture, or garment angle changes slightly. Before relying on software repair, make a controlled variation in framing or distance while preserving the intended composition. Review at the final output size as well as high magnification.
Excessive sharpening, texture, or clarity can make woven material brittle and can amplify artifacts. Reset those controls on the affected file and inspect the RAW conversion at neutral settings. Noise reduction can create a different failure by smearing fine threads or repeating texture. Apply local correction only where needed and retain an unaltered reference.
Do not promise that a particular body can eliminate moire from every garment. Styling and production choices matter. Ask for problematic samples during preproduction, photograph them under the proposed light, and include the retoucher or art director in the decision when texture reproduction is critical.
When a tether or card path breaks, preserve the shoot first
If tethering stops, confirm that files are still being recorded to the intended card before troubleshooting the computer. Keep a tested card-based fallback and enough storage to finish the sequence. Replace the cable with a known good one, secure it against strain, check the camera connection mode, and restart only the failing part of the chain when practical.
Name or group looks independently of the tether application so a computer failure does not erase structure. Photograph a slate, create a voice note, or use a consistent folder and card sequence. Never format a card because thumbnails appear on the workstation. Verify full files on at least two storage devices after the session.
If image review slows, separate capture continuity from art-direction convenience. The model and lighting team can continue with a documented card workflow while the digital operator restores live review. A delayed preview is inconvenient; missing originals are unrecoverable.
When styling continuity breaks, compare adjacent frames
A technically correct image can still fail the lookbook because a cuff turns, a label appears, a hem changes height, or an accessory moves between front and back views. Compare each required angle as a set rather than rating frames independently. Use the approved first look as the visual reference and record intentional variations so the retoucher is not asked to reconcile two incompatible versions of the garment.
Separate a capture problem from a styling problem. Focus and exposure tools cannot repair hidden product structure, while wardrobe attention cannot correct shutter banding. Give each failed frame a simple reason code during review, such as focus, motion, light, color, styling, pose, or duplicate. The distribution of those reasons tells the crew what to change on the next look and prevents technical settings from becoming the default explanation for every reject.
When the edit looks inconsistent, audit decisions before presets
Group files by lighting state, backdrop, and look before synchronizing adjustments. A global correction across every scene can create artificial uniformity while making each garment less accurate. Choose a representative frame per group, establish exposure and white balance, then apply only settings that genuinely transfer.
imagic can scan supported Nikon NEF files and analyze them locally after ingest. It scores technical qualities and groups near-duplicates, while rejection changes status instead of deleting an original. Treat that result as an initial sort. The final lookbook still needs human review for garment shape, pose continuity, styling mistakes, expression, and the shot list.
If stored scores seem wrong, use the freshness check before defending or discarding a verdict. Reselecting changes ranking from existing scores and does not reanalyze the pixels. The desktop workflow explains local culling and non-destructive edits, while the AI and technology articles cover where automated review fits and where judgment remains essential.
Use a symptom log to prevent repeat failures
| Symptom | First evidence to inspect | Controlled test |
|---|---|---|
| Dark frame edge | Shutter mode and flash compatibility | Lower shutter speed with one light |
| Horizontal bands | Active continuous light | Shutter-speed series |
| Soft eye | Sharpest plane and motion direction | Static target at working distance |
| Color drift | Mixed sources and reference frame | One light with neutral target |
| Pattern artifacts | Fabric scale and sharpening | Small distance or angle change |
Record the fix beside the failed example, including any firmware, trigger, light, and lens details. A troubleshooting archive should be small and searchable. Its purpose is to stop the same fault before the next crew is waiting.
Frequently Asked Questions
Why does the Nikon Z9 show bands under LED light?
Many LED fixtures modulate output, and an electronic shutter can record that cycle as bands. Test shutter times, flicker-related camera options, and a different fixture before changing RAW adjustments.
Does eye detection guarantee both eyes will be sharp?
No. It can place focus on an eye, but aperture, distance, focal length, head angle, and movement determine whether the second eye falls inside the usable depth of field.
Should a lookbook use one preset for every setup?
Only adjustments supported by the same light and exposure state should be synchronized. Establish a separate representative edit for each materially different backdrop, modifier arrangement, or color environment.