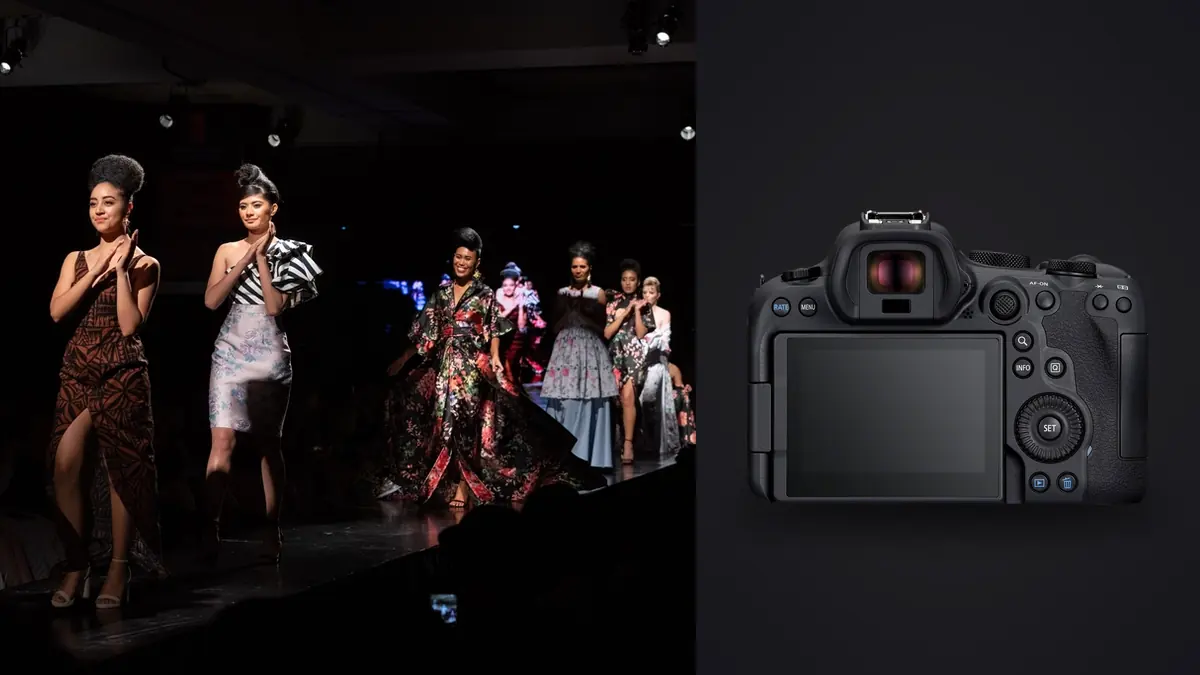
A commercial fashion lookbook asks for controlled repetition. The model, garment, lighting, crop, and color must vary enough to hold attention while remaining consistent enough for comparison. The Canon EOS R6 Mark II supports that balance with a 24.2-megapixel full-frame sensor, Dual Pixel CMOS autofocus, in-body stabilization, two UHS-II SD card slots, and fast mechanical and electronic drive options.
The advanced work is less about activating every feature and more about defining what cannot drift. Establish a visual grammar before the first look, create repeatable movement and focus marks, and review each garment against a coverage checklist before changing the set.
Troubleshoot consistency before the next garment
Troubleshooting an R6 Mark II lookbook works best at each wardrobe transition. Compare the required angles, eye and garment focus, crop margins, light ratio, and neutral reference against the approved baseline. If only moving poses are soft, raise shutter speed or shorten the movement path. If every frame shifts in color, inspect changing ambient light and automatic white balance. If flash exposure alternates, allow full recycle and confirm triggering. If hems or shoes disappear after correction, increase capture margin. Correct the repeating cause while the lighting and marks still exist; retaking one controlled look is more dependable than trying to disguise a systematic capture error across the full set.
Translate the brief into frames that can be checked
Replace broad requests such as "clean, energetic, premium" with observable choices. Clean may mean a seamless background, parallel verticals, and controlled shadows. Energetic may mean a repeating walk, fabric movement, or low camera position. Premium may mean precise color, restrained highlights, and enough detail to show construction.
For every look, list mandatory views. A practical sequence may include full front, three-quarter front, back, seated or movement frame, portrait, and one product detail. Add required horizontal and vertical orientations. If e-commerce clarity and editorial mood are both needed, label them as separate frame families rather than asking one image to do both.
Prepare a reference board that shows crop height, headroom, background tone, and lighting direction. Keep it visible to the photographer, stylist, and art director. The board is a continuity tool, not a collection of poses to copy literally.
Build a focus strategy around the garment
Eye detection is effective for many portrait views, but a lookbook may prioritize a lapel, bag, shoe, or layered texture closer to camera. Choose whether face or product is the focus anchor for each frame type. Use eye tracking for movement and portraits, then switch to a controlled point for details.
Set AF operation to continuous when the model is walking or turning. Begin tracking before the action starts and ask the model to finish on a mark. For static work, single autofocus or continuous autofocus with a stable target can both work; consistency matters more than the label.
At 24.2 megapixels, a correctly focused file supports many commercial outputs without making storage excessive. It offers less crop latitude than a very high-resolution body, so final framing deserves attention. Leave layout margin intentionally, not as a general hedge against uncertain composition.
Make movement repeatable enough to refine
Give the model a path, pace, and endpoint. For example: begin on the rear mark, take two even steps, turn the leading shoulder toward the key light, then stop with weight on the back foot. This instruction can be repeated while one variable changes, such as hand position or gaze.
Use a shutter speed that matches the creative decision. A crisp catalog walk needs enough speed for hands and hems. A deliberate blur frame needs a slower shutter and a stable focal anchor. Do not rely on in-body stabilization to freeze the model; it corrects camera movement.
Electronic shutter enables very fast sequences but can distort quick motion or band under some lighting. Mechanical shutter is the conservative starting point for strobes, fast turns, and moving fabric. Use electronic shutter when silence or a specific burst capability matters and the current lights have been checked.
Control flash, LEDs, and ambient as one system
Start with one dominant source. Establish its position, size, and ratio to the background before adding fill or accents. Additional lights should solve named problems: open a dense shadow, separate dark fabric, create a controlled edge, or illuminate the backdrop. A light without a job makes continuity harder.
With flash, keep shutter settings within the supported synchronization behavior of the camera, trigger, and lights. If exposure varies through a burst, check flash recycle before changing camera settings. Lower power, closer placement, or a slower shooting rhythm can restore consistency.
Under continuous LEDs, photograph a short sequence at the planned shutter speed and compare frames for bands or brightness cycling. The camera's anti-flicker features can help in supported modes, but no setting solves every fixture. Changing shutter speed slightly may be more effective than increasing ISO.
Lock color before the wardrobe run begins
Set a fixed white balance or measured custom balance for each lighting scene. Auto white balance may react differently to a red garment, a pale background, or a frame filled with skin. That drift makes a product sequence difficult to synchronize.
Photograph a neutral and color reference in the same light as the model, then remove it before production. Repeat after changing modifiers, practical lights, or major set surfaces. The reference creates a technical anchor; the final grade can still be warmer, cooler, or more stylized.
Watch colors near the edge of gamut and fabrics that reflect light unevenly. Saturated reds and electric blues can lose texture before the overall exposure looks excessive. Use the histogram and highlight warnings, then inspect the channel behavior in RAW processing.
Use lenses and camera height as continuity controls
Choose a primary focal length for each frame family. Constantly changing focal length alters body proportion and background scale. A moderate portrait focal length supports consistent full and three-quarter views; a normal or wider lens can add environmental energy when used at a deliberate distance.
Mark camera position and tripod height for repeatable catalog frames. Even when shooting handheld, a piece of removable floor tape can establish the baseline. Camera height affects leg length, torso proportion, and how much of the floor appears. Record it as part of the lighting setup.
Reserve very wide angles for an explicit editorial effect. Keep hands, shoes, and faces away from stretched corners unless exaggeration is intended. Check that a dramatic low view still shows the garment accurately enough for the brief.
Configure cards and controls for a full production day
The dual SD slots can record redundant files, separate RAW and JPEG, or provide overflow. Simultaneous RAW recording protects a non-repeatable take, provided both cards are fast enough for the selected drive mode. Label matched card pairs and format them only after verified backup.
Assign one custom mode to static catalog capture and another to movement. Store exposure mode, shutter type, drive, autofocus operation, subject detection, and white balance where the camera permits. Switching the whole state is safer than changing five controls while a model waits.
Map a reachable button to autofocus-area selection and another to magnified review or rating. Avoid assigning critical settings to controls likely to be pressed while rotating the camera vertically. Lock dials that have caused accidental exposure changes during handling.
Review by look before dismantling the setup
After each garment, confirm the mandatory frames rather than merely scanning for attractive expressions. Check focus on the face and required details, garment alignment, labels, closures, wrinkles, lint, jewelry orientation, and crop clearance. A missing back view cannot be repaired during editing.
Compare the first and last frame of the look for light and white-balance drift. Check whether a stand moved, a background seam appeared, or the model gradually left the focus mark. Correct the set while it still exists.
imagic can locally assess sharpness, exposure, closed eyes, composition, and duplicate groups after ingest. Use it to reduce technical repetition, then check brand requirements manually. Its non-destructive edits and learned personal style can create a consistent starting point, but product color still needs comparison against the reference.
See the desktop workflow for local culling and export, and use Guides for related shooting preparation.
Create a continuity sheet that survives crew changes
Record more than exposure. Photograph the full lighting setup from a safe angle, note modifier distance and height, mark model and camera positions, and save the approved test frame beside a short written description. Include background setting, focal length, camera height, white balance, and any flag that shapes the garment.
This sheet lets an assistant reset a moved stand and helps a second shooting day match the first. It also separates intentional choices from accidents. If the background is half a stop darker in the approved frame, the team knows not to "correct" it by eye after lunch.
Update the record whenever a meaningful variable changes. Do not create a page for every tiny pose. One concise record per lighting family is enough, provided the filenames connect it to the reference images. Keep the sheet with the job folder after ingest so later color and crop questions can be traced to capture decisions.
Inspect fabrics for interference and false detail
Fine mesh, checks, and tightly woven stripes can produce moire or false color at particular distances. Check representative garments at the planned focal length and crop before the full run. If interference appears, adjust distance, focal length, aperture, or fabric angle slightly and compare again.
Do not assume sharpening will solve the problem. Extra sharpening can strengthen the false pattern. A RAW processor may offer local moire correction, but it should be confined to the affected textile and compared with the real garment so important weave and color are not erased.
Fans require their own continuity and safety plan. Set one speed and position, secure cables and stands, and keep loose fabric away from equipment. Give the model a repeatable cue so hems and hair move through a known zone. Recheck focus and shutter speed after the fan starts because a static test does not represent the moving garment.
Advanced production checklist
- Turn adjectives in the brief into specific crop, light, color, and movement rules.
- List required views and orientations for every garment.
- Mark model and camera positions; record focal length and camera height.
- Set a focus anchor for each frame family and verify it at magnification.
- Test mechanical and electronic shutter behavior under the actual lights.
- Capture neutral and color references after every lighting change.
- Review required coverage, styling details, and exposure before changing looks.
- Make two verified copies before cards return to circulation.
Frequently asked questions
Is 24.2 megapixels enough for a commercial lookbook?
It is enough for many print and digital uses when focus and framing are accurate. Confirm the final dimensions and expected crop before deciding whether the brief requires more resolution.
Should eye autofocus be left on for product details?
No. Switch to a controlled focus point when a garment feature or accessory must be sharpest. Eye detection should serve the frame, not override its commercial priority.
Can electronic shutter be used with fast model movement?
It can, but rapid motion and some lights may reveal distortion or banding. Test the exact scene and keep the mechanical shutter as a reliable alternative.
What should be checked before changing wardrobe?
Verify every required view, focus on key details, color reference, styling continuity, crop clearance, and one safe expression. Rebuilding a finished lighting setup later is slower than checking now.