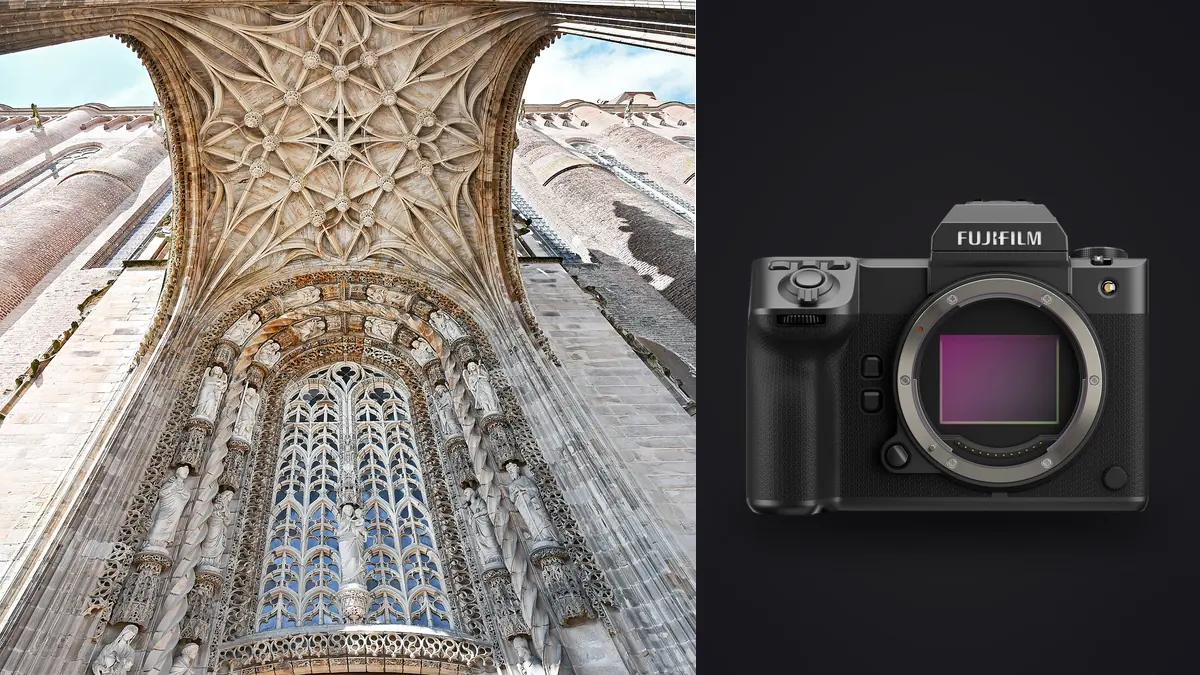
I picked up the GFX 100 II to shoot interiors like hotel lobbies and stairwells, and the reason I'd choose it over full-frame for that kind of work has nothing to do with megapixels on a spec sheet. It came down to one recurring problem: a bright window sitting next to a dark corridor, in the same frame, and needing both to hold detail without three exposures glued together in post. Medium format sensors give you more room to work with before a highlight clips or a shadow turns to mud, and after two months of lobbies, stairwells, and finished rooms, that extra room is the thing I actually notice on every shoot, not the resolution number on the box.
Why 102 megapixels matters more indoors than it sounds like it should
On paper, 102 megapixels reads like a marketing number nobody needs. In practice, for interiors, it solves a problem that has nothing to do with print size: perspective correction. Fujifilm doesn't make a native tilt-shift lens for the G-mount, so unlike a view camera or a shifted lens, you're shooting straight and fixing converging verticals afterward, either by tilting the camera back digitally in Lightroom or Capture One, or by cropping in from a wider composition to recompose square. Both of those moves throw away pixels. Do that on a 24-megapixel body and you can end up with a usable image at 12-14 megapixels, borderline for a two-page magazine spread. Do it on a 102-megapixel GFX file and you're still sitting at 60-70 megapixels after the correction, which is more resolution than most full-frame cameras deliver uncropped.
The other place the resolution earns its keep is the Pixel Shift Multi-Shot mode, which fires a sequence of frames while shifting the sensor by sub-pixel increments and combines them into a roughly 400-megapixel composite using Fujifilm's Pixel Shift Combiner software. It's not something you'd use for a walkthrough, since it needs a locked-off tripod and a genuinely static scene, but for hero shots of a lobby, a stone facade, or tile and material details a design firm wants to catalog at full resolution, it's the closest thing the camera has to a large-format back.
Handling it on site: weight, the screen, and weather sealing
The body alone runs a little over a kilogram, and once you put a GF zoom on the front you're carrying close to two kilograms around a job site for a full day. That's noticeably more than a full-frame kit, and by the third stairwell of the day you feel it in your shoulder. What offsets it is a detail that sounds small until you're actually using it: the rear screen tilts not just up and down like a typical three-way tilt panel, but separately for portrait orientation too. A huge share of architectural and interior work, doorways, stairwells, full-height windows, gets shot in portrait, and being able to work from waist height or overhead in vertical orientation without twisting the camera sideways changes how you compose in tight rooms.
Weather sealing matters more for this genre than people expect, not because you're shooting in rain but because you're often on active construction sites, in dusty basements, or moving between a freezing exterior and a heated interior repeatedly in one afternoon, which is exactly the kind of condensation-inducing swing that kills unsealed gear over time. The GFX 100 II's sealed body and lenses have held up through a winter of that kind of back-and-forth for me without issue.
The viewfinder, a 5.76-million-dot EVF at 0.84x magnification, is bright enough to judge exposure against a blown-out window without guessing, which matters when you're metering a scene with an 8-10 stop range between the glass and the room. I use it constantly with the histogram overlay on to decide how much to protect highlights before I even open the file on a laptop.
Building a lens kit for interiors and facades
There's no single "architecture lens" in the GF lineup, so the kit ends up being a small rotation depending on the room. Here's what I actually carry and when each one comes out:
| GF Lens | 35mm-equivalent | Max aperture | Where it earns its place on an interiors shoot |
|---|---|---|---|
| GF23mm f/4 R LM WR | ~18mm | f/4 | Tight bathrooms, stairwells, and full building facades where you can't back up further |
| GF20-35mm f/4 R WR | ~16-28mm | f/4 | Walk-around zoom for varied room sizes on a walkthrough, fewer lens changes per unit |
| GF32-64mm f/4 R LM WR | ~25-51mm | f/4 | Standard room documentation, kitchen and living space coverage at natural perspective |
| GF110mm f/2 R LM WR | ~87mm | f/2 | Material and finish detail shots, low-light corners, shallow depth for hardware and fixtures |
The absence of a native tilt-shift optic is a real gap if your work is heavy on exterior facades where converging verticals matter most. Some architectural photographers I know pair the GFX body with a technical camera system, Cambo or Arca-Swiss, using the sensor essentially as a digital back with real lens movements, which is a serious investment and a slower way of shooting. For most interior and residential work, though, correcting verticals in post off a 102-megapixel file is fast enough, and the resolution cushion I mentioned earlier means you're not paying a heavy quality tax for skipping the hardware solution.
Exposure strategy: what the dynamic range actually buys you
Fujifilm rates the sensor's dynamic range in the mid-14 stop range, and in a room with a big south-facing window at midday, that's roughly the difference between needing a three-frame HDR bracket and getting away with a single exposure plus a local highlight pull. I still bracket for anything with direct sun hitting the glass, because no sensor fully closes that gap, but for typical daylight interiors with indirect light, one RAW file recovers enough shadow and highlight detail on its own that I'm shooting fewer brackets than I did on my old full-frame body. Fewer brackets per setup adds up fast across a 30-room property.
The built-in bracketing modes go up to 9 frames at up to 1 stop increments, which covers the extreme cases, a chapel or atrium with skylights, without needing a separate HDR rig. Focus bracketing is also on board and useful for close material shots at wider apertures where you want front-to-back sharpness on a textured surface without stopping down into diffraction.
What 100+ megapixel files do to your workflow
This is the part nobody mentions when they're excited about medium format resolution: the files are large, and on a real shoot day the file count adds up fast. A compressed RAW off this sensor runs somewhere in the 55-110MB range depending on settings, and a pixel-shift composite TIFF can clear a gigabyte on its own. Add a few bracket sets per room across a full property walkthrough and you can end up with 40-60GB of RAW data by lunch. Culling that by eye, at full resolution, on a laptop screen, is slow in a way that shooting a 24-megapixel body never was.
That's the part of the workflow where imagic does the actual heavy lifting for me now. It scores focus and sharpness locally across a folder, which matters a lot at slower interior shutter speeds where a slightly soft frame in a bracket set isn't always obvious until you're zoomed to 100%, and it clusters bracketed and near-duplicate frames automatically so I'm not manually sorting nine-shot HDR sets by hand. Because the processing runs entirely on the machine rather than through a cloud upload, it's also the right fit for shoots under an NDA, which is more common than you'd think when you're photographing a commercial interior before a public opening. And once a project's grading style is set, the apply_my_style preset, trained on my own past edits rather than a generic filter, gets a consistent look across dozens of rooms shot under different light without me re-grading each one from scratch. For anyone weighing tools for a similar high-volume RAW workflow, the breakdown at how AI photo culling actually works is a useful starting point, and the tighter routines in 10 tips for a faster photo workflow apply directly to a shoot day built around dozens of bracket sets rather than one continuous burst.
Video, briefly, for walkthroughs
The GFX 100 II shoots 10-bit 4:2:2 4K up to 30p in the full sensor area, with a higher frame rate available through an APS-C-equivalent crop, and it supports Apple ProRes recording internally to CFexpress. It's not the reason anyone buys this body, and I wouldn't pick it over a dedicated video camera for a heavy real estate walkthrough production, but for a short property tour clip to accompany a stills package, it's more than adequate and saves carrying a second camera for that one clip.
Where the tradeoffs actually bite
Price is the obvious one. Body-only pricing sits in the neighborhood of $7,000-7,500, and a working lens kit of two or three GF optics pushes a full setup well past $10,000 before you've bought a tripod head rated for the weight. Autofocus, while genuinely improved over the original GFX 100 with phase-detection points across most of the frame and subject-detection tracking, is still built for a different kind of shooting than fast action; it's plenty fast for a designer walking through a space for a lifestyle shot, less so for anything resembling sports or wildlife work, which is fine, because that's not what this body is for. Battery life sits around 540 shots per charge under CIPA testing, which in real interior shooting, where you're chimping the histogram after nearly every frame, tends to run a bit lower in practice, so a second battery is worth carrying on a full-day shoot.
Frequently Asked Questions
Do I need a tilt-shift lens to shoot architecture with the GFX 100 II?
Not strictly. Fujifilm doesn't sell a native tilt-shift optic for the G-mount, so most photographers either correct converging verticals digitally in post, which the sensor's resolution makes practical without a heavy quality loss, or adapt a technical camera system for true optical shift on facade-heavy work. For interiors specifically, digital correction off a straight shot is usually enough.
Is 102 megapixels overkill for interior and real estate photography?
For a standard MLS listing, yes, it's far more than you need. For architectural documentation, design portfolios, or anything that gets cropped for perspective correction or printed large, the extra resolution is a genuine working advantage rather than a spec-sheet number, since it gives you room to correct and crop without dropping below a print-ready file size.
How does the GFX 100 II compare to a full-frame body for this kind of work?
The biggest practical difference is dynamic range in mixed daylight, where the medium format sensor holds window highlights and shadowed corners in the same frame more often without bracketing. The tradeoffs run the other way on speed, autofocus sophistication, weight, and price, all of which favor a full-frame body if your work leans toward people-heavy real estate content or fast turnarounds over pure image quality.
Can it handle a full day of walkthrough shooting without overheating or slowing down?
Yes, for stills work. Continuous stills shooting at up to 8fps and the sealed body handle a long day of setups without thermal issues in my experience; overheating on this camera is mainly a concern during extended high-bitrate video recording, not the stop-and-shoot pace of an architectural walkthrough.