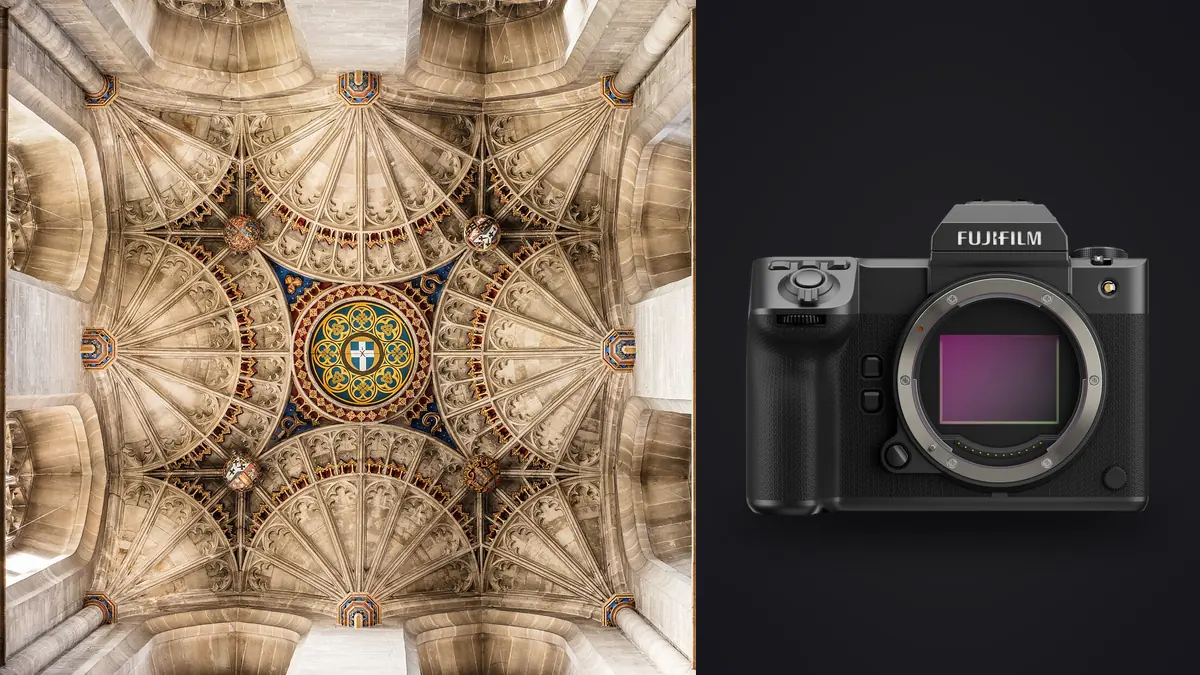
The first time I put a Fujifilm GFX 100 II on a tripod in a cramped kitchen, I spent twenty minutes just deciding which lens to mount before I'd taken a single frame. That indecision turned out to be the right instinct. Medium format bodies get sold on resolution numbers, but for interior and architecture work the number that actually matters is how much of that resolution survives the trip from a cramped hallway to a finished listing photo or a design portfolio spread. This is what I've learned running the 100 II on interiors, where the goal is spaces that look like something other than a phone photo.
Why the sensor size actually earns its keep here
Landscape and portrait shooters argue endlessly about whether medium format is worth the premium over full frame. For interiors, the argument is less close than people expect. A room with a window wall and a dim corner is a dynamic range problem before it's anything else, and the 44x33mm sensor in the GFX 100 II gives you noticeably more room to pull shadow detail back without the mottled, plasticky look you get pushing a smaller sensor's files five stops. I've recovered detail out of stairwells and closet interiors on this camera that I would have simply bracketed and blended on a full frame body, and the single-frame version still looked cleaner.
The 102 megapixels matter less for the room-wide shot and more for the client who wants to crop into a tile pattern, a stair rail detail, or a custom millwork joint for a separate marketing image later. Architecture clients reuse assets in ways portrait clients rarely do: a full room shot becomes a hero image, then six months later someone needs a tight crop of the same file for a brochure. That's the actual argument for the resolution, not "more pixels are better."
Lens choices change more than the field of view
The wide primes versus the zoom
I carry the GF23mm F4 and the GF20-35mm F4 on most interior jobs, and I switch between them constantly depending on the room. The 23mm (about 18mm full-frame equivalent) is my go-to for small bathrooms and tight kitchens where you genuinely cannot back up any further, and its distortion control is good enough that I rarely touch a lens correction profile before handing files to a designer. The 20-35mm earns its space in the bag on jobs where I'm moving through a house quickly and don't have time to swap glass between a dining room and a primary bedroom that need different framing. It's slower to shoot with wide open at f4 in a dim room, but for a walkthrough shoot that's a fair trade for not missing the light in the next room while I'm changing lenses.
The tilt-shift question
The GF30mm F5.6 T/S is the lens people ask me about most, and my honest answer is that it's worth owning if architecture and interiors are a real chunk of your income, and skippable if they're occasional work. It gives you roughly 9mm of shift and around 8 degrees of tilt, which is enough to correct converging verticals optically in a two-story foyer or a exterior facade shot without cropping into your frame the way software correction does. But it's a manual-everything lens, f5.6 native, and slow to work with on a job where the client is standing behind you asking how much longer. On most interior work I still correct verticals in post rather than reaching for it, and save the T/S lens for exterior architecture shots where the optical correction genuinely looks better than a software stretch.
Pixel shift is powerful and also a workflow tax
The 100 II's multi-shot mode combines sixteen frames into a roughly 400 megapixel composite, and for a still interior on a tripod with no HVAC vibration and nobody walking through frame, the color and detail resolution genuinely is a step up from a single 102MP raw. I use it for hero shots that are headed for large prints. I do not use it as my default capture mode, because it multiplies your card fill rate and your culling workload for a benefit that's invisible on a web gallery or a real estate listing.
| Capture mode | Approx. file size | Capture time on tripod | Best use on an interior job |
|---|---|---|---|
| Standard single raw | ~110-130MB | Instant | Every room, walkthrough coverage, anything with people or movement |
| Pixel shift (16-shot composite, processed) | ~700MB-1GB+ | 4-8 seconds of exposure plus processing | Hero shots, magazine-bound images, large-format prints |
| Bracketed HDR set (3-5 frames) | 3-5x a single raw | A few seconds per bracket | High-contrast rooms with bright windows, mixed with flash or without |
The practical consequence is that a single house tour can leave you with several hundred files by the end of the day once you count brackets and pixel-shift sets, and most of them are near-duplicates of each other by design. That's exactly the kind of set where I lean on imagic to sort through the take. It clusters bracket sequences and near-identical frames together instead of making me scroll past four almost-identical exposures of the same window one at a time, and its local sharpness scoring catches the frame in a stack where a compressor kicked on and put a half-pixel of shake into an otherwise fine exposure. It runs entirely on the machine, which matters more on this kind of work than it does on a wedding, since a lot of interior jobs involve someone's actual home or an unreleased commercial space under an NDA, and nobody on that job wants files touching a cloud service before the client has approved them.
Mixed lighting is the real skill test, not the camera
No camera fixes a room lit by tungsten can lights, daylight through a window, and a couple of LED under-cabinet strips that are a different color temperature than everything else. What the GFX 100 II gives you is more forgiving raw files when you inevitably get the white balance wrong in one part of the frame, plus a genuinely useful electronic level and a tilting screen that make it easier to get your verticals right in camera in the first place, which saves you from fighting three light sources and a crooked frame at the same time. I still set a custom white balance off a gray card in the dominant light source for most rooms rather than trusting auto white balance, and I still bracket exposure in any room with a bright window, because letting that window blow out and fixing it later never looks as good as exposing for it directly.
Tethering into Capture One on a laptop or tablet on set is worth the extra cable if the client or designer is present, because a 102 megapixel file on a big screen shows problems (a reflection you didn't notice, a stray cable, a slightly crooked picture frame) that you will absolutely miss on the camera's rear screen. It slows the shoot down. It also means you don't drive back across town two days later to reshoot one room.
How it compares to the other cameras interior shooters actually consider
Nobody buying into this price bracket is cross-shopping a GFX against a crop-sensor body, so the comparison that actually matters is against the other medium format option and the high-resolution full frame alternative that keeps coming up in gear group conversations.
| Fujifilm GFX 100 II | Hasselblad X2D 100C | Sony A7R V | |
|---|---|---|---|
| Sensor | 102MP, 44x33mm | 100MP, 44x33mm | 61MP, full frame |
| Native tilt-shift lens | GF30mm F5.6 T/S | None in the native XCD line | None native; third-party/adapted options only |
| Multi-shot resolution | ~400MP pixel shift | Not offered | ~240MP pixel shift (tripod, static subject) |
| In-body storage | None (dual card slots) | 1TB internal SSD plus card slot | Dual card slots |
| Where it wins for interiors | Lens ecosystem built for the job, faster overall handling | Color science architects and designers often prefer straight out of camera | Autofocus and body cost, useful if you also shoot people in the spaces |
The X2D's built-in color profile is genuinely lovely for interiors and I understand why some architecture shooters pick it for that alone, but Fujifilm's GF lens lineup gives you more actual options for the wide, distortion-controlled glass this genre depends on, and that matters more day to day than a color science preference you can also dial in during editing. The A7R V is the sensible choice if interiors are one part of a broader business that also includes real estate agents wanting quick turnaround and lighter gear, but you're trading dynamic range headroom for speed and a smaller system.
What actually slows you down with this camera
It's heavy, and after a full day of walking a house with it on a tripod over one shoulder between rooms, you feel it in a way you don't with a mirrorless full frame body. Autofocus is fine for interiors since you're rarely chasing movement, but it can hunt in a genuinely dim room lit only by practicals, and I've learned to just switch to manual focus with focus peaking rather than wait on it. Buffer and processing time after a pixel-shift capture is real; budget a few extra seconds per hero shot and don't try to rush it while a client is waiting behind you, or you'll get a corrupted composite and have to redo it.
The other cost that doesn't show up in any review is what happens after the shoot. A two-day project shooting a full house with brackets and pixel-shift heroes can leave you with 600 to 900 files needing review before you even start grading. That's genuinely where I've changed my workflow the most over the last year. I run the card through imagic first to cluster the duplicate and bracket sets and flag anything soft before I ever open Capture One, then apply a preset built from apply_my_style on my own previously edited interior sets so the wide-angle rooms come in with consistent white balance and contrast before I start on the room-specific tweaks. It doesn't replace judgment on the hero shots, but it means the two hours I used to spend just scrolling through nearly-identical frames from a bracket sequence is closer to twenty minutes now, and that time goes back into the shots that actually need hand-editing. If you're curious how that clustering approach differs from just eyeballing a contact sheet, we've written more on how AI photo culling actually works and on tightening the rest of the pipeline in our faster workflow guide.
Frequently Asked Questions
Do I really need 102 megapixels to shoot interiors and architecture?
You need it less often than you'd think for a standard room-wide shot delivered for web or a listing, and more than you'd think for the handful of hero images that get reused as brochure covers, print pieces, or magazine submissions later. If your business is mostly quick real estate turnarounds, a 60-something megapixel full frame body will serve you fine. If you're regularly delivering assets that get reprinted or cropped hard for other uses, the extra resolution earns its cost.
Is the GF30mm tilt-shift lens worth buying over just correcting verticals in editing software?
For exterior architecture shots with tall facades, yes, the optical correction holds detail and framing that software correction has to crop or stretch to fake. For most interior room shots, I still find manual correction in post fast enough and flexible enough that I don't reach for the T/S lens unless the room specifically demands it, like a double-height foyer with strong converging lines.
Can I handhold the GFX 100 II for interior work, or is a tripod mandatory?
The in-body stabilization is genuinely good, roughly 8 stops rated, and I've handheld plenty of walkthrough coverage with it, especially in brighter rooms. For anything you plan to run through pixel shift, or any room where you're bracketing for a tricky window, put it on a tripod. The stabilization solves camera shake, not the exposure math a static composite or bracket set depends on.
How does the huge file size from pixel shift change the editing workflow, not just the shooting?
It mostly changes what happens before editing starts. A processed pixel-shift composite is large enough that you don't want to be flipping through a dozen near-identical shift sets by hand looking for the cleanest one, so I let culling software group those sequences and flag focus or shake issues first, and only open the survivors in Capture One. Skipping that step is the single easiest way to lose an afternoon to a folder of files that all look the same at a glance.