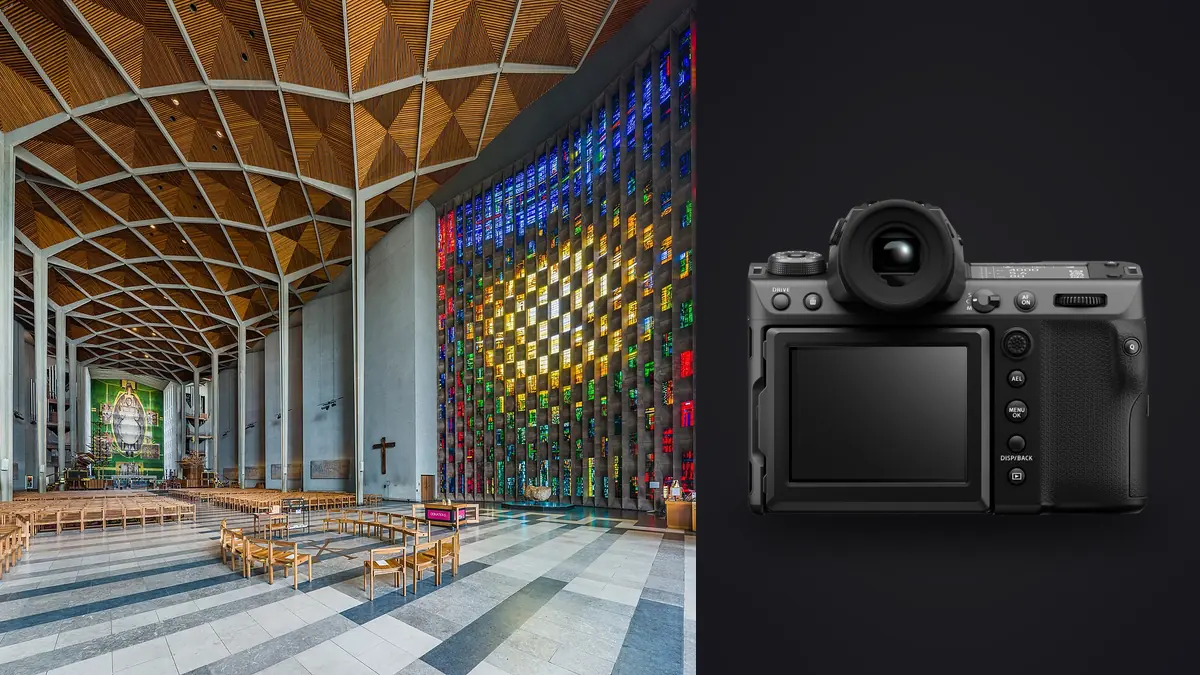
I picked up the GFX100 II about eight months ago mostly for portrait and product work, and it took maybe two shoots before I was keen to try it on a full house renovation. Kitchen, two bathrooms, a stairwell with terrible mixed light, and a living room with a wall of west-facing glass. That shoot taught me more about this camera than any spec sheet did. Medium format gets marketed on resolution numbers, but for interiors the number that actually matters is dynamic range, and the number that actually hurts is file size. This is what I've learned running the GFX100 II on rooms instead of faces.
What medium format actually buys you in a room
The 102-megapixel count gets all the attention, but on an interior shoot the sensor's real advantage is how gently it handles the gap between a bright window and a shadowed corner. Rooms with big glazing (which is most of the interiors worth photographing) routinely have a 6 to 8 stop spread between the sky outside and the far wall inside. Full-frame sensors can do this fine with bracketing, but the GFX100 II gives you more usable stops per frame before you even start blending, which means fewer brackets, faster shoots, and less risk of ghosting when a ceiling fan or a curtain moves between exposures.
The other benefit is less obvious until you're grading: the tonal transition in materials like brushed oak, unlacquered brass, and painted plaster holds up under heavier pulls. On a full-frame file, pushing shadows two stops on a stone floor starts to look chalky. On the medium format files here, that same push still reads as stone. It's not magic, it's just more data per tonal step, but it changes how confidently you can shoot for the edit instead of chasing perfect exposure on every single frame.
The lens problem nobody puts in the review
Here's what the marketing copy skips: Fujifilm does not make a tilt-shift lens for the G mount. If you've shot architecture with a Canon TS-E or a Nikon PC lens, that's a real adjustment. On the GFX system your options are cropping in post, buying a technical camera adapter, or living with converging verticals and fixing them digitally.
For most interior work I actually prefer the crop-and-correct approach now, and the 102MP sensor is exactly why it's viable. Shoot level with the GF23mm f/4 or the GF20-35mm f/4, keep the camera's back parallel to the wall you care about, and you have enough resolution headroom to apply a keystone correction and still crop to a usable frame without visible softening at normal print or web sizes. That would have been a rough compromise on a 24MP body. At 102MP it's a genuine option, not a last resort.
For commercial architecture work where a client demands true optical correction (mostly exteriors, building facades, anything getting printed large), some photographers I know mount the GFX100 II on a Cambo ACTUS or similar technical camera body with a Rodenstock or Schneider digital lens, using the Fuji as a very expensive digital back. It works, but it's a different rig entirely, slower to set up, and not something you'd bring to a same-day real estate turnaround.
| Correction method | Setup time on site | Resolution cost | Best for |
|---|---|---|---|
| Shoot level, crop and correct in post | Minutal, no extra gear | Roughly 15-25% of frame lost to crop, still 70-85MP usable | Real estate, interiors, fast-turnaround editorial |
| Wide GF lens, correct less aggressively | None, just framing discipline | Negligible if verticals are close to true already | Rooms with modest ceiling height, casual walkthroughs |
| GFX100 II on a technical camera (Cambo/Alpa) with a shift lens | 20-40 minutes to rig and level | None, true optical shift | Facades, hero shots, large-format print deliverables |
What breaks on site that nobody warns you about
The stacked sensor in the GFX100 II reads out noticeably faster than the one in the GFX100S, and it shows up on interiors more than you'd expect, because interiors are full of straight lines. Doorframes, tile grout, window mullions. Rolling shutter skew on a slower-reading sensor turns a perfectly vertical door frame into a faint lean if you pan or if something in the scene moves during exposure. It's better here than on the older body, but I still shoot interiors on the mechanical shutter out of habit whenever there's any chance of vibration, foot traffic in the next room, or HVAC-driven curtain movement.
Flicker from LED practicals is the other one. Renovated interiors are full of dimmable LED downlights, and a lot of cheap dimmer drivers flicker at a frequency your eye won't catch but a fast shutter will, showing up as banding across the ceiling or an uneven wash on a wall. The camera's flicker-reduction mode helps, but the more reliable fix is just dropping shutter speed slightly and shooting off a tripod, which you should be doing on interiors anyway.
Buffer and card speed also matter more here than people expect walking in from a full-frame body. A single 102MP raw file lands somewhere around 100 to 130MB depending on scene complexity, and if you're bracketing five or seven exposures per angle across a dozen rooms, you're writing multiple gigabytes before lunch. I run a CFexpress card as primary and let the SD slot handle a backup copy, and I've still had a shoot where I had to stop and offload mid-session because I underestimated how fast a bracketed HDR sequence eats storage on a sensor this size.
The part that actually slows you down: culling 900 near-identical frames
This is the unglamorous truth about shooting interiors on a high-resolution medium format body. The camera is not the bottleneck. Going through the files afterward is. A single house can easily produce 600 to 1,000 raw frames once you count exposure brackets for every angle, a couple of test shots per room to check styling, and the inevitable "let me try that again with the blinds up" retakes. At 100+MB a frame, that's not a folder you want to scrub through one by one in a Lightroom grid.
This is the exact problem I built my culling habits around, and it's why I run everything through imagic before it ever touches an editing app. It scores sharpness and focus locally on the machine, no upload, which matters because I'm not thrilled about interior shots of someone's home sitting on a third-party server. More usefully for this kind of shoot, it clusters bracket sequences and near-duplicate frames automatically, so instead of manually comparing seven versions of the same kitchen angle at different exposures, I'm looking at one cluster and picking the sharpest base frame to build the HDR blend from. On a shoot this size that's the difference between an hour of culling and half a day of it. If you haven't looked at how the clustering side of this actually works, this breakdown of how AI photo culling works covers the mechanics better than I can in a paragraph here.
Keeping color consistent across a full day of mixed light
Interior shoots rarely happen under one light source. You start in a north-facing bedroom under flat daylight, move to a hallway lit entirely by warm tungsten sconces, and finish in a kitchen with a mix of daylight-balanced LED strips and whatever's coming through the window. Getting a consistent, matched grade across a gallery of forty finished images from a scene like that used to mean either shooting a gray card in every single room or accepting some drift between images in the final set.
What's changed my workflow here is training imagic's apply_my_style feature on a batch of my own previously edited interior work. It's not a generic film-emulation preset, it learns the actual choices I make on white balance and contrast across a set of my edits and applies that as a starting point to new frames. On a mixed-light interior job it saves real time on the first pass, because the baseline correction already leans toward how I'd have graded it manually, and I'm nudging from there instead of building every room's look from a flat default.
Settings I've actually settled on
A few things that took a few shoots to dial in and that I'd tell anyone picking up this body for interiors specifically:
Stick to f/8 to f/11 on the GF lenses for full-room shots. Diffraction softening starts creeping in past f/13 on this sensor's pixel pitch, and interiors rarely need the depth of field that would push you past f/11 anyway when you're focused a few meters into the room. Base ISO 80 whenever there's a tripod involved, which for architecture should be basically always. For HDR sets I default to five brackets at 1.3 stops apart rather than three at 2 stops, because the extra frame in the highlights gives cleaner window detail without blowing color in the sky outside. And I've stopped shooting the 400MP pixel-shift multi-shot mode for anything except hero images destined for large print. It's genuinely stunning resolution, but the files are unwieldy for a normal delivery pipeline and the alignment falls apart if anything in frame moves at all, including a ceiling fan on its lowest setting.
If you're restructuring a workflow around a body like this, it's worth stepping back and looking at the whole pipeline rather than just the camera settings. A few general workflow habits apply just as much to a 100+ frame bracketed shoot as they do to any other high-volume session.
Is it worth it over the obvious alternatives
I get asked this a lot, usually by people comparing it to a Sony A7R V, which is a fair comparison on paper since both are extremely high resolution. The honest answer is that the Sony is a better all-around tool if architecture is one of five things you shoot. Faster autofocus, cheaper lenses, and a far larger native ecosystem if you ever need a specialty lens in a hurry. The GFX100 II earns its keep specifically in the highlight roll-off and color depth on interior glazing and skin-toned materials like wood and stone, and if that's the bulk of your billable work, the difference is visible in a way clients notice even if they can't name why.
Against a Phase One IQ4 system on a technical camera, the GFX100 II loses on ultimate resolution and true shift capability but wins hard on speed and portability. I can hand-hold this camera for a walkthrough shoot, tripod it for the hero angles, and pack the whole kit into one bag. Nobody is doing that with a Phase One back on a Cambo. For 90% of residential and commercial interior work, that flexibility matters more than the extra resolution ceiling.
Frequently Asked Questions
Can you get true perspective correction on the GFX100 II without a technical camera?
Not optically, no. Fujifilm has no native tilt-shift lens for the G mount as of this writing, so any in-camera correction is digital, done through keystone adjustment in post. The 102MP sensor gives you enough resolution to crop after correcting and still deliver a large, clean file, which covers most interior and real estate needs even though it's not a substitute for a true shift lens on demanding facade work.
Is the file size actually a problem for a working photographer, or is that overstated?
It's real. A dense bracketed interior shoot can hit several hundred gigabytes of raw files in a single day, and that has downstream effects beyond storage cost, mainly in how long culling and backup take. Local, offline tools that can score and group frames without a cloud round trip help a lot here, since you're not waiting on upload time for files this large before you can even start reviewing them.
What GF lens should I start with for interiors if I only buy one?
The GF23mm f/4 is the one I reach for most in tight residential rooms, it's wide enough to cover most spaces without needing extreme correction afterward. If your work leans more toward larger commercial interiors and lobbies, the GF20-35mm f/4 zoom gives you more framing flexibility at the cost of a stop of speed and noticeably more weight.
Does the higher resolution actually matter for interior photography, or is it marketing?
For large-format print and for clients who crop aggressively (magazine layouts, billboards, big lobby prints) it matters. For a typical real estate listing or a design portfolio destined for web and social, you're downsampling well below the sensor's ceiling regardless, and the dynamic range and tonal quality end up mattering more day to day than the raw pixel count.