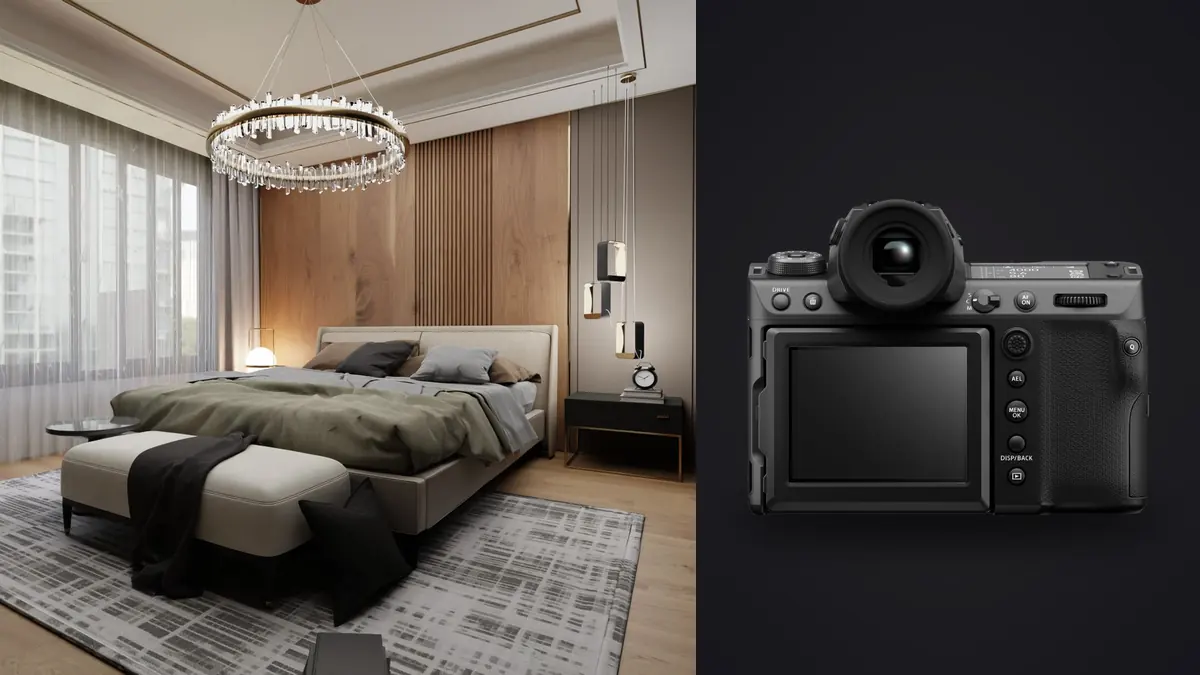
The Fujifilm GFX100 II rewards deliberate portrait craft. Its 102-megapixel, 43.8 x 32.9 mm sensor can hold subtle transitions in skin, fabric, and window light, but that resolution also makes small focus and posing errors conspicuous. For boudoir and intimate portraiture, the useful question is not whether the camera can produce enough detail. It is how to control that detail, keep the session comfortable, and leave with a coherent set rather than a folder of technically impressive but emotionally disconnected frames.
This guide treats the GFX100 II as a precise working tool. It concentrates on advanced decisions that can be made before and during the session: aligning the focus plane, shaping light without exaggerating texture, directing movement at a sustainable pace, and protecting sensitive files from capture through delivery.
Troubleshooting priorities for a boudoir session
Troubleshooting should follow the visible failure rather than the camera's most complex menu. If the nearer eye is soft while fabric on the same plane is sharp, refine subject detection or use a smaller focus area. If every detail moves in one direction, stabilize the camera or raise shutter speed. If skin texture becomes harsh, change source size and angle before reducing detail in processing. If a pose looks strained, reset the feet and hips before correcting hands. Review one representative RAW file at the intended output size, change one variable, and make a short confirmation sequence.
Build the session around precision, not maximum resolution
The full 102-megapixel file is valuable when a client needs large prints, flexible crops, or fine fabric detail. It is not an instruction to reveal every pore. Decide the intended output before choosing how close to work, how hard to light, and how much depth of field to allow. A small album spread and a large wall print ask different things from the same RAW file.
The GFX100 II can record lower-resolution JPEGs, but the RAW capture preserves the full sensor data. That makes framing discipline important. Extra pixels offer crop latitude, yet repeatedly composing loose can weaken perspective and body language. Set the final aspect ratio in mind, leave only the margin needed for layout, and check the edges for hands, feet, straps, bedding, and bright distractions.
Medium format depth of field can become very shallow at portrait distances. Stopping down one or two increments often improves the relationship between the nearer eye, lips, and key garment detail without making the background literal. The goal is not maximum depth. It is enough depth for the visual idea. Use aperture as a compositional control, then move the lights or ISO to support it.
Place the focus plane before refining the pose
Face and eye detection are useful starting aids, but a detected eye is not proof that the final plane of focus is where it should be. Long lashes, hair across the face, strong backlight, and a face turned away from the camera can all make the autofocus system choose an adjacent high-contrast detail. Magnify a representative frame whenever the pose, lens distance, or lighting pattern changes.
For a reclining pose, the eyes, lips, shoulder, and hip may sit on several different planes. There are three honest solutions: rotate the body so the important features align more closely, stop down, or choose one feature as the deliberate point of emphasis. Trying to rescue every plane with resolution alone produces a sharp file with an unclear visual hierarchy.
Use a single focus area when there are foreground fabrics, mirrors, bed frames, or other faces in the composition. Place it over the nearer eye for a conventional portrait, or over the specific detail that carries the frame. Continuous autofocus helps during slow movement, but brief pauses at the end of a gesture give both the photographer and subject a reliable point at which to make the exposure.
Separate camera shake from subject movement
The camera's in-body stabilization can reduce blur caused by hand movement. It cannot freeze breathing, shifting fabric, or a subject turning toward the light. If the eye is soft while stationary objects at the same distance are sharp, inspect focus placement. If the entire subject has directional blur while the room remains steady, raise shutter speed. This diagnosis is more useful than simply raising sharpening later.
Shape skin and fabric with broad, controlled light
A large sensor records tonal differences faithfully, including specular highlights and abrupt changes in skin texture. Broad sources placed close to the subject create gradual transitions and clear catchlights. A large window, bounced flash, or diffused continuous source can all work. What matters is the apparent size and angle of the source, not its label.
Move the key light around the subject rather than asking the subject to hold an uncomfortable position solely for the light. Light coming slightly across the body reveals form; light aimed straight from camera position suppresses form. Neither is automatically flattering. Choose according to the intended mood, and watch how the transition falls across shoulders, abdomen, hands, and fabric.
Use negative fill when a pale room sends light into every shadow. A black flag, curtain, or unlit wall can restore shape without increasing contrast in processing. Conversely, a white reflector can open a shadow that becomes too dense. Make these changes physically while the histogram and highlight warning remain stable, rather than planning to rebuild the lighting pattern from a flat exposure.
Mixed window and lamp light deserves a decision. Either turn one source off, gel a light to bring the colors closer, or keep the contrast as an intentional warm-cool relationship. A gray reference frame at each lighting setup gives a neutral anchor, even if the final grade is warm.
Direct movement in repeatable, readable steps
Instructions such as "be natural" transfer all the creative work to the person being photographed. Give small actions instead: shift weight onto the back hip, lengthen through the crown, release the near shoulder, turn the chin toward the window, or trace a hand along a seam. Each instruction should be easy to understand and easy to stop.
Build a pose from the floor upward. Foot placement changes knees, hips, spine, shoulders, and finally the head. Correcting the hand before the base is stable leads to repeated adjustments and visible tension. Once the body line works, refine fingers and expression. Keep wrists relaxed, separate fingers where possible, and avoid pressing arms firmly into the torso unless compression is part of the design.
For movement, ask for a short path with a defined end point. A slow turn toward the light or a controlled step across a mark is easier to focus and repeat than continuous improvisation. Use short bursts around the peak of the gesture. The GFX100 II is faster than earlier GFX bodies, but thoughtful timing still creates fewer redundant files and makes expression review easier.
Use mirrors, foregrounds, and crop space deliberately
A mirror adds a second composition, not merely a reflection. Check the reflected background, camera position, light source, and the relationship between the direct and reflected face. Move a few centimeters at a time. Small camera shifts can remove a stand from the reflection or stop the reflected eye from colliding with a frame edge.
Foreground fabric can create privacy and depth, but it can also attract autofocus and obscure body lines. Keep a clean area around the face, use a controlled focus point, and inspect whether the foreground is softly descriptive or simply messy. The high-resolution viewfinder helps with edge inspection before capture; use it instead of assuming a crop will solve the frame later.
When an album or editorial layout may need text, create a few frames with purposeful negative space. Do not merely move the subject to an edge. Balance that space with a lamp, shadow, curtain line, or tonal gradient so the composition still works without typography.
Keep color, texture, and retouching intent consistent
Choose one baseline white balance per lighting setup and avoid letting auto white balance drift between nearly identical frames. A consistent capture makes skin comparison much easier. Expose cautiously around bright skin highlights, pale lingerie, and reflective satin. A histogram describes overall tone, so also use the highlight warning and inspect the brightest relevant area.
Do not confuse added clarity with useful detail. Local contrast can make lace look crisp while making skin look brittle. Start with restrained global contrast, correct color, and decide which texture belongs in the photograph. Any detailed retouching should happen in a tool designed for that task; imagic provides non-destructive adjustments and can apply a style learned from the photographer's own edits, but it is not a layered retouching application.
For an overview of local editing options, see the desktop photo workflow. Broader technique and equipment articles are organized in the photography guides section.
Protect consent and sensitive files throughout the workflow
Agree on boundaries before the camera comes out. Clarify wardrobe levels, poses that are off limits, who may be present, what may be shared publicly, and whether any frame requires separate approval. A model release does not replace a clear conversation, and permission for private delivery is not permission for portfolio use.
Minimize screen exposure during the session. Disable automatic wireless transfer if it is not needed, keep cards under direct control, and avoid leaving previews visible to unrelated people. Use a neutral folder name when discretion matters. Copy the files to controlled local storage, verify the copy, and keep a second protected copy before formatting cards.
During selection, reject technical failures without deleting the originals prematurely. A local culling pass can flag sharpness, exposure, closed eyes, and near-duplicate groups, but sensitive expression and consent decisions remain human judgments. Export only the agreed set, and confirm what should happen to alternates after delivery.
Advanced session checklist
- Before arrival: confirm usage permission, wardrobe boundaries, room access, and who will attend.
- Before the first frame: synchronize camera time, format approved cards, set RAW capture, and establish a manual white-balance reference.
- At each setup: check the brightest skin or fabric highlight, focus magnification, frame edges, and reflected objects.
- During direction: build from feet to head, give one small instruction at a time, and create a clear stopping point for movement.
- Before changing looks: capture a safe horizontal, vertical, close portrait, and wider environmental frame.
- At wrap: confirm the expected delivery and any images that must remain private, then account for every card.
- At ingest: make verified copies before culling, preserve RAW files, and separate private selects from portfolio candidates.
Frequently asked questions
Is 102 megapixels too much for boudoir photography?
No, but it changes the discipline of capture and review. The resolution supports large output and flexible crops, while also revealing focus errors, lint, and abrupt lighting transitions that a smaller file might hide.
Which aperture should be used for a reclining portrait?
There is no universal number because lens choice, distance, and body angle change depth of field. Align the important features where possible, stop down enough to connect them, and verify the result at useful magnification.
Can stabilization replace a faster shutter speed?
Stabilization helps with camera movement, not subject movement. Use it as support, then choose a shutter speed that freezes breathing, hand motion, fabric, and changes in expression.
Should every final image use the same grade?
The set should share a recognizable baseline, but different lighting scenes may need measured variations. Keep skin color and black levels coherent, then allow each setup to retain its intended mood.