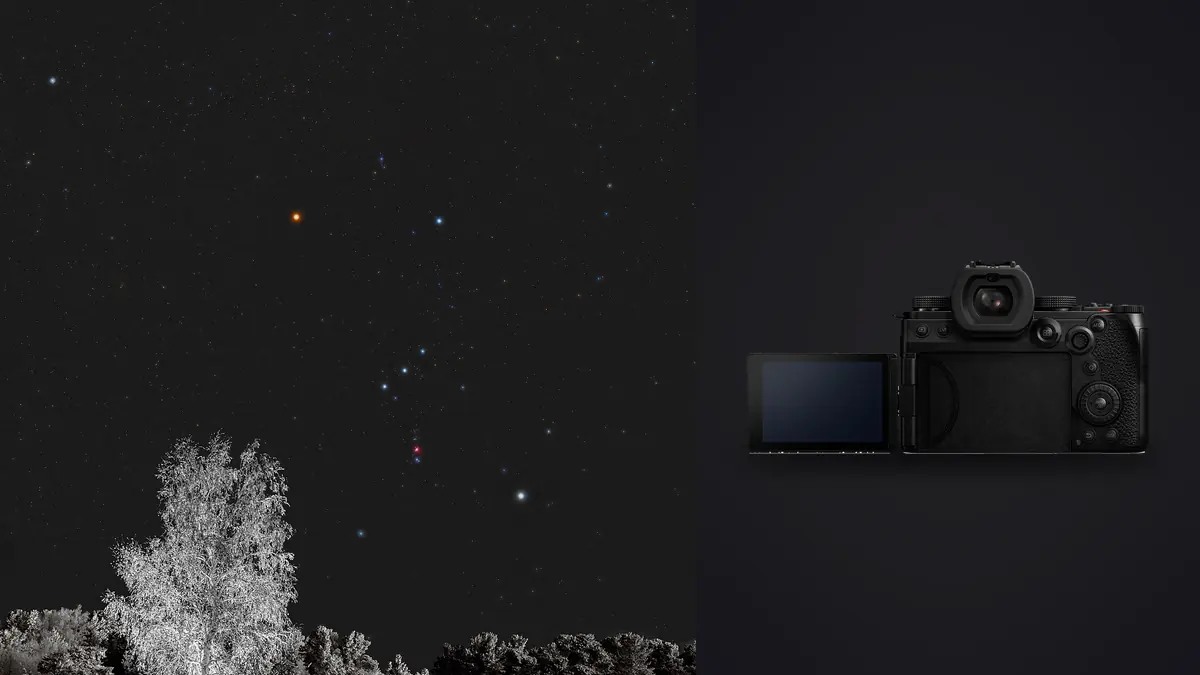
Everyone talks about the Panasonic Lumix S5IIx as a video camera, and fair enough, that's what the active cooling fan and full-size HDMI port are for. But the body underneath all that video plumbing is the same 24.2MP full-frame sensor as the standard S5II, and for star stacking specifically, that sensor is the whole story. I've run this camera through four Milky Way sessions this season, two from a proper dark-sky field and two from a lay-by that was nowhere near as dark as I'd hoped, and the workflow that actually works is a bit different from what most gear reviews imply.
This isn't a spec sheet. It's the settings, the lens choices, and the culling process I use to get from fifty near-identical raw frames to one clean, deep, low-noise Milky Way shot without spending three hours squinting at thumbnails at 1am.
Why stack at all instead of just shooting one long exposure
A single 20-second exposure at ISO 6400 will get you a Milky Way photo. It will also get you visible read noise in the shadows, blotchy color in the core, and stars that start to smear if your focal length is anywhere past 20mm. Stacking works around this by trading one noisy exposure for many cleaner ones: shoot 40 to 60 frames at a shorter shutter speed and lower-ish ISO, then average them in software. Random noise cancels out roughly with the square root of the frame count, so a 49-frame stack gives you about a 7x reduction in noise compared to a single frame at the same settings. The sky detail that was buried in grain on frame one starts showing up clean once you've got forty of them layered together. The S5IIx doesn't do anything magic here that the S5II wouldn't also do, and it's worth being honest about that up front, because a lot of what gets marketed as "astro-ready" on this camera is really video language repurposed for a stills audience. The fan-cooled body exists so you can record unlimited 4K60 ProRes without thermal shutdown. For stacking stills at night, sensor heat over a 20-second exposure just isn't in the same league as an hour of 4K video capture, so the fan buys you almost nothing for this specific job. If you're deciding between the S5II and the S5IIx purely for star stacking, save the money and get the II. The IIx earns its keep if you're also shooting time-lapse video of the same sky.
Dialing in exposure before you touch an intervalometer
The 24.2MP sensor gives you a moderate pixel pitch, which matters for how long you can leave the shutter open before stars smear into short lines instead of points. I don't run the full NPF calculation in the field, it's more precision than the situation deserves once wind and focus breathing enter the picture, but here's what I've settled on as starting points that consistently hold pinpoint stars on this body:
| Focal length | Max shutter before trailing | Aperture | ISO | Typical frame count |
|---|---|---|---|---|
| 14mm | 15s | f/1.8 | 3200 | 40-50 |
| 20mm | 10s | f/1.8 | 3200 | 40-50 |
| 24mm | 8s | f/2 | 4000 | 45-55 |
| 35mm | 5s | f/2 | 5000 | 50-60 |
Those shutter speeds are conservative on purpose. I'd rather shoot ten extra frames at 8 seconds than chase trailing stars I have to throw out later. ISO climbs as focal length climbs because the shutter speed has to come down to hold sharp points, and something has to make up the exposure. I generally shoot one stop under where the camera's meter wants to sit, since the histogram in stacking work should be biased left, you're not trying to nail exposure on a single frame, you're trying to keep highlights (bright stars, foreground light pollution glow) from clipping across fifty accumulated frames.
The lens matters more than the body does
I've run three different lenses on the S5IIx for this and the differences are bigger than anything the camera itself contributes. The Sigma 14mm f/1.4 DG DN Art is the one I reach for most: coma control wide open is genuinely good, stars stay round almost to the corners, but it's a brick of a lens and manual focus by feel in the dark takes practice because the focus throw is long. The Lumix S 20-60mm kit lens is the one nobody expects to work and it sort of does, at f/3.5 it's soft in the corners with visible coma on bright stars, but at 20mm it's light enough to travel with and good enough for a first attempt. The Laowa 15mm f/2 Zero-D is manual-only on L-mount, which sounds like a downside until you realize autofocus hunting in near-total darkness is one less thing to fight; I just zoom in on Sirius or Vega in live view, rack focus manually until the point looks smallest, and lock it with gaffer tape so the focus ring doesn't drift as the barrel cools.
If you're shopping specifically for this camera and this use case, prioritize a fast wide prime with controlled coma over anything else on the spec sheet. A 24MP sensor will show you exactly how bad a lens's corner performance is at f/1.4, there's nowhere for a soft lens to hide.
Setting up the actual sequence
A few things I do every time, learned mostly by getting them wrong once:
Turn off image stabilization entirely once the camera is on a tripod. The S5IIx's IBIS is excellent for handheld work but on a locked-down tripod during a long stacking run it can introduce a very slight frame-to-frame drift as the system hunts for motion that isn't there. Panasonic's own guidance says as much for long tripod exposures, and I've seen it show up as a faint softness in stacked results when I forgot to disable it.
Use the electronic shutter or at minimum a shutter delay for every frame. Fifty mechanical shutter actuations in a row on a tripod introduce enough micro-vibration to matter at pixel level, even if you'd never notice it looking at any single frame.
Bring more battery than you think you need. The BLK22 is rated for roughly 370 shots CIPA in ideal conditions, and a 50-frame stacking run barely dents that on paper, but CIPA numbers assume room temperature. At a couple of degrees above freezing, which is most of my actual shooting season, I've watched a battery that should have another hour in it die mid-sequence. I run a USB-C power bank into the camera for anything over 30 frames now rather than trust the battery gauge.
Set focus once, tape it down, and don't touch it between frames. Any autofocus system that wakes up between exposures, even briefly, is a risk. I shoot fully manual for the entire sequence, including exposure, once I've dialed it in on the first couple of test frames.
Culling fifty near-identical frames without going cross-eyed
This is the part nobody talks about and it's the part that actually eats your evening. A 50-frame stacking sequence looks, at thumbnail size, like fifty copies of the same photo. It isn't. Somewhere in there is a frame where a gust moved the tripod half a millimeter, a frame where a plane crossed the frame and left a streak, a frame where dew started forming on the front element two-thirds of the way through and softened everything after it. Scrolling through fifty RAW files one at a time on a laptop screen, in the dark, at the end of a long session, is exactly how those bad frames end up in your stack anyway because your eyes stop being able to tell the difference. I run the sequence through imagic before it goes anywhere near stacking software. It scores focus and sharpness locally on the laptop, no upload, no signal needed, which matters because most of the places worth shooting from don't have a usable connection anyway. It flags the two or three frames where the tripod got bumped or the dew crept in, and separates out the handful of test exposures I fired off while nailing focus at the start of the session from the real sequence, since those end up clustered together as near-duplicates rather than mixed in with the keepers. Cutting the sequence down to the frames that are actually sharp before stacking, instead of after, makes a real difference to the final stack. Stacking software averages what you feed it; feed it three soft frames out of fifty and the whole stack gets a little softer.
Picking a stacking method that fits the camera
There are three ways to actually build the final image once you've got your frames, and they're not interchangeable:
| Method | Extra gear | Output | Best for | Where it falls short here |
|---|---|---|---|---|
| In-camera Live View Composite | None | JPEG only | Star trails, light painting, quick results with no laptop | No RAW file to recover from, so a blown highlight or bad white balance is permanent |
| Intervalometer + stacking software | Laptop, Sequator or Starry Landscape Stacker | 16-bit TIFF | Pinpoint Milky Way stacks, full editing latitude | Requires the culling pass described above or the stack inherits every soft frame |
| Star tracker + stacking software | Tracking mount, laptop | 16-bit TIFF | Deep sky detail, longer individual exposures, lower ISO | Foreground needs a separate untracked exposure blended in afterward |
For a foreground-inclusive Milky Way shot, I use the middle option almost exclusively. The in-camera Live View Composite mode is genuinely useful for star trails over a lit foreground, where you want a JPEG straight off the card and don't care about RAW headroom, but it's the wrong tool for a stacked Milky Way shot where you want every bit of dynamic range you can recover in post. A star tracker gets you more, technically, but hauling a tracking mount out for a foreground-and-sky composite adds a blending step that isn't worth it for most locations I actually shoot from.
Getting a consistent edit across sessions
Once the stack is built in Sequator or Starry Landscape Stacker, the actual color and contrast work happens outside those tools, usually in Affinity Photo for me. The core wants a specific kind of stretch, pulling shadow detail up without crushing the color separation between the dust lanes and the star field, and once I'd found a treatment that worked across three or four sessions I got tired of rebuilding it by hand every time. I trained imagic's apply_my_style preset on a batch of my own finished astro edits, and now new stacks get that same color balance and contrast curve applied automatically as a starting point rather than a blank slate. It's not doing anything I couldn't do manually, it's just doing the parts I've already decided on so I'm not re-deciding them at 1am with cold hands. If you're new to culling large sequences generally rather than just astro work, our piece on how AI photo culling actually works covers the sharpness scoring approach in more detail, and the broader habits in our faster workflow guide apply just as much to a 50-frame night sequence as they do to a wedding take.
Frequently Asked Questions
Do I need a star tracker to get good results stacking on the S5IIx, or is the sensor good enough without one?
For a Milky Way shot with foreground included, no. Forty to sixty untracked frames stacked together get you well past what a single exposure can do, and a tracker adds a blending step (separate foreground exposure, since a tracker moves the sky relative to the ground) that most people don't need for a wide-field shot. A tracker earns its place if you're going after nebula detail or want to shoot at a much lower ISO with longer individual exposures, which is a different project than a foreground Milky Way composite.
Why do my stacked stars look slightly softer than a single sharp frame shot at f/2.8?
Usually it's one of two things: either the stacking software's alignment step is introducing a tiny amount of resampling blur (normal, and a good sharpening pass afterward mostly fixes it), or a handful of soft frames made it into the stack and dragged the average down. If it's the second one, go back to the raw sequence and check focus consistency frame to frame before you blame the software.
Should I shoot uncompressed RAW or the compressed RAW option for a fifty-frame stacking sequence?
I shoot compressed RAW for stacking work. The visual difference between compressed and uncompressed RAW at these exposure settings is not something I've been able to see in a finished stack, and fifty uncompressed 24.2MP RAW files eat card space and transfer time for no benefit I can measure. Save uncompressed for single-frame shots you're going to push hard in post.
Does leaving IBIS on actually hurt a tripod-mounted stacking sequence, or is that overcautious?
It's a small effect, but it's real and it costs nothing to avoid. Panasonic's own documentation recommends disabling stabilization for long exposures on a stable tripod, since the system can introduce slight movement while compensating for shake that isn't there. On a single frame you'd probably never notice it. Averaged across fifty frames in a stack, small consistent errors don't cancel out the way random noise does, so it's one of the few settings worth double-checking before every session rather than trusting muscle memory.