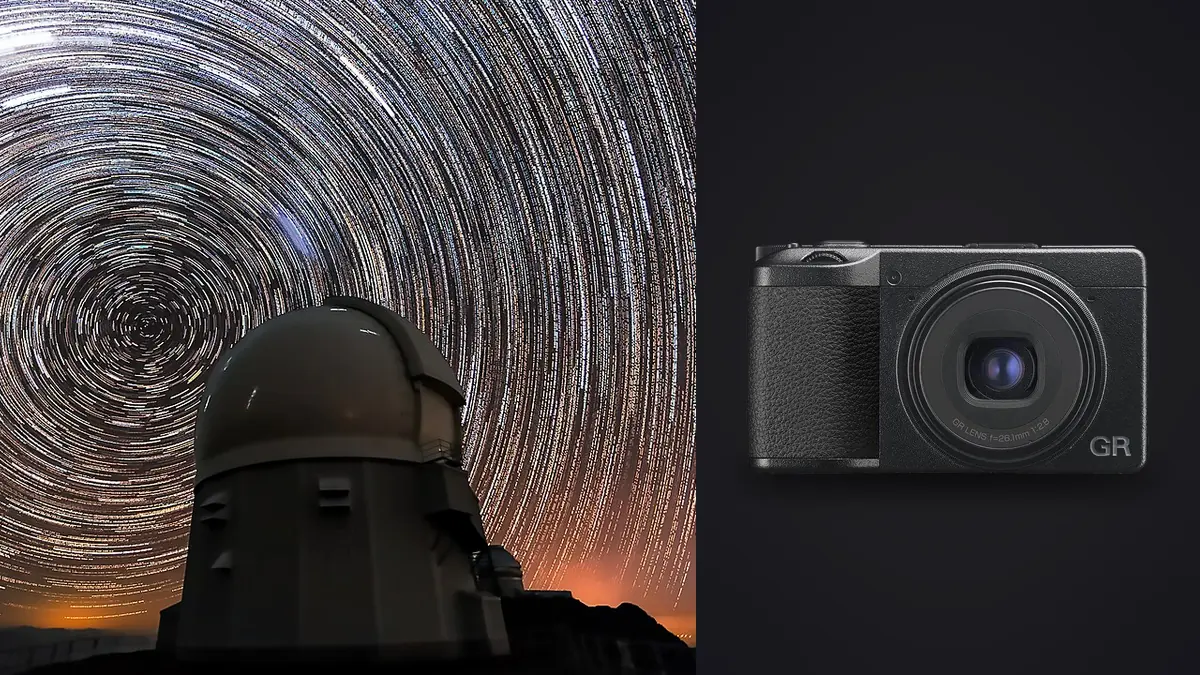
I took a Ricoh GR IIIx to a dark sky reserve on the west coast of Scotland last autumn, mostly because it was the only camera I owned that fit in a jacket pocket for the three-mile walk in. I did not expect it to be a serious astrophotography tool. A fixed 40mm-equivalent lens and a small APS-C sensor are not what anyone reaches for when the plan is Milky Way panoramas. But it turned out to be a genuinely capable star stacking camera once I stopped treating it like a full-frame wide-angle rig and started working with what it actually is: a fast-handling compact with a surprisingly good sensor and a couple of firmware tricks most people never use.
This is a field guide to what worked, what did not, and the specific settings I landed on after four separate night sessions with the GR IIIx. It is not a spec sheet rewrite.
Why a 40mm compact is an odd but workable choice for night skies
The two obvious problems are the focal length and the sensor size. Most Milky Way photography leans on something in the 14-24mm range on full frame, because a wider lens lets you use a longer shutter before stars visibly smear, and it fits more of the arch into one frame. The GR IIIx's 40mm equivalent field of view is a portrait lens by astro standards. You are not capturing a sweeping arch in one exposure. You are capturing a section of sky, or a foreground subject with the core rising behind it, and if you want the wider view you are shooting panels and stitching them.
The sensor is the same 24-megapixel APS-C chip used in the standard GR III, and on paper that is a perfectly good astro sensor. In practice, the pixel density works against you slightly: more megapixels on a smaller sensor means each individual photosite is capturing less light, which shows up as visible chroma noise in the shadows above ISO 3200 even before you push exposure in post. None of this is a dealbreaker. It just means the camera rewards a stacking approach rather than a single-frame approach, because averaging forty short, noisy exposures gets you a cleaner result than one long, noisy one ever will on this sensor.
What the GR IIIx has going for it that a lot of "real" astro setups do not: it is silent, it is weightless on a small tripod head, the shutter mechanism produces almost no shake at the 6-10 second exposures this workflow actually uses, and the lens is genuinely sharp wide open at f/2.8 across most of the frame. Coma smearing at the corners is present but modest compared to a lot of ultra-wide primes I have used for the same job.
Locking focus before the sky goes fully dark
Autofocus will not find stars reliably in the dark, and hunting for it wastes battery and patience. The GR IIIx has a manual focus mode with focus peaking, controlled through the front ring press and the rear dial, and that is what I use, but not by dialing to infinity by eye. I set focus in the last twenty minutes of usable twilight on a distant light (a streetlight, a bright planet, a headland far across the water) using the peaking overlay to confirm the highlight resolves to a tight point rather than a soft blob, then I switch the camera to Snap Focus and assign that exact distance to a function button.
Snap Focus on the GR series lets you preset a fixed focus distance and jump to it instantly without the lens hunting, which matters a lot once it is properly dark and you cannot see anything on the rear screen to focus peak against anyway. Once it is set, I do not touch focus again for the rest of the session unless the temperature drops enough that the lens barrel contracts and shifts it slightly, which has happened to me once, on a genuinely cold night in the Cairngorms, and cost me about fifteen frames before I noticed the stars had gone slightly soft.
Working out the actual shutter ceiling
Every star-trail exposure calculator defaults to the "500 rule," which is 500 divided by your full-frame-equivalent focal length. For the GR IIIx's 40mm equivalent, that gives roughly 12-13 seconds before stars start to visibly elongate. I do not use that number, because it was written for lower-resolution sensors and it is optimistic on anything above about 20 megapixels.
The more accurate approach is the NPF rule, which factors in the lens aperture and the sensor's actual pixel pitch rather than just focal length. On the GR IIIx's roughly 3.76-micron pixel pitch, the NPF math pulls the safe shutter speed down closer to 6-7 seconds at f/2.8 before you see elongation at 100% crop. That is a meaningfully different number from the 500 rule, and it is the gap that explains why so many first attempts at star stacking with this camera come out with slightly egg-shaped stars that look fine on a phone screen and wrong the moment you zoom in on a laptop.
In practice I settled on 8 seconds as my working number. It is a compromise: tighter than the 500 rule, a bit looser than strict NPF, and it keeps frame counts manageable for a 45-60 minute session without swapping batteries mid-sequence.
| Rule | Effective max shutter | What it accounts for | Where it falls short |
|---|---|---|---|
| 500 Rule | ~12-13 sec | Focal length only | Ignores sensor resolution, too generous on 24MP APS-C |
| NPF Rule | ~6-7 sec | Aperture, pixel pitch, focal length | More accurate but pushes ISO higher than I'd like for stacking |
| My working number | 8 sec | Split the difference after checking 100% crops in the field | Camera-specific, not a formula, so re-check it if you shoot a different body |
Two different workflows, depending on what you're after
The GR IIIx actually supports two genuinely different night workflows, and conflating them is the most common mistake I see people make with this camera.
Pinpoint stars: shoot subs, stack later on a computer
If you want a sharp, detailed Milky Way core or a clean starfield, you shoot a burst of short exposures (my 8-second number above) at a consistent ISO and aperture, then align and stack them afterward in something like DeepSkyStacker, Sequator, or Starry Landscape Stacker if you're on a Mac. The camera just needs to hold framing steady and fire a consistent interval, which the built-in interval timer handles fine as long as you leave a gap of at least 1-2 seconds between frames so the buffer clears.
Star trails: let the camera do it in-camera
Ricoh added a genuinely useful firmware feature to the GR III and GR IIIx called Interval Composite, which shoots a long sequence of exposures and blends them into a single trail image on the camera itself, no computer required. For trails I switch to 60-second sub-exposures at a much lower ISO (usually 800) and let it run for 60-90 minutes. This is the mode to reach for if you want the classic circular star-trail look around a foreground subject and don't want to deal with stacking software at all afterward.
Mixing these two up, shooting trail-length subs when you wanted pinpoint stars, or shooting stacking-length subs when you wanted trails, is the single most common wasted night I've had with this camera. Decide before you start the sequence.
| Target | Shutter per frame | ISO | Frames | Total time |
|---|---|---|---|---|
| Milky Way core, dark sky (Bortle 1-3) | 8 sec | 3200 | 45-60 | ~7 min |
| Milky Way core, suburban edge (Bortle 4-5) | 6 sec | 4000 | 60-80 | ~8 min |
| Constellation / starfield portrait | 10 sec | 2000 | 30 | ~5 min |
| Star trail (in-camera Interval Composite) | 60 sec | 800 | 90-120 | 90-120 min |
| Foreground / ambient blend frame | light-painted, single shot | 400 | 1 | n/a |
Sorting forty near-identical frames without losing an evening to it
A stacking session leaves you with a card full of frames that look almost identical at a glance but are not, and the ones that got a passing car's headlights across the frame, a satellite streak through the core, or a tripod nudge from wind need to come out before they go into the stacking software's averaging, because even one bad frame drags the whole stack down. Scrolling through sixty raw files on a laptop trackpad at midnight is exactly the kind of tedious sorting I now hand to imagic instead. Its local sharpness scoring flags the frames where focus actually shifted (which, as I mentioned, happened to me once from the cold), and I can see at a glance which frames are technically clean before I bother opening the stacking software at all. It runs entirely on the laptop with no upload step, which matters when you are doing this at a campsite with no signal.
One setting worth ignoring for this specific use case: imagic's duplicate and burst clustering, which is built for picking one keeper out of a burst of near-identical shots, is exactly the wrong tool for a stacking sequence where you want every good frame kept, not narrowed down to one. I leave that feature on for regular shoots and just skip past the grouping for astro sessions, using the sharpness scoring alone to catch the genuinely bad frames rather than the "which one is best" logic meant for portraits and wildlife bursts. If you're new to how that culling logic works generally, this rundown of how AI photo culling actually scores images is a decent starting point before you apply it to a use case it wasn't originally built for.
Getting a consistent look across a series
If you shoot more than one night session, color consistency between stacked outputs becomes its own small problem: different sky glow, different moon phase, different white balance calls in the field all push the final files in different directions. Once I had a stacked result I was happy with from the first Scotland trip, I used imagic's apply_my_style feature, trained on my own prior edits, to carry that same color treatment across the later Cairngorms session without manually rebuilding the grade from scratch on each set. It is not doing anything to the stars themselves, that work happens in the stacking software, but it kept the sky tone and the shadow lift consistent between two sessions shot two months apart, which is harder to eyeball-match than it sounds. It has also just made the general sorting between sessions faster, in line with most of the small time-savers covered in this rundown on speeding up a photo workflow.
Power and weather, the unglamorous part
The DB-110 battery is rated for roughly 200 shots, and a 90-minute Interval Composite trail sequence will chew through most of a charge on a cold night. Cold temperatures pull battery capacity down further than the room-temperature rating suggests. I carry two spare batteries for anything longer than an hour and treat the in-camera USB charging port as a between-session top-up rather than something to run through while actively shooting, since I have had it behave unpredictably when a power bank stays connected mid-sequence.
The GR IIIx also has no real weather sealing on the standard body (Ricoh calls it simple splash resistance at best), and dew forming on the front element partway through a long trail sequence has ruined more of my frames than any exposure setting ever has. A thin rubber band with a couple of hand warmer packets wrapped around the lens barrel, the same trick telescope owners use for dew heaters, has fixed this completely for me on humid coastal nights.
Frequently Asked Questions
Does the GR IIIx's built-in shake reduction help for handheld night shots?
It helps a little for handheld shots down around a half-second to one second, but it is not a substitute for a tripod at the 6-10 second exposures this workflow uses. Shake reduction on this camera is tuned for daylight handheld use, not multi-second night exposures, and I have never gotten a usable stacking sub without a tripod.
Can I get a wide Milky Way arch with a fixed 40mm-equivalent lens?
Not in a single frame. You either accept a tighter, more portrait-style composition of the core, or you shoot a row of overlapping panels and stitch them afterward, which the GR IIIx's consistent framing and light weight actually make fairly painless on a panning tripod head. I do the second option more often than not now.
Do I need the external lens adapter ring for astro work?
Only if you want a filter thread. The bare GR IIIx body has no threads on the lens barrel, so if you plan to run a light pollution filter you need the optional adapter ring, which adds a 49mm thread. For most dark-sky sessions I skip it entirely and just shoot from a genuinely dark location instead of filtering out city glow.
Is the noise from the APS-C sensor a problem once you're stacking anyway?
Less than you'd expect. Stacking forty-plus frames specifically exists to beat down the kind of random noise this sensor produces at ISO 3200-4000, and the result is noticeably cleaner than any single frame straight off the card. The noise is a real limitation for single-shot night photography with this camera, but it mostly stops mattering once stacking is part of the plan.
None of this makes the GR IIIx a replacement for a dedicated wide astro setup with a fast full-frame body and a 14mm lens. It was never going to be that, and I stopped expecting it to be about halfway through the first night out. What it is, is a genuinely usable second option for anyone who already owns one for street or travel work and doesn't want to carry a second bag of gear just because the sky looks good that night.