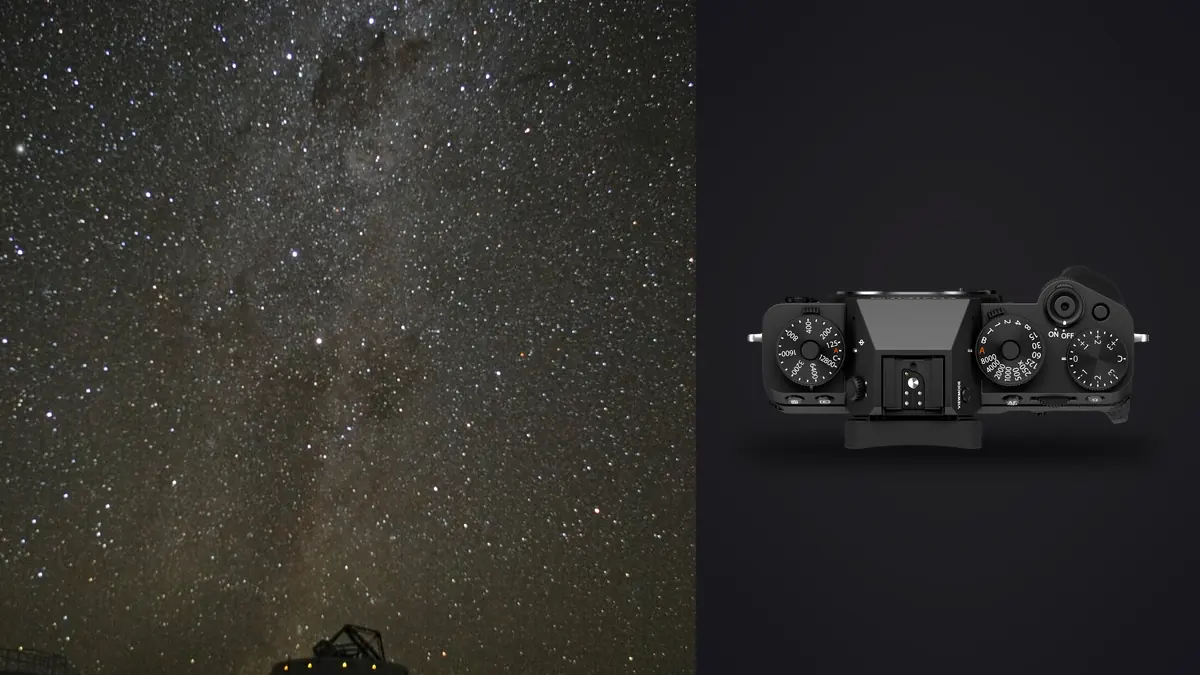
Why This Camera Became My Astro Body More or Less by Accident
I did not buy the X-T5 for night sky work. I bought it because I wanted a lighter body for hiking assignments, and the 40.2-megapixel X-Trans CMOS 5 HR sensor felt like a bonus I would eventually use for landscape prints. It was only after a September trip to a dark-sky site in the Brecon Beacons that I realized this camera photographs stars better than I expected, and worse than I expected, sometimes within the same hour of shooting.
The short version is this: it is an APS-C sensor carrying a pixel count usually reserved for full-frame bodies, and that combination cuts both ways for star stacking. You get resolving power that shows faint structure other 24 to 26 megapixel crop bodies simply do not capture in a stacked file. You also get a sensor that punishes sloppy technique, because at roughly 3.0-micron pixel pitch, star trailing becomes visible sooner than your instincts, trained on a lower-resolution APS-C body, will tell you.
The Resolution Trade-Off Nobody Warns You About
Most advice about star exposure times still assumes a full-frame sensor with pixels in the 4.5 to 6 micron range, or an older 24MP APS-C sensor at around 3.76 microns. The X-T5 packs 40.2 million photosites into a 23.5mm by 15.6mm sensor, which works out to roughly 3.0 microns per pixel. Smaller pixels resolve a star's point of light more precisely, which is exactly why the detail in a stacked X-T5 file can look noticeably crisper than a 24MP equivalent when both are viewed at 100%. The catch is that the same sensitivity to fine detail means it also resolves the star's movement across the frame more precisely.
The rule of 500 (500 divided by your full-frame-equivalent focal length) gives you a rough shutter speed before trailing appears. On a 16mm lens with the X-T5's 1.5x crop applied, that is 500 / 24, so about 20 seconds. In practice, at 40MP and viewed at full resolution, I start seeing elongation in individual stars closer to 13 to 15 seconds at that same focal length. It is not that the rule is wrong, it is that the rule was written before 40MP crop sensors existed, and it assumes you are not going to pixel-peep. For stacking, where you are combining a hundred or more subframes and any single frame's softness gets partially masked by the stack, I will sometimes push to 18 seconds and accept it. For a single frame meant to stand on its own, I stay under 14.
There is a second quirk worth knowing before you commit a night to this camera: the X-Trans color filter array is not a standard Bayer pattern. Most consumer stacking tools were written and tested against Bayer RAW files, and a few (older builds of DeepSkyStacker among them) have historically mishandled X-Trans demosaicing, producing maze-like color artifacts in dense star fields. Starry Landscape Stacker on macOS explicitly supports X-Trans and has been my go-to for that reason. If you are on Windows and testing a new stacking tool for the first time, do a five-frame test stack before you trust it with your only clear night of the month.
Glass That Actually Resolves Stars to the Corners
The body is only half the equation. Coma and astigmatism at the corners of a wide-open aperture will undo whatever resolution advantage the sensor gives you, and X-mount has a wider spread of astro-suitable options than it gets credit for. Here is what I have actually shot with, not a manufacturer spec sheet copy:
| Lens | Full-Frame Equivalent | Max Aperture | Corner Star Quality | Best Use Case |
|---|---|---|---|---|
| Fujinon XF 8mm f/3.5 R WR | ~12mm (fisheye) | f/3.5 | Very clean, minimal coma even wide open | Full-dome or full-sky single frames, not fast enough for tight stacking intervals |
| Laowa 9mm f/2.8 Zero-D | ~13.5mm | f/2.8 | Good, slight softening past the outer 15% | Wide Milky Way arch shots where distortion control matters more than speed |
| Rokinon/Samyang 12mm f/2 NCS CS | ~18mm | f/2 | Visible coma wingtips at f/2, mostly gone by f/2.8 | Budget option, best stopped down one third to one half stop for stacking |
| Sigma 16mm f/1.4 DC DN | ~24mm | f/1.4 | Sharp center, moderate coma wide open, cleans up nicely by f/2 | The one I reach for most, good balance of speed and price |
| Fujinon XF 16mm f/1.4 R WR | ~24mm | f/1.4 | Excellent even wide open, best corner performance on this list | When light-gathering speed matters more than saving money |
| Viltrox 13mm f/1.4 AF | ~19.5mm | f/1.4 | Good, some coma stretching in extreme corners | Autofocus convenience for foreground composition before switching to manual |
My honest pick for most people starting out is the Sigma 16mm f/1.4. It is not the sharpest corner-to-corner wide open, but it is close enough, it is fast enough to keep exposure times short, and it costs a fraction of the native Fujinon. The XF 16mm is worth saving for shots where you might crop into a corner.
Field Settings I Actually Use
Shutter mode: go electronic and save the mechanical one
A single stacking session for a Milky Way composite is often 150 to 400 subframes. That adds up fast against a mechanical shutter rated around 500,000 actuations, and there is no rolling-shutter downside to worry about because the subject (stars, plus a static foreground) is not moving fast enough to trigger the skew artifacts electronic shutters are known for. I shoot the entire stacking sequence on the fully electronic shutter and save the mechanical actuations for everything else I do with the camera during the day.
Focus: forget autofocus exists
The X-T5's autofocus is rated down to -7EV and it genuinely is decent in low light, but decent is not the same as reliable on a dim star field. I focus manually every time: punch in with the rear dial to 6x or 10x magnification on the brightest star or a distant light on the horizon, turn until the point is as small and tight as it will get, then tape the focus ring if I am going to be swapping lenses or bumping the camera in the dark. Focus peaking helps confirm it but I do not trust peaking alone at this magnification, I want the visual confirmation of the star shrinking to a point.
ISO and the dual conversion gain step
Base ISO on the X-T5 is 125, but the sensor's dual gain circuit kicks in around ISO 640, where read noise drops noticeably. For star stacking I usually shoot at ISO 800 or 1000 rather than pushing to 3200, because I am relying on the stack itself to build up signal-to-noise ratio across dozens of frames rather than trying to brute-force it out of a single high-ISO exposure. A stack of 200 frames at ISO 800 consistently looks cleaner to me than 50 frames at ISO 3200, even though the second option feels more instinctively "correct" if you are used to single-shot night photography.
The built-in interval timer, and where it stops being enough
The X-T5's interval timer shooting menu handles up to 999 frames, which comfortably covers a full stacking session without an external intervalometer. What it will not do is track the sky. For wide static shots and short exposures under about 20 seconds, a tripod and the interval timer are all you need. If you want to go past 20 to 30 second subframes without trailing, or you are after actual deep-sky detail rather than a wide Milky Way frame, you need a star tracker (something like a Sky-Watcher or an iOptron), and at that point the camera settings above still apply, they just sit on top of a moving mount instead of a fixed one.
One setting I would actively warn people off for this use case: pixel shift multi-shot. It is genuinely useful for static architectural or product work, generating a 160MP composite from 20 shifted exposures, but it assumes nothing in the frame moves between shots. Stars move. Save it for daylight.
Building the Stack: Frame Counts and Where the Software Comes In
For a Milky Way core shot I aim for somewhere between 20 and 60 light frames at 10 to 15 seconds each, plus 15 to 20 dark frames (lens cap on, same ISO and shutter speed, shot right after or before the sequence so sensor temperature is close to matched). For a star trail composite built from stacked short exposures rather than one long exposure, I will run the interval timer for 200 to 400 frames at 15 to 20 seconds apiece with almost no gap between them, which keeps the trails looking continuous instead of dashed.
None of that stacking or alignment happens in imagic. To be clear about where the line sits: imagic is a local culling and editing tool, not an astrophotography stacker, so the actual pixel-alignment and combination step still runs through dedicated software (Sequator or Starry Landscape Stacker for Milky Way work, DeepSkyStacker for tracked deep-sky sessions). What changes once you have shot 300 frames in the dark is what you do before and after that stacking step, and that is where the workflow around the camera starts to matter as much as the camera itself.
Sorting Three Hundred Frames Without Losing an Evening to It
A stacking session generates a stupid number of nearly identical files, and a meaningful chunk of them are unusable for reasons that are hard to catch by eye on a 3-inch LCD in the dark: a gust that nudged the tripod for four frames, condensation creeping onto the front element over the last twenty minutes, a plane or satellite trail cutting through the frame, or the intervalometer catching the tail end of a cloud drift you did not notice. Stacking software will average some of this out, but garbage frames still drag down the final signal-to-noise ratio, and outright blurred frames can leave faint double-star ghosting in the final stack if they slip through.
This is the part of the workflow where I actually use imagic. I run the full night's capture through it before it ever touches stacking software, using the local sharpness and focus scoring to flag the frames where the star points went soft, whether from a tripod nudge or actual focus drift over a long session as temperature changes shifted the lens slightly. It runs entirely on the laptop with no upload step, which matters more than it sounds like it should when you are at a dark-sky site with no signal and a battery-powered laptop you would rather not burn on a cloud sync. The duplicate and burst clustering is also genuinely useful here, not because you want to throw frames away (for stacking, more clean frames usually helps), but because it groups the sequence visually so I can scan for the outliers fast instead of clicking through 300 thumbnails one at a time. If you have not seen how that scoring approach works in general, we cover the mechanics in how AI photo culling works, and separately, cutting the sorting step down is most of what actually saves time on a long shoot, which is the whole subject of our faster workflow piece.
After the stack is built and I move into editing the composite plus whatever foreground exposure I blended in, I lean on imagic's apply_my_style preset, trained on my own past edits rather than a generic filter, to get the color grade consistent across a session that might span blue hour test shots, the main stacked frame, and a few single-exposure Milky Way frames from earlier in the night before it got fully dark. Getting three or four different exposure types to look like they belong to the same photograph used to be the part of astro editing I dreaded most.
Cold, Dew, and Battery Reality
The NP-W235 battery is CIPA-rated around 580 shots, but that number assumes room temperature and normal shooting cadence, not six hours of IBIS engaged and an EVF or LCD lit continuously through an interval timer sequence in near-freezing air. In practice I have watched a full battery drop to under 30% over a four-hour session in cold weather. I now shoot with a USB-C power bank feeding the camera through its PD charging port for anything longer than about ninety minutes, and I keep a spare battery warm in an inside jacket pocket regardless.
Dew is the other quiet ruiner of a stacking session. The X-T5 has no built-in dew heater, and on humid nights near water or in valley fog, condensation on the front element can creep in gradually enough that you do not notice until you are back at the laptop looking at a soft halo growing across the last forty frames of an otherwise clean sequence. A simple battery-powered dew heater band around the lens barrel, the kind sold for telescopes, has saved more of my sessions than any camera setting has.
Frequently Asked Questions
Is 40 megapixels actually an advantage for star stacking, or just extra file size?
It is a real advantage for final detail, particularly if you plan to print large or crop into a Milky Way core, but it comes with the shorter maximum exposure times discussed above and noticeably larger RAW files, typically 75 to 85MB uncompressed per frame. Across a 300-frame session that is over 20GB before you have even started stacking, so plan storage accordingly.
Do I need a star tracker for the X-T5, or is a tripod enough?
For wide Milky Way and star trail work, a solid tripod and the built-in interval timer are genuinely enough, and that is most of what this article covers. A tracker becomes necessary once you want exposures longer than roughly 20 to 30 seconds without trailing, or you are chasing actual deep-sky targets like nebulae rather than a wide sky frame.
Why do my stacked images look softer than I expected given the resolution?
The two most common causes I run into are focus drift over a long session as the lens barrel cools and contracts slightly, and subframes shot past the effective trailing threshold for this sensor's pixel pitch (see the resolution section above). Re-checking focus every 30 to 40 minutes on a long session, and being stricter than the standard 500 rule suggests, fixes most of it.
Should I shoot compressed or uncompressed RAW for a stacking session?
I shoot lossless compressed RAW for stacking work. It is roughly 40 to 50% smaller than uncompressed with no measurable quality difference in stacked output, and over a 300-frame night that space difference is the gap between filling one card or two.