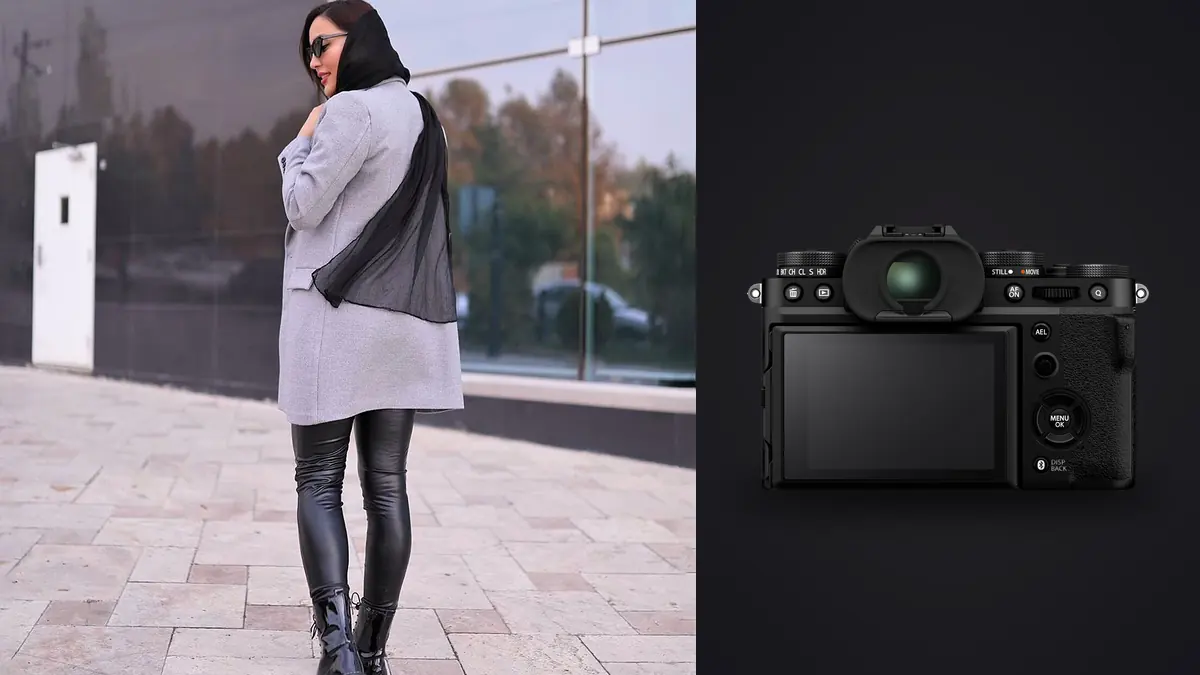
The Fujifilm X-T5 combines a 40.2-megapixel APS-C sensor, subject-detection autofocus, in-body stabilization, mechanical and electronic shutters, dedicated exposure dials, and two UHS-II SD slots. A fashion lookbook can expose every weak link: eye focus that shifts to lashes, moving fabric that stabilization cannot freeze, fine textiles that alias, pale garments that clip, and auto white balance that changes when a saturated look fills the frame.
Do not respond by changing several settings at once. Identify the symptom, isolate its cause, and make a controlled correction while the set still exists. This guide follows that method from focus and motion through light, color, and file review.
Choose focal length from the set geometry
This Lens and Location Guide connects X-T5 lens choice to the physical lookbook location. Measure the distance needed for full-length, three-quarter, and detail frames before placing lights. A wider lens can solve a short room but increases sensitivity to camera height, edge stretch, and converging set lines. A longer option can simplify backgrounds and proportions but may force the camera into a doorway or block the working path. Inspect overhead LEDs, windows, mirrors, polished floors, and colored walls because each can introduce bands, reflections, or color contamination. Keep one focal-length and distance pattern for each required framing so garments remain comparable across the final grid.
When the eye box appears but the eye is soft
Detection shows that the camera found a feature; it does not prove the recorded focus plane is perfect. Lashes, hair, glasses, a hat brim, or a far eye can attract focus. Magnify a representative frame and identify the sharpest actual texture.
Use a smaller focus area to tell the camera which face or eye matters. In a group, mirrored set, or lookbook with large printed faces in the background, broad automatic selection can jump. Begin tracking from a controlled area over the intended model.
For a static detail, turn off face priority and place a point over the garment feature. A commercial frame may require a buckle, collar, or bag nearer than the face to be sharpest. Focus should follow the brief, not the camera's portrait default.
When walking frames vary from sharp to soft
Set AF-C, establish a start and finish mark, and acquire before movement begins. Ask the model to repeat the same pace and endpoint. If the path changes on every take, autofocus performance cannot be compared meaningfully.
Use enough depth of field to cover small variation. The APS-C format provides a little more depth than full frame at comparable framing and aperture relationships, but close distance and high resolution still reveal misses. Stop down slightly before increasing the number of frames.
If the background is sharp while the model is soft, review tracking acquisition. If both smear, camera movement or shutter speed is more likely. If the face is sharp and only hems or hands blur, subject movement is the cause.
When stabilization produces a steady view but blurred fabric
In-body stabilization steadies the camera, not the garment. A calm viewfinder can hide a sleeve, hair, or hand moving during exposure. Raise shutter speed for crisp motion, add light, or reduce the action.
For deliberate blur, choose one anchor such as the face or torso and keep it stable while fabric moves. Use a repeatable fan position and model cue. Inspect whether the blur looks directional and intentional rather than like a general focus error.
On a tripod, follow Fujifilm and lens guidance for stabilization. A loose head or flexible floor can still move the camera. Compare a static test before and after support changes to isolate the source.
When electronic shutter bends lines or moving garments
The X-T5's electronic shutter reads the sensor over time. Fast lateral movement can skew limbs, hangers, door frames, or flowing fabric. The effect may be subtle in a face and obvious in a vertical set edge.
Return to the mechanical shutter when geometry matters. If silence is required, slow the movement, adjust direction relative to readout, and test again. A higher electronic shutter speed does not necessarily eliminate readout skew because exposure time and total sensor scan are different things.
Keep shutter mode in a saved state or add it to the setup record. A quiet test mode left enabled can affect an entire movement series before the distortion is noticed.
When LEDs create bands or color cycling
Dimmed LED fixtures may pulse faster than the eye notices. Electronic or mechanical capture can record uneven brightness, and electronic shutter is often more exposed to banding. Photograph several consecutive frames at the planned shutter speed.
Use the camera's flicker controls where supported and adjust shutter speed in small steps. Changing the fixture to a higher output and controlling brightness with distance, diffusion, or another method may reduce pulse behavior. Recheck after color or dimming changes.
Do not grade around a capture band. A horizontal color shift across skin or fabric is not a white-balance problem. Fix the source or shutter relationship before production continues.
When flash frames alternate in brightness
Incomplete flash recycle is the first suspect. Slow the drive, lower flash power, bring a diffused source closer, raise ISO modestly, or wait for the ready indicator. A fast camera cannot make the light recharge faster.
Confirm synchronization for the X-T5, trigger, shutter, and flash. Electronic shutter may not support ordinary flash use in the intended mode. High-speed synchronization reduces available flash power and may change recycle behavior.
Lock manual camera and flash exposure once the ratio is approved. If brightness still varies at a slow pace, check trigger batteries, channels, cables, and whether another photographer is firing the same optical slave.
When pale garments clip before skin looks correct
Reflective white fabric or satin can be much brighter than nearby skin. Use highlight warnings on the garment, not only the overall histogram. Preserve broad textile structure while allowing tiny specular points to reach white.
Change the ratio instead of lowering the whole image blindly. Add fill to the face, flag the garment, rotate the model, enlarge the source, or change its angle. A global exposure correction affects both problem and subject.
RAW can recover near-limit tone, but a fully clipped channel has no color texture. Saturated red, blue, and neon garments deserve channel inspection even when luminance looks safe.
When color changes across nearly identical frames
Auto white balance reacts to frame content. A red coat filling the image may push the camera differently from a wider frame with gray background. Set fixed white balance for each lighting family and photograph a neutral plus color reference.
Film simulations affect JPEG and preview appearance. Keep one simulation through a comparable set so review does not confuse style changes with lighting changes. The RAF file retains flexible processing, but crew approval based on previews still needs consistency.
Mixed daylight and practical lights can create separate color zones. Turn off an unnecessary source, gel added light, or place the split intentionally away from critical product areas. Global white balance cannot neutralize two different spectra at once.
When fine textiles show false color or moire
High-resolution capture and fine repeating patterns can interact at a particular distance. Checks, mesh, and tight weave may show waves or false colors that are not present on the garment. Inspect a representative textile before the full wardrobe run.
Change one physical relationship: camera distance, focal length, aperture, or garment angle. A small change can move the pattern away from the sensor sampling conflict. Make a labeled comparison rather than guessing from memory.
Use local moire reduction only when capture changes cannot solve the issue. Broad correction can smear real weave and alter product color. Inspect both full detail and the resized delivery, since downsampling can change the interference.
When the dials and saved settings disagree
The X-T5's physical ISO, shutter, and compensation dials make camera state visible, but command-dial overrides and custom settings can create confusion. Before each lighting family, read the actual on-screen values and confirm whether a dial is in a command or automatic position.
Save a static lookbook state and a movement state where the camera permits, but document the physical dial positions required for each. Reset experimental bracketing, timer, crop, and drive settings after tests. A visible dial is useful only when its relationship to the current mode is understood.
Lock exposure compensation when working manual flash. An accidental dial movement may not affect a fully manual exposure, but it can alter Auto ISO or a later ambient setup without obvious cause.
Use dual cards and RAW review to contain errors
Configure the two UHS-II SD slots for duplicate RAW, RAW plus JPEG, or overflow. For non-repeatable production, matched backup recording is valuable when both cards support the drive. Verify the destination icons before the first look.
At ingest, copy by card and camera, make a second physical copy, and group files by look and lighting family. imagic can assess sharpness, exposure, closed eyes, composition, and duplicate groups locally. It cannot confirm product color, garment coverage, or brand styling.
Keep adjustments non-destructive and review the final JPEG or TIFF exports. The desktop workflow covers local review, and Guides contains related production advice.
When the camera preview and RAW export disagree
The rear display reflects the selected film simulation, dynamic-range settings, white balance, and screen brightness. A RAW converter may begin from a different profile, so the exported RAF can appear flatter, more saturated, or shifted even though exposure did not change. Compare like with like before treating the difference as a camera fault.
Record which film simulation or profile was approved on set and choose a corresponding RAW starting point where the software supports one. Then set exposure and color from the reference target, not by trying to reproduce every display characteristic. If the JPEG itself is the deliverable, inspect that JPEG directly and keep in-camera processing consistent across the look.
Lens correction and resizing can also alter the apparent frame. A distortion profile may crop an edge, while export sharpening can make fine weave or moire stronger. Produce one proof at the exact delivery dimensions, color space, and sharpening before approving the full batch. A matching edit view is not enough if the rendered files use different output settings.
Use a set-side diagnosis order
- Identify whether softness belongs to focus, camera movement, subject movement, or depth.
- Check actual eye or product detail at magnification.
- Inspect rigid lines and moving fabric for electronic-shutter skew.
- Compare consecutive frames for LED bands or flash recycle variation.
- Protect garment highlights and saturated channels before changing the grade.
- Lock white balance and capture a color reference.
- Test repeating textile patterns at final output size.
- Verify physical dials, saved state, and both card destinations.
Frequently asked questions
Why is eye autofocus visible but the eye still soft?
The camera may have focused on lashes, hair, glasses, or the far eye. Inspect the real focus plane and use a smaller starting area when needed.
Does X-T5 stabilization freeze a moving model?
No. It reduces camera shake. Use shutter speed, lighting, and a repeatable movement path to control hands, hair, and garments.
Why do LEDs create horizontal bands?
Some fixtures pulse as they dim, and the shutter records different phases across the frame. Adjust shutter speed or light behavior and test several consecutive files.
Can RAW processing remove every textile moire pattern?
No. Local correction may help, but a small change in distance, focal length, aperture, or fabric angle often preserves truer detail and color.