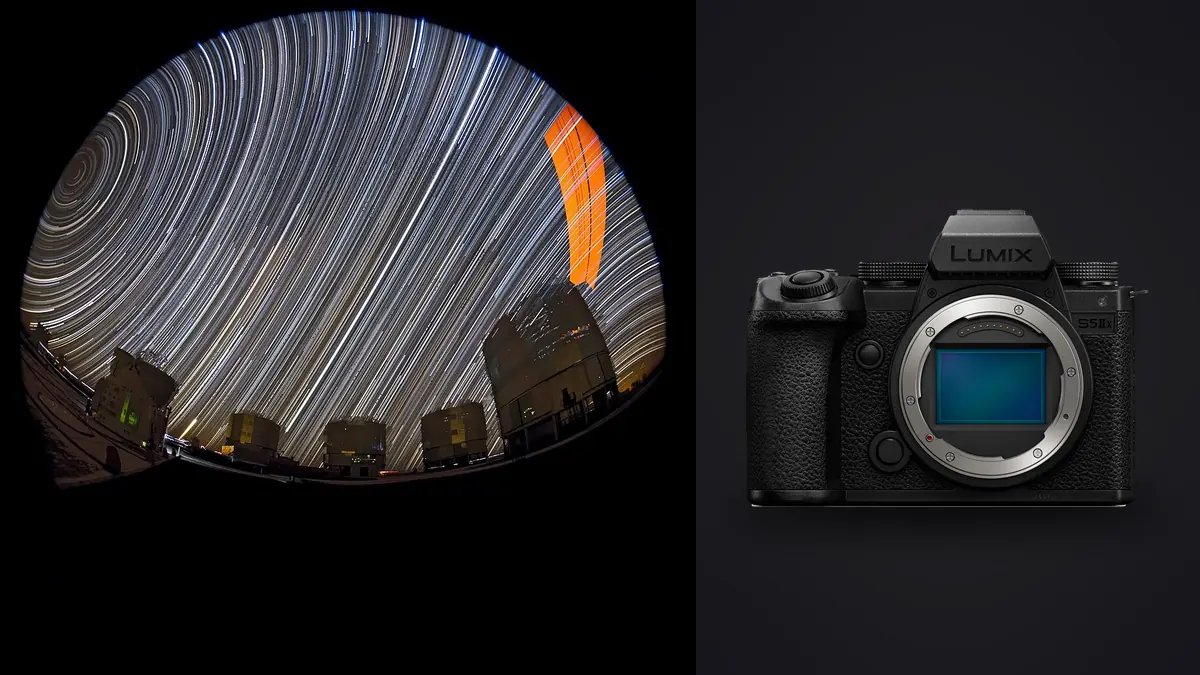
I took the S5IIx out to a Bortle 3 site in early spring mostly to test its video specs, and ended up shooting three nights of star stacks almost by accident because the sky was too good to waste. What follows is what actually worked, what didn't, and the settings I now default to when I know a clear night is coming. This isn't a spec sheet rewrite. It's the workflow I use.
Star stacking, if you haven't done it, means shooting a run of exposures of the same static composition (anywhere from 15 to 100+ frames) and combining them afterward in software so the random noise in each individual frame averages down while the actual signal, the stars and the Milky Way structure, stays put. It's a night-photography trick borrowed from deep-sky astronomy, and it's how you get a clean, low-noise nightscape without a star tracker. The camera's job is simple on paper: hold still, expose consistently, and not do anything clever behind your back that messes with the raw data. The S5IIx is mostly good at that, with a couple of catches worth knowing before you drive two hours to a dark site.
Why the S5IIx's Sensor Works in Your Favor Here
The S5IIx uses the same 24.2MP full-frame sensor as the standard S5II, and Panasonic dropped the optical low-pass filter on this generation. For daylight work that's a minor sharpness bump you might not notice. For star fields it actually matters, because stars are the closest thing to a true point source you'll ever photograph, and an OLPF exists specifically to soften exactly that kind of high-frequency detail. Pull up a 100% crop of a stacked frame from this body next to one from the original S5 and the star points are noticeably tighter and less smeared.
24.2MP is also a reasonable middle ground for this specific use case. A 60MP body resolves finer star points too, but you're moving three or four times the data through a 60-100 frame stack, which means longer processing, bigger intermediate files, and a real risk your laptop chokes on the align-and-integrate step at 2 a.m. in a tent. I've stacked 80-frame sequences from the S5IIx on a mid-range laptop without it becoming an overnight job.
One thing that doesn't matter as much as people assume: in-body stabilization. IBIS is switched off for every stack frame here, tripod-mounted, because any sensor movement between exposures ruins alignment. The 5-axis system is genuinely useful for the handheld scouting shots and behind-the-scenes footage you'll take before the sky gets fully dark, just not for the stack itself.
Picking Glass From the L-Mount Lineup
The S5IIx's L-mount gives you three lens makers to shop from (Panasonic, Sigma, Leica), and for astro work that's genuinely useful because Sigma's fast primes are some of the best value in any mount right now. I've run three lenses on this body for night work with different results:
The Sigma 14mm f/1.4 DG DN Art is the one I reach for most. At f/1.8 it's already clean in the corners, which matters a lot at 14mm because that's exactly where coma and astigmatism chew up star points into little wings and seagulls. It's a heavy lens to carry up a hill, but optically it's the least compromise of anything I've used at this focal length.
The Lumix S 14-28mm f/4-5.6 is the opposite trade-off: small, light, cheap relative to the primes, and genuinely close-focusing enough to get interesting foreground elements in frame. But f/4 wide open means you're either pushing ISO harder or stacking more frames to compensate, and corner coma at f/4 on this lens is present, just not as bad as an unstabilized cheap wide zoom has any right to be.
The Sigma 20mm f/1.4 DG DN Art sits in between and is my pick when I want a slightly tighter Milky Way arch composition without going to a full panorama. Wide open it's a hair softer in the extreme corners than the 14mm, but stopped to f/1.8 the difference mostly disappears.
If you're buying one lens specifically for this and nothing else, I'd point you at the 14mm Art over the Lumix zoom. The zoom is more versatile for everything else you'll shoot with this camera; the Sigma is the one that makes stacked frames look genuinely clean at 100%.
Dialing In Exposure Before You Touch the Shutter
Every guide has a version of the "500 rule" for how long you can expose before star trails become visible, but on a 24.2MP full-frame body those old rules of thumb run too generous. Here's what I actually use as starting points, tightened up for this sensor's pixel density:
| Lens / focal length | Max single exposure before trailing | Working aperture | ISO starting point | Best for |
|---|---|---|---|---|
| Sigma 14mm f/1.4 Art | ~13 sec | f/2 | 3200 | Core + foreground in one frame |
| Lumix S 14-28mm f/4-5.6 | ~13 sec | f/4 (wide open) | 6400 | Compositions needing close foreground |
| Sigma 20mm f/1.4 Art | ~9 sec | f/1.8 | 2500 | Milky Way arch panoramas |
| Lumix S 24mm f/1.8 | ~7-8 sec | f/2 | 3200 | Tighter single-frame core shots |
| Lumix S PRO 16-35mm f/4 at 20mm | ~9 sec | f/4 | 8000 | Star fields where you want less corner correction |
Those ISOs look aggressive if you're used to daylight work, but this is exactly the point of stacking: you're not trying to get one perfect low-noise frame, you're trying to get a clean signal across many frames, then letting the stack do the noise reduction. Shooting at ISO 3200 for 15 frames and stacking beats shooting one frame at ISO 800 for a longer exposure, because the longer exposure blurs your stars into short trails at these focal lengths.
Focus is manual, always. Switch to MF, punch in with the rear screen's magnification on the brightest star or planet you can find, and use focus peaking to confirm. Do this again if the temperature drops more than a few degrees over the session, because L-mount lenses (like most modern glass) shift focus slightly as the barrel contracts in the cold. I check infinity focus roughly every 45 minutes on a night where the temperature is actually dropping, not out of paranoia, because I've lost a whole sequence to focus drift once and it's not a mistake worth repeating.
The Field Workflow: Intervalometer, Power, and Cold Nights
The S5IIx doesn't have a built-in live-stacking or star-trail composite mode the way some Olympus/OM System bodies or older Panasonic GH-series cameras do. What it has instead is a solid interval timer buried in the recording menu, which is what you actually want for this: set it to fire back-to-back exposures at your chosen shutter speed with minimal gap between frames, and let it run.
Two practical things make longer sessions less painful. First, USB-C power delivery: you can run the camera off a USB-C power bank while it's in the middle of a 100-frame sequence, which matters a lot when you're two hours from your car and don't want to swap batteries mid-stack and risk shifting the tripod. Second, the active cooling fan carried over from the S5II. It exists primarily to stop the sensor overheating during long 4K video recording, but anecdotally I've had less noise creep across long interval sequences with it running than I remember from bodies that just sit there passively warming up over an hour of continuous shooting. I can't promise you a lab measurement on that, just what I've seen looking at frame 60 versus frame 5 in a sequence.
Weather sealing matters more here than in daylight shooting, mostly for condensation. Dark sky sites are cold and often damp near dawn, and a sealed body handles dew forming on the exterior far better than it handles dew on the front element, which no amount of sealing fixes. Bring a lens warmer or at minimum a rubber band and hand warmer taped to the barrel if you're shooting past 1 a.m. in humid conditions.
Turning Off the One Setting That Will Sabotage a Stack
Long Exposure Noise Reduction needs to be off. If you leave it on, the camera takes a second "dark frame" exposure of equal length after every shot to subtract fixed-pattern noise, which doubles your time between frames for no benefit, because your stacking software is already going to do a far better job of noise reduction across dozens of light frames than a single in-camera dark frame ever could. I made this mistake on my first night out with the camera, wondered why a 20-frame sequence at 10 seconds each was taking closer to seven minutes instead of just over three, and felt appropriately dumb once I found the menu item.
Getting the Frames Out of the Camera and Into a Stack
After a good session you'll have anywhere from 40 to 120 nearly identical RAW files, plus whatever test shots, focus checks, and frames ruined by a passing headlight beam or a satellite trail got mixed in. Sorting that by eye on a laptop screen at a campsite is slow and easy to get wrong, especially at 2 a.m. This is where I actually lean on imagic rather than scrolling through frames one at a time in Lightroom. Its local sharpness scoring flags which frames in the sequence are genuinely in focus (useful for catching the ones where focus drifted without me noticing), and because the whole thing runs offline with no cloud upload, it works fine at a dark site with zero signal, which matters more than it sounds like it should when you're trying to review a night's shooting before the drive home. The underlying culling approach is the same one you'd use on a wedding burst, just pointed at star frames instead.
Once you've got a clean set, here's how the stacking software options actually compare for this kind of nightscape work, not deep-sky tracked imaging:
| Software | Platform | Cost | Best for | Watch out for |
|---|---|---|---|---|
| Sequator | Windows only | Free | Sky-only stacking with separate foreground blending | No built-in noise tools; interface feels dated |
| DeepSkyStacker | Windows only | Free | Straightforward light-frame stacking, some flexibility with calibration frames | Needs genuinely consistent framing across all input files |
| Starry Landscape Stacker | Mac only | Paid, roughly $40 | Clean sky/foreground masking on nightscapes with detailed horizons | Slower on large batches; no Windows version |
| PixInsight | Windows / Mac / Linux | Paid, three figures | Serious calibration-frame workflows, deep-sky processing | Steep learning curve for what's overkill on a simple nightscape stack |
My default for a single static composition is Sequator, because it handles the sky-versus-ground split well and it's free. For a Milky Way panorama stitched from multiple stacked segments, I'll stack each segment in Sequator first, then stitch the results in whatever panorama tool I'm already using for daylight work.
Problems I Actually Ran Into
- Corner coma wide open. Every fast wide lens I tried shows some degree of star elongation in the extreme corners at maximum aperture. Stopping down even a third of a stop helps more than you'd expect, and it's a cheap fix compared to buying a different lens.
- Satellite trails. Starlink passes are common enough now that at least one frame in a 60-frame sequence usually has a trail through it. This is actually a non-problem for stacking, since most software uses a rejection algorithm (sigma clipping in most tools) that treats a trail in one frame out of sixty as an outlier and discards it automatically.
- Battery draw in the cold. The DMW-BLK22 pack loses noticeable capacity below freezing. I keep a spare in an inside jacket pocket rather than in the bag, and it's made a real difference on sub-zero nights.
- Card slot mix-up. The camera takes CFexpress Type B or SD in slot one and SD only in slot two. If you're shooting backup-to-both for a long session, make sure both cards are actually fast enough SD UHS-II or you'll get an unexpected buffer stall mid-sequence.
Editing the Finished Stack
Once Sequator or DeepSkyStacker spits out a merged TIFF, the actual edit is closer to landscape processing than anything astro-specific: recover shadow detail in the foreground, pull down highlights if you've got a bright horizon glow from a distant town, and be deliberate about how far you push the Milky Way's color without it looking artificially teal. If you shoot the same locations repeatedly and want your night edits to look consistent across a season of trips, imagic's apply_my_style feature is worth setting up once you've nailed an edit you're happy with. It trains on your own past edits rather than a generic preset pack, so a batch of stacked nightscapes from different nights ends up with a consistent look without you manually matching white balance and contrast curves across twenty files by hand. For the color work itself, our grading guide covers the shadow and midtone approach I use on stacked files specifically.
On a big trip with multiple sites and multiple stacked sequences, imagic's burst clustering also earns its keep before you even get to the edit: it groups the near-duplicate frames from each interval sequence together instead of making you scroll past fifty visually identical thumbnails to find the handful of composition changes and test shots mixed in between them.
Frequently Asked Questions
Does the S5IIx have a built-in star-trail or astro stacking mode?
No. Unlike some Olympus/OM System bodies with a Live Composite mode that builds a star-trail image on screen in real time, the S5IIx relies on its interval timer to shoot a sequence, and you assemble the stack afterward in dedicated software. It's an extra step, but it also gives you far more control over how the stack gets processed than an in-camera composite would.
What's the longest single exposure I can shoot before switching to Bulb mode?
In manual shutter speed mode you can dial up to 60 seconds directly. Past that you're in Bulb (B), where the camera's own bulb timer can hold the shutter open up to 30 minutes before you'd need a wired remote or the Lumix Sync smartphone app to go longer. For stacking purposes you'll rarely need either, since individual stack frames are almost always under 15 seconds at the focal lengths people actually use for the Milky Way.
Is 24.2MP with no low-pass filter too little resolution for serious astro work?
For nightscape and Milky Way stacking, no. It resolves star points a little more crisply than an OLPF-equipped sensor of similar resolution, and the smaller file size compared to a 60MP body makes stacking 60-100 frames far less punishing on your computer. If you're doing tracked deep-sky imaging through a telescope where you're cropping in heavily on a single target, more resolution starts to matter more, but that's a different workflow than what this guide covers.
How many frames should I actually stack for a clean result?
At ISO 3200-6400 I get a genuinely clean noise floor from around 15-25 frames. If I'm rushed or the sky's only briefly clear and I end up pushing ISO 6400-12800, I'll shoot 40 or more if the window allows it, since the extra frames compensate for the higher starting noise. There's a point of diminishing returns past 60-80 frames where the improvement gets hard to see even at 100%, so I don't usually bother chasing three-digit frame counts unless I have nothing better to do while the sky stays clear.