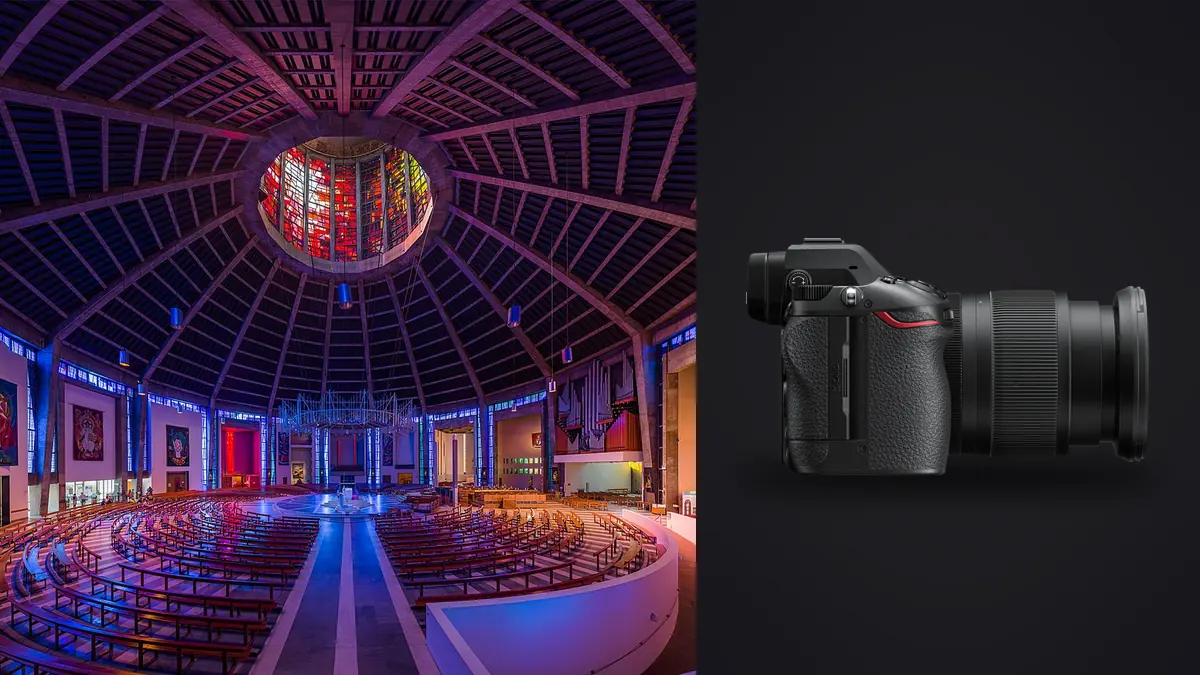
Interior photography places the camera inside a geometry problem. Walls need to feel upright, foreground furniture can expand toward a wide lens, windows can be much brighter than the room, and every polished surface can reveal the photographer or a light stand. The Nikon Z6 III is flexible enough for the job, but lens choice, support, and location preparation determine whether that flexibility becomes a coherent set.
This strategy focuses on building a practical kit and choosing positions before adjusting individual sliders. It does not assume that every room needs the widest available lens or a complicated lighting setup. The goal is to show space accurately enough for the brief while controlling perspective, color, and visual clutter.
Choose the viewpoint before choosing the focal length
Stand where the room's function becomes understandable. A corner position can show width but may exaggerate the nearest furniture. A centered one-point composition can emphasize symmetry but reveal every alignment error. A doorway can create depth while also introducing a dark frame edge. Move through these possibilities before mounting the camera.
Set camera height according to the major horizontal lines, not a fixed rule. Kitchen counters, tables, chair backs, and window sills all compete. A lower position may make a room feel open while hiding surfaces; a higher position can show layout but expose clutter and distort furniture tops. Keep the lens roughly level when verticals need to remain parallel, then change height rather than tilting immediately.
Only after the position works should focal length refine the boundaries. Step back when permitted before reaching for an ultra-wide view. If the room cannot be represented without including distracting edges or extreme foreground stretch, choose a tighter, honest composition rather than forcing every wall into one frame.
Build a small lens set with distinct jobs
An ultra-wide zoom helps in compact rooms, bathrooms, and establishing views, but its widest end can make nearby objects appear disproportionately large. Use it with careful edge inspection and keep key furniture away from stretched corners. A standard zoom often produces more natural proportions for medium rooms and detail views.
A normal or short telephoto prime is useful for materials, fixtures, joinery, art, and layered compositions through doorways. It isolates design decisions without turning every image into a room overview. These tighter frames also give a delivered gallery rhythm and provide details suitable for editorial layouts.
Perspective-control lenses shift the field of view while the camera remains level, helping include more floor or ceiling without converging verticals. Adapted F-mount PC lenses may offer this capability, but metering, rotation, shift direction, and aperture operation should be tested with the exact adapter and Z6 III setup. They are deliberate manual tools, not fast replacements for every wide lens.
Understand perspective before correcting it
Converging verticals are caused by tilting the camera, not by a wide lens alone. A wide lens simply includes more lines that reveal the tilt. Level the camera and use height, distance, shift, or a planned crop to include the required area. Software correction can straighten lines, but it stretches pixels and removes parts of the frame, so leave margin around furniture and ceilings.
One-point perspective works when the sensor is parallel to the facing wall and the optical axis is centered. Two-point perspective shows depth through receding horizontal lines while verticals remain parallel. Both can look intentional. Problems arise when the frame is almost symmetrical but slightly off, or when vertical correction is partial and inconsistent across a series.
Use the in-camera level as a starting point, then inspect door frames and corners. Buildings are not always square, old floors slope, and decorative columns can taper. Choose which architectural lines establish visual truth rather than forcing every imperfect structure into mathematical alignment.
Select support for precise, repeatable movement
A tripod stabilizes smaller apertures and allows careful staging changes without losing composition. Favor a head that can make small independent adjustments. A geared head is especially useful for architecture because it separates pitch, roll, and yaw. A well-made ball head remains viable when locked firmly and checked for sag.
An L-bracket keeps the camera centered in portrait orientation. Confirm that it does not block the articulated screen, battery door, or cable ports needed for the session. Mark leg positions with removable tape only when the floor finish allows it, and use protective feet or pads on delicate surfaces.
A remote release or self-timer avoids touching the camera during longer exposures. Route any cable away from walkways. If stabilization is enabled, follow Nikon and lens guidance for tripod use. The correct behavior can depend on lens, support, and shutter time, so make a sharpness test rather than repeating a universal rule.
Use polarizers carefully around glass and screens
A circular polarizer can reduce glare on wood, tile, stone, and some glass while deepening color. Its effect changes with camera angle and surface, so rotate it while watching the actual material. Maximum suppression is not always desirable; reflections communicate polish, window presence, and depth.
Tempered glass, laminated windows, and some screens can reveal uneven stress patterns or color when polarized. Very wide lenses may show nonuniform effects across a broad field. Compare a frame with and without the filter, and remove it when the correction creates a new distraction.
A polarizer also reduces light. On a tripod that may be acceptable, but it can lengthen exposures enough for curtains, foliage, people, or practical lights to move. Do not use one by default on every room. Assign it to a visible reflection problem that cannot be solved more cleanly by moving the camera or light.
Scout the location as a sequence of light states
Record window direction, direct-sun timing, practical lamp types, accessible power, and the hours when occupants or visitors are absent. A room that is calm in the morning may receive hard window patches in the afternoon. Those patches can be useful for mood or damaging to material consistency, depending on the brief.
Ask which furniture, artwork, and personal items must remain. Confirm permission before moving anything, and photograph the original arrangement for restoration. Identify mirrors, glass doors, polished appliances, and framed art that may reflect the camera position. Plan a route through the property that minimizes repeated staging.
Check exterior views from each key window. If the view matters, choose timing for its light and activity. If privacy matters, determine whether curtains or blinds should be positioned. Do not promise that an interior and exterior will fit one exposure; the dynamic range may require controlled lighting, bracketed source frames, or a chosen compromise in separate post-production software.
Carry references for color and scale
A neutral gray reference photographed at the main subject position gives a repeatable white-balance starting point. A color target can help when material colors must match a designer's specification, provided it is lit by the same source as the room. Remove the target before final frames and keep its reference image next to that lighting sequence.
Mixed daylight, warm practical lamps, and LED accents cannot always be neutralized with one global setting. Decide which source should be neutral and whether the remaining warmth is intentional. Replace or switch off mismatched practical bulbs when authorized, add compatible light, or photograph alternate lighting states as separate deliverables.
A laser measure or tape can document camera height, wall distance, and furniture spacing for repeat visits. It should not appear in the final scene or be aimed carelessly. Written measurements are more reliable than trying to reconstruct a composition from focal length metadata alone.
Use added light to reveal structure, not announce equipment
Begin with available light and identify where shape or color disappears. A bounced or diffused source can lift a dark corner, describe cabinetry, or balance a window without creating an obvious hotspot. Move one light at a time and compare it with a base frame. Multiple uncontrolled sources quickly create crossing shadows and inconsistent color.
Small flashes can be hidden around corners for accents, while a larger source near the camera can provide broad fill. Keep stands and sandbags secure and protect walls, floors, and furniture. Never place hot or unstable equipment where occupants, children, pets, or staff can contact it.
If separate lit frames will be blended later, keep the camera locked and make a clear slate between passes. That workflow requires software capable of compositing; imagic provides local culling and non-destructive adjustments but does not offer layer-based interior compositing or HDR merging. Plan the post-production route before creating source frames that depend on it.
Pack a location kit that solves likely failures
| Need | Primary tool | Reason |
|---|---|---|
| Vertical control | Tripod, level, and geared or stable head | Repeatable alignment without hurried correction |
| Small-room framing | Tested ultra-wide zoom | Coverage when stepping back is impossible |
| Natural details | Normal or short telephoto lens | Less edge stretch and clearer material emphasis |
| Color reference | Gray and color targets | Known baseline for each lighting state |
| Reflection control | Polarizer and black cloth | Selective glare reduction and camera concealment |
| Safe staging | Tape, pads, clamps, and sandbags | Secure equipment while protecting the property |
For more optical planning, use the lenses and optics guides. The blog hub covers related capture and workflow topics. Keep the final kit small enough to move safely through the property and test every adapter, plate, and filter before arrival.
Plan a repeatable room-by-room order
Begin with the spaces most sensitive to changing daylight, then move to rooms whose light can be controlled. Within each room, capture the agreed establishing view before details or experimental angles. That order protects the essential brief if access is shortened and reduces the chance that a major view is forgotten after extensive styling.
Keep a checked shot list that names the room and function rather than prescribing every composition. Mark lighting state, moved furniture, and any frame that depends on later blending. A second person should be able to understand which source files belong together without guessing from thumbnail similarity.
Before leaving a room, inspect verticals, corner sharpness, reflections, color reference, and one representative frame at high magnification. Restore moved objects from the arrival photograph, remove tape and equipment, and obtain approval before proceeding when a site representative is responsible for the property.
Frequently asked questions
What is the best lens type for Nikon Z6 III interiors?
A tested ultra-wide zoom handles tight rooms, a standard zoom gives more natural general views, and a normal or short telephoto improves details. Perspective-control glass is valuable when deliberate shift movements justify its slower operation.
Why do walls lean inward in interior photos?
The camera is tilted upward or downward, causing parallel verticals to converge in the image. Level the sensor, change camera height, use lens shift, or leave enough margin for a controlled software correction.
Should every interior frame use a polarizer?
No. Use it only when a particular reflection harms the image. It can remove useful sheen, reveal stress patterns in glass, vary across a wide view, and lengthen the exposure.