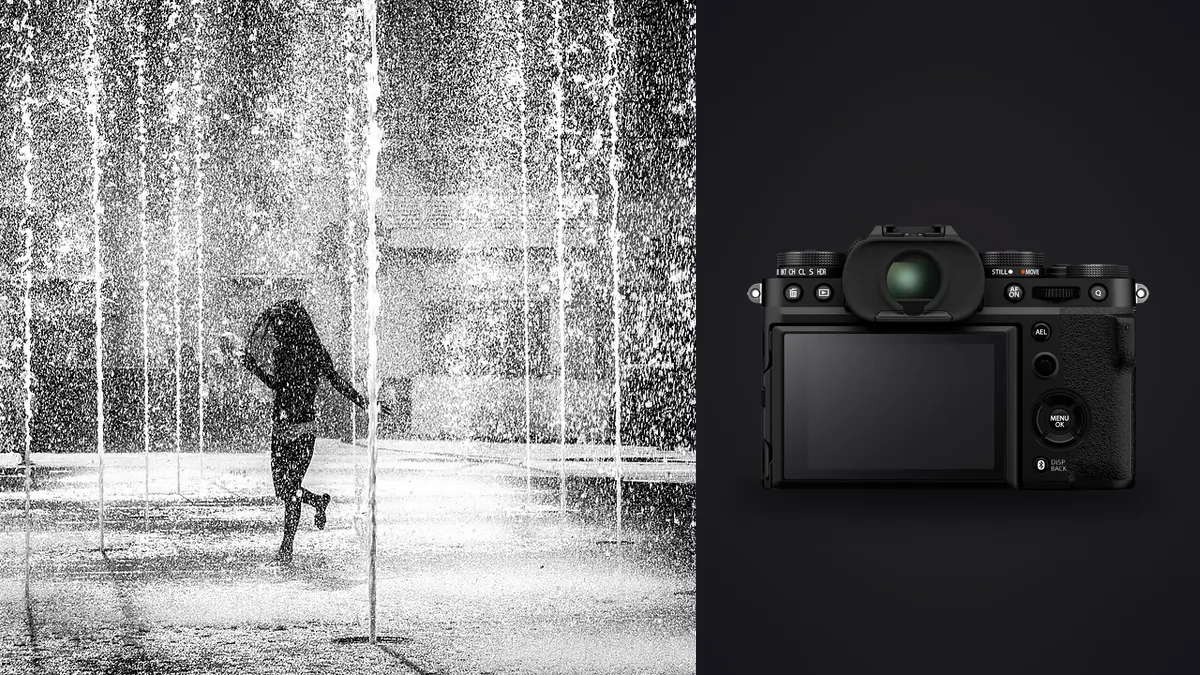
The X-T5 gets pitched as a studio and landscape camera almost as often as it gets pitched as a street camera, and both pitches are half right. Fujifilm built it around a 40.2MP APS-C sensor and a tilt-only rear screen, two decisions that read as odd choices for run-and-gun work until you actually spend a few weeks shooting with the thing on foot. This isn't a spec dump. It's what changes when you take an X-T5 into a market, a protest, a wedding prep room, or six hours of walking a neighborhood beat, and what you need to plan around in the edit afterward.
Why the Dial Layout Still Matters on the Street
Fujifilm kept the shutter speed dial, ISO dial, and exposure compensation dial on top of the body, and on the X-T5 all three got slightly taller, easier to grab with a gloved thumb or through a jacket pocket. For studio work this is a nice-to-have. For street work it's the difference between adjusting exposure while the moment is still happening and missing it while you dig through a menu. You can see your exposure triangle at a glance without waking the screen, which matters more than it sounds when you're trying to look like you're not taking a picture.
The tradeoff is that the dials assume you shoot in aperture priority or full manual most of the time. If you're the kind of shooter who lives in program mode and lets the camera pick everything, the X-T5's control layout doesn't reward you the way it rewards someone who's comfortable setting ISO by hand and using auto-ISO with a shutter floor. That's a real skill investment, not a criticism, but it's worth knowing before you buy in.
The Tilt-Only Screen: A Real Compromise, Not a Marketing Line
Fujifilm dropped the fully articulating screen from the X-T4 and went back to a three-way tilt mechanism on the X-T5, and street shooters were split on this immediately. The tilt screen lets you shoot from waist height or hip level without the screen flipping out sideways and announcing to everyone nearby that you're filming, which is genuinely useful for candid work. You can glance down, frame roughly, and shoot without raising the camera to eye level at all.
What it costs you is any kind of front-facing monitoring, which matters if your documentary work includes talking-head interview setups or you like to check framing while working close to your subject. If your projects mix street stills with any video-forward documentary segments, the X-T5's screen is a real limitation, not a small one. Fujifilm's own answer to that gap is the X-H2, which is worth cross-shopping if video is more than an occasional add-on to your stills work.
Lens Pairings That Actually Hold Up
The lens you put on an X-T5 changes the camera's personality more than almost any body setting. Here's what I've actually carried for street and documentary work, with the tradeoffs that matter in practice rather than on a spec sheet.
| Lens | Weight | Full-frame equivalent | Best for | Where it struggles |
|---|---|---|---|---|
| XF27mmF2.8 R WR | 84g | 41mm | All-day carry, disappearing into a jacket pocket | No aperture ring detents, easy to bump the aperture accidentally |
| XF23mmF2 R WR | 180g | 35mm | Classic documentary framing, weather-sealed for field days | f/2 is fine outdoors, gets noisy indoors after dark |
| XF35mmF2 R WR | 170g | 53mm | Portrait-leaning street work, isolating a single subject in a crowd | Too tight for tight alleys or interiors |
| XF18mmF1.4 R LM WR | 370g | 27mm | Environmental documentary shots, low light without flash | Noticeably front-heavy on the small X-T5 body |
| XF16-55mmF2.8 R LM WR | 655g | 24-84mm | Assignment work where you can't predict the framing in advance | Kills the compact, low-profile advantage of the body |
If I had to pick one lens for someone buying their first X-T5 for this kind of work, it's the 23mm. It's close enough to how the eye sees a scene that you stop thinking about framing and start thinking about timing, which is the actual skill street and documentary work asks of you. The 27mm is the one that actually lives on the camera day to day, though, because a pancake lens you'll carry beats a sharper lens you leave at home.
Autofocus for Moving, Unpredictable Scenes
The X-Processor 5 in the X-T5 brought subject detection that Fujifilm had previously reserved for the flagship bodies, and it's genuinely good on faces and eyes in a crowd, picking out a subject even when they're partially blocked by someone walking past. For pure street work, though, a lot of experienced shooters end up leaning on zone AF or even manual pre-focus more than the fancy tracking modes, because a lot of what makes a street photograph work is anticipating where a subject will be in two seconds, not tracking where they are right now.
Practically, that means setting a single focus point or a small zone, mapping AF-On to the back button, and using the front command dial to rack between a couple of preset apertures for depth of field control. Zone focusing at f/8 with the 23mm gives you a hyperfocal distance that covers roughly 1.5 meters to infinity, which is close enough to "point and shoot" that you can react to a scene forming without waiting on the autofocus system to commit. Save the tracking modes for documentary work where you're following one person's movement through a longer sequence, an interview subject walking, a worker moving through a task. That's where the AI subject detection earns its keep.
What 40 Megapixels Actually Costs You in the Edit
This is the part that catches people off guard after the first real shoot. A compressed RAW off the X-T5 runs somewhere around 75 to 85MB depending on scene complexity, and uncompressed lossless RAW pushes past 150MB per frame. A single afternoon of street shooting, three or four hundred frames if you're being selective, six or seven hundred if you're shooting the way most documentary work actually demands (shoot the sequence, not the single frame), and you're looking at 30 to 50GB before dinner. Multiply that across a multi-day assignment and you understand why storage and culling time become the actual bottleneck, not the camera.
The resolution buys you real flexibility, you can crop a loosely framed street shot down hard and still print it, or reframe a documentary moment you caught a beat too early or late. But it means the sorting pass between the card and the edit has to be fast or it eats your evening. This is where I lean on imagic to get through a day's take. It runs the sharpness and focus scoring locally on the machine, no upload step, which matters on documentary assignments where you can't put client or subject images on someone else's server before they've cleared for use. It also groups burst sequences and near-duplicate frames automatically, which is exactly the problem a 40MP sensor creates when you fire six frames of the same passing moment to make sure one of them lands sharp. Instead of scrubbing through all six at full resolution, you're looking at one cluster with the sharpest frame flagged.
Film Simulations and Getting to a Documentary Look Faster
Classic Chrome is still the simulation most documentary shooters reach for on Fujifilm bodies, it desaturates just enough and rolls off highlights in a way that reads as reportage rather than advertising. For black and white street work, Acros with the red or yellow filter simulation baked in gives you contrast that would otherwise take real work in post, and it's genuinely good enough that a lot of frames need nothing further. Nostalgic Neg is newer and leans warmer, more useful for documentary portrait moments within a longer essay than for pure street work in harsh daylight.
Where this gets useful for actual output is when you've settled on your own variation of one of these looks, maybe you always pull Classic Chrome down another five points of contrast and warm the shadows slightly. Recreating that by hand on every import, frame after frame, is the kind of task that quietly eats an editing session. imagic's apply_my_style feature is built for exactly that gap: you point it at a set of images you've already edited to your preferred look, it learns the pattern locally on your machine, and applies it to a new batch without you rebuilding the same adjustment stack every time. It's not a replacement for a deliberate edit on your best frames, but for the bulk of a day's take it closes most of the distance in one pass.
Weather Sealing and Battery for a Full Documentary Day
The X-T5 carries 63 points of weather sealing, which matters more than it sounds like once you've been caught shooting a market in rain or dust without it. Paired with a WR-rated lens like the 23mm or the 16-55mm, it'll take genuinely bad weather without you babying it, which documentary work in the field tends to demand sooner or later. Pair it with a non-WR lens like the 27mm pancake, though, and you've lost that protection at the mount regardless of what the body can handle.
Battery life is rated at 580 shots CIPA on the NP-W235, and in practice for street work, where you're not chimping every frame and the EVF isn't running constantly, you can stretch that closer to 700 to 900 frames. For a full documentary day, interviews, walking segments, event coverage, plan on carrying at least two spares. The battery is the same one used across several recent Fujifilm bodies, so if you're already in the X system you may already own compatible spares.
A Field Workflow That Actually Holds Together
The setup that's worked best for me: aperture priority, auto-ISO with a floor of 1/250 for the 23mm or 1/500 if I'm using something longer, back-button focus with a single AF zone, and the electronic shutter for anything where I need to stay quiet. The one catch with electronic shutter is rolling shutter distortion on fast-panning subjects and banding under certain LED or fluorescent lighting, both of which show up more on interior documentary work than outdoor street shooting. When I'm indoors under mixed lighting, I switch back to the mechanical shutter even though it's audible, because a clean frame beats a silent one with banding running through it.
For the edit, the flow is straightforward: cull for sharpness and eliminate burst duplicates first (this is where imagic saves the most time, since it's running the scoring locally as soon as the cards are imported), apply the style pass to the surviving frames, then do a manual second pass on the ones actually going into the final edit or story. That order matters. Doing the manual pass first on 600 frames before culling is how a one-hour edit turns into a three-hour one.
For context beyond the mastering fujifilm x t5 for street documentary photography guide focus in entry 67, continue with desktop editor overview and imagic's local photo workflow. These resources connect the subject to a practical local review process.
Frequently Asked Questions
Is the X-T5 fast enough for unpredictable street scenes, or does the shutter lag hurt it?
Shutter lag itself isn't the issue, it's fast enough that you won't notice it in normal use. What actually costs you time is autofocus hunting on low-contrast subjects at night or in dense crowds where the subject detection has to choose between several faces. Pre-focusing with zone AF at a moderate aperture solves most of this, and it's a habit worth building rather than relying on the camera's tracking to guess correctly every time.
Does the 40MP sensor cause problems beyond just bigger files?
Not really in terms of image quality, the pixel density is high but Fujifilm's processing handles noise well up through ISO 6400 for most documentary lighting situations. The real cost is entirely downstream: storage, transfer time, and edit time all scale with file size, and that's the piece people underestimate until their first big shoot.
Should I shoot electronic or mechanical shutter for street photography on the X-T5?
Electronic shutter for anything outdoors where discretion matters, it's silent and the rolling shutter risk is low unless you're panning fast. Switch to mechanical indoors under artificial lighting to avoid banding, and for any documentary work where a fast-moving subject against a static background might smear under the electronic shutter's readout speed.
What's a sensible one-lens starting point for documentary work on this body?
The 23mm f/2 is the most versatile single choice, close enough to natural perspective that composing becomes second nature, weather-sealed for field conditions, and light enough to carry all day without the fatigue a bigger zoom brings. Add a longer lens later once you know which kind of documentary work you're actually doing more of.