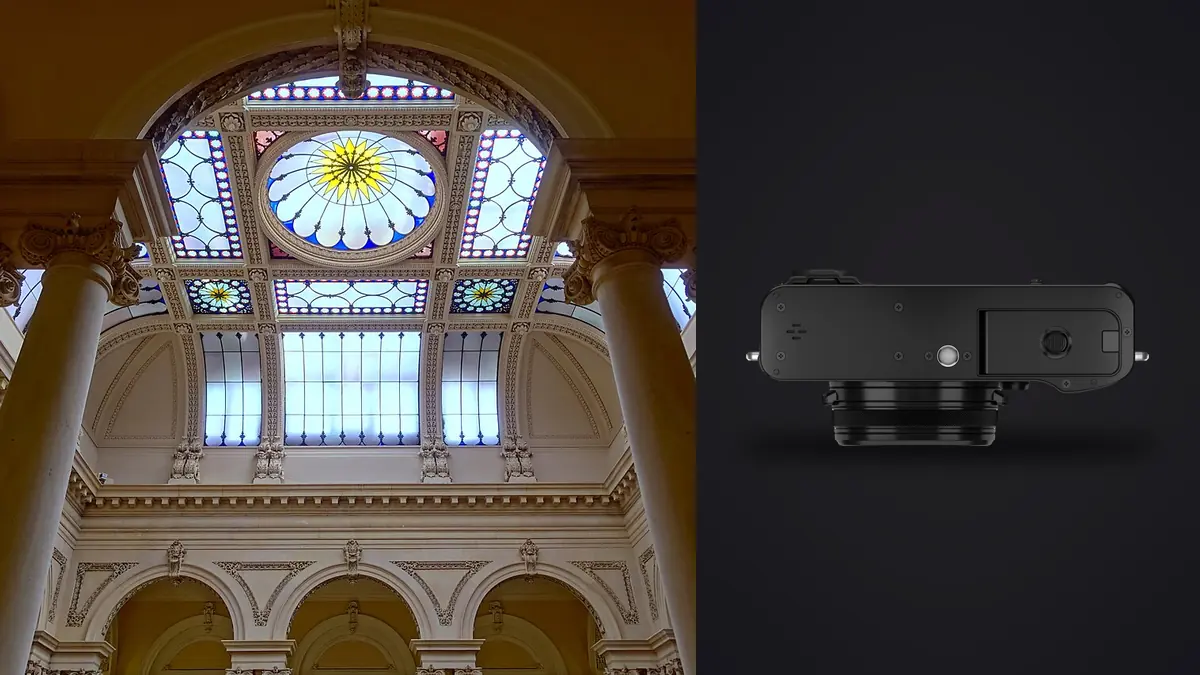
Picture a residential designer asking you to shoot her finished projects with a Fujifilm X100VI instead of your usual full-frame kit. A fixed 23mm lens, no interchangeable glass, no shift movements, sounded like the wrong camera for photographing rooms where every vertical line is supposed to stay vertical. The surprise is what she would actually want: not corrected real estate listing photos, but the kind of warm, human-scale documentary images that end up in a portfolio, a magazine spread, or a design studio's Instagram grid. The X100VI is not a substitute for a proper architecture rig. It is, though, one of the better cameras I have used for the narrower job of showing how a finished space actually feels to stand in.
This piece is about that specific use case: architectural and interior design photography where the X100VI's strengths (a bright fast prime, genuinely useful in-body stabilization, a near-silent leaf shutter, and files clean enough to hold up in print) outweigh the one obvious weakness, which is that you can never change the lens.
What a Fixed 23mm f/2 Lens Actually Does to a Room
The 23mm lens on the X100VI sits in front of an APS-C sensor, so the field of view works out close to a 35mm equivalent (34.5mm to be precise about the crop math). That focal length is wide enough to take in a decent chunk of a room without the barrel distortion an ultra-wide would introduce. It reads roughly the way a person's eye takes in a space walking through a doorway, not the way a listing photo forces every corner of a room into frame. In a large open-plan kitchen or a generous primary bedroom, that framing is fine on its own. In anything under about twelve feet across, and interior design shoots often are exactly that, you end up backing into a doorway, shooting from a stairwell, or accepting that a room simply will not fit in one frame without moving furniture first. I have shot entire townhouse renovations on this camera and the two spaces that actually gave me trouble were a galley kitchen and a compact ensuite bathroom, both well under 70 square feet.
Wide open at f/2, the lens is genuinely useful indoors for reasons beyond exposure. It separates a styled console table or a single piece of furniture from a busier background when you want a portrait-style detail shot rather than a full room. Stopped down to f/5.6 or f/8, corner sharpness across the 40.2-megapixel X-Trans sensor holds up well enough that cropping into a frame afterward still produces something usable, which partly compensates for not being able to zoom out or in.
The Leaf Shutter and Stabilization Are the Real Reason to Bring It Indoors
Two features matter more than the lens itself on interior work: the leaf shutter and in-body stabilization. The leaf shutter syncs flash at any speed up to 1/4000s, which means you can balance a strobe, or even a basic speedlight, against a bright window without resorting to high-speed sync tricks that eat your flash power for no good reason. Shooting toward a window in a staged living room at two in the afternoon, that difference is not subtle. A focal-plane shutter on a typical mirrorless body caps you at around 1/200s or 1/250s sync speed, which usually means the window blows out unless you gel or scrim it first.
In-body stabilization is new to the X100 line as of this generation, rated around six stops. In practice, handheld at 1/8s or even 1/4s in a dim hallway or a stairwell lit only by a single pendant fixture, I land a usable frame more often than not, though not every single time. It is worth shooting three or four frames of anything below 1/15s and picking the sharpest afterward rather than trusting the first one. That is a workflow habit as much as a camera feature, and it changes how many frames you actually bring home from a shoot.
The Built-in ND Filter Solves One Specific Interior Problem
The camera carries an internal 4-stop ND filter you can toggle in the menu or assign to a function button. For interiors this earns its keep in one particular situation: a bright room with a lot of window light where you want a wide aperture for shallow depth of field on a foreground detail, but the shutter speed maxes out before you get there. Instead of stopping down and losing the background blur, or fighting the mechanical shutter's top speed, you drop the ND in and keep shooting at f/2 or f/2.8. Small thing, but it is one less accessory in a bag that is already carrying a tripod, a reflector, and usually a stepladder.
| Shot type | How the X100VI handles it | What you'd need instead |
|---|---|---|
| Room-wide establishing shot, small space | Tight; often need a doorway or corner position | 10-24mm zoom or a 16mm prime on an interchangeable body |
| Corrected verticals for a real estate listing | No shift movement; relies on post-processing correction | Tilt-shift lens, or heavier perspective correction software |
| Material and product detail (tile, fabric, hardware) | Excellent; close focus and fast aperture separate texture well | None |
| Styled editorial vignette | Excellent; 35mm-equivalent rendering reads naturally | None |
| Twilight exterior of the building | Good handheld with IBIS and the built-in ND | Tripod still preferred for the cleanest possible file |
| Fast walkthrough documentation, occupied space | Good; near-silent leaf shutter is genuinely discreet | None |
Where the Fixed Lens Becomes a Real Limitation
I want to be direct here, because a lot of gear writing oversells whatever camera it's talking about. If your actual job is real estate listing photography, corrected verticals, and framing wide enough to show a whole room in one image, delivered fast, the X100VI is not the right primary camera. There is no shift movement, no way to optically correct a leaning doorframe, and at 23mm you are already at the wide end of what the lens offers, so there is no room to pull back further for a tight stairwell or a small bathroom. Photographers doing high-volume listing work are still better served by an X-T5 paired with a 10-24mm zoom, or a full-frame body with a dedicated tilt-shift lens for verticals that need genuine optical correction rather than a software fix.
Software correction, whether Lightroom's built-in lens profiles or Fujifilm's own raw conversion tools, gets you most of the way there on converging verticals from the X100VI's files, and honestly it is good enough for a portfolio piece or an editorial spread. But there is a real ceiling on how far you can push a vertical correction before you start losing the top or bottom of the frame, and on a shoot where a client wants ceiling detail and floor detail in the same image, that ceiling shows up fast.
A Realistic Settings Approach Across a Shoot
Interior light changes room to room more than most genres, and the X100VI's aperture ring and exposure compensation dial make it fast to adjust without digging through menus. This is roughly how I set up across a typical residential shoot:
| Scenario | Aperture | ISO | White balance | Notes |
|---|---|---|---|---|
| Bright window-lit living room, midday | f/5.6 to f/8 | 200 to 400 | Auto or 5500K | Use the built-in ND if you want f/2 for a foreground detail |
| Staged room, mixed tungsten and daylight, evening | f/2.8 to f/4 | 800 to 1600 | Custom, around 4000K | Bracket exposures; blend later if the window is still hot |
| Unfinished space, single work light only | f/2 to f/2.8 | 3200 to 6400 | Manual per fixture | Lean on IBIS; shoot several handheld frames per angle |
| Twilight exterior of the property | f/4 to f/5.6 | 400 to 800 | Auto or Daylight | Tripod optional with IBIS, but still the safer choice |
Sorting Through the Files Afterward
On a typical interior shoot I come home with somewhere between 400 and 900 frames across four or five rooms, more if I'm bracketing anything with a bright window in the shot, which is most rooms with natural light. A large share of those are near-duplicates: three or four frames of the same console table shot handheld at a slower shutter speed to land the sharpest one, or a bracket of the same doorway at different exposures meant to be blended later. Sorting that by eye used to take longer than the shoot itself. I run the folder through imagic now for two things specifically: its local sharpness scoring flags which frame in a handheld burst actually landed focus, useful when you shot four takes of the same detail at 1/8s because stabilization doesn't guarantee a keeper every time, and its duplicate and burst clustering groups the bracketed sets so I'm comparing five exposures of one doorway against each other instead of scrolling past them one by one in a 700-image folder. It runs locally on the laptop rather than uploading anything anywhere, which matters more than you might expect when the project is unreleased interior design work under NDA. Many people would not be comfortable putting a client's unpublished floor plan through a cloud service before the reveal, and this way there is nothing to think about. If you want the mechanics behind that kind of automated sorting, how AI photo culling works goes through it in more depth.
Consistency across a shoot matters more in interior design photography than in most genres, because the images usually run together on a single portfolio page or in one client deck, and a color shift between two rooms shot an hour apart under different light reads as sloppy rather than intentional. I built a look a while back tuned to how I want wood tones and neutral walls to render out of the X-Trans files, warmer than Fujifilm's out-of-camera JPEG rendering, slightly pulled back on anything red. Rather than reapplying that by hand across a few hundred selects every time, I trained imagic's apply_my_style feature on a batch of my own past edits and now run new shoots through it as a starting point before adjusting individual rooms by hand. It gets me most of the way there on a typical set, which for a same-day or next-day turnaround is the difference that actually matters. The manual side of building that kind of look from scratch is covered in this color grading guide, if you'd rather start there than from a trained preset.
Weather Sealing Is Conditional, Worth Knowing Before a Job Site Visit
The X100VI is not weather-resistant out of the box. You need the optional adapter ring and a protective filter screwed onto the front to get the WR rating; without that ring the body is not sealed at the lens mount, even though the body shell itself has gasketing elsewhere. For interior work this mostly matters on renovation or construction-adjacent shoots: documenting a space mid-build, working around drywall dust, humidity in an unfinished bathroom, or a job site that still has exposed insulation and open windows. I keep the adapter and a clear filter mounted permanently now, since there is no real downside to it, and I got caught out once on a drizzly exterior twilight shot without it.
Frequently Asked Questions
Can the X100VI replace a tilt-shift setup for real estate listing photography?
Not really. There is no shift movement on the lens, so converging verticals have to be corrected in software rather than optically. For a handful of hero shots that's fine, but for a full listing set where every room needs clean, straight lines, a dedicated tilt-shift lens or a wider zoom on an interchangeable-lens body will get you there faster and with less quality loss at the edges of the frame.
Is the built-in ND filter strong enough for rooms with big windows?
The internal ND is 4 stops, which covers most daytime interior situations where you want a wide aperture but the window light is pushing your shutter speed past the camera's sync limit. It won't help much with a genuinely blown-out exterior at high noon; for that you're better off bracketing and blending, or waiting for softer light later in the day.
How does the fixed 35mm-equivalent lens compare to a 16mm or 24mm for interior work?
It's noticeably narrower than the 16 to 20mm range most dedicated interior and real estate photographers reach for, which is chosen specifically to fit a whole room in frame from a normal standing position. The X100VI's 23mm (35mm equivalent) reads more like documentary or editorial framing, better suited to vignettes, detail shots, and human-scale storytelling than to fitting an entire living room wall to wall.
Is 40.2 megapixels enough resolution for large prints of finished interiors?
Yes, comfortably. At 40.2MP the files hold up fine for large-format prints or double-page magazine spreads, and there's enough resolution to crop moderately into a frame afterward, which helps offset the fact that you can't physically zoom.