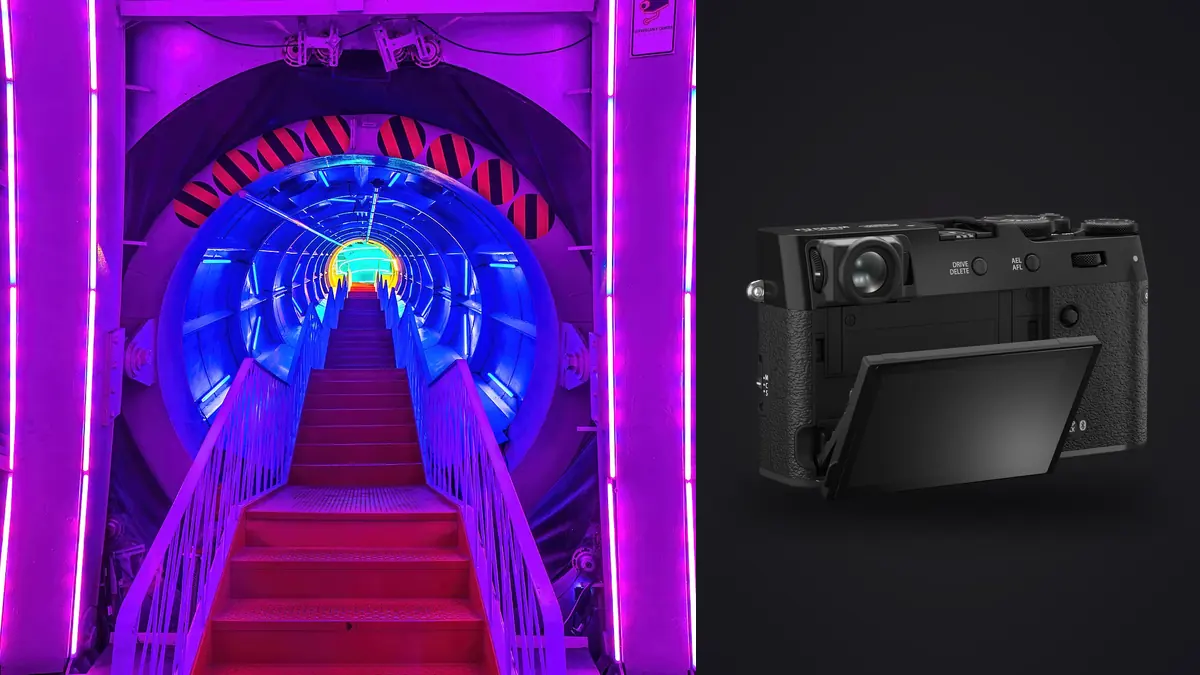
Most people who buy the X100VI are buying it for street and travel work, so it's an odd camera to see on an interior shoot. But a fixed 35mm-equivalent lens, a genuinely quiet leaf shutter, and a body small enough to carry into an occupied home without spooking the homeowner have made it a regular second body for a handful of architectural and interior photographers I know, and a first body for people doing smaller residential and short-term-rental content work. This is a field report on where it earns its place on that kind of shoot and where it just doesn't have the tools for the job.
The fixed 23mm lens changes how you work a room
The 23mm f/2 on APS-C works out to roughly 35mm full-frame equivalent. That's a comfortable, natural-looking focal length for living rooms, open-plan kitchens, and building exteriors shot from across a street. It is not a real estate wide-angle. Most interior and real estate photographers I've worked alongside carry something closer to 16-24mm equivalent on a full-frame body specifically because small rooms don't give you anywhere to back up to. Put the X100VI in a standard suburban bathroom or a narrow stairwell and you'll find the far wall in your frame before you've backed into the opposite wall.
Where the 35mm equivalent actually works well is anywhere you have some depth to play with: great rooms, open kitchens, hotel lobbies, loft conversions, and any exterior facade shot. It also happens to be a flattering focal length for the lifestyle and detail shots that get mixed into an architectural gallery (a reading chair by a window, a plated breakfast on a kitchen island), which is part of why it keeps showing up as a b-camera on shoots that are otherwise led by a wider zoom.
There's no tilt-shift movement on this camera, obviously, so converging verticals from tall rooms or two-story atriums need correcting in post. I've gotten in the habit of using the electronic level and the framing grid to get verticals close to true in-camera, which keeps the crop loss from vertical correction manageable. Shoot the same wall 5 degrees off axis and you'll lose real estate off both edges once you straighten it.
Two accessory lenses and two digital crop modes, and when each one is worth reaching for
Fujifilm sells a wide converter (WCL-X100 II) and a tele converter (TCL-X100 II) that thread onto the front of the lens via the adapter ring, and the camera also has a digital tele conversion setting baked into the menu. They solve different problems, and it took me a few shoots to stop reaching for the wrong one.
| Mode | Full-frame equivalent | What happens to the file | Where it's useful on an interior shoot |
|---|---|---|---|
| Native 23mm f/2 | ~35mm | Full 40MP sensor, no correction applied | General room shots, open-plan spaces, exteriors |
| WCL-X100 II wide converter | ~28mm | Full 40MP, genuinely wider optical capture with its own correction profile | Tight stairwells, small bathrooms, cramped entryways |
| TCL-X100 II tele converter | ~50mm | Full 40MP, genuinely longer optical capture | Single fixture or material close-ups, hero shots of one design element |
| In-camera digital tele (50mm / 70mm settings) | ~50mm / ~70mm | JPEG is cropped in-camera; RAW keeps the full sensor area with only a crop guide overlaid in the viewfinder | Quick framing reference on location, with the real crop applied later in your RAW editor |
The physical converters add bulk and a few extra seconds to swap, and there's a small softness and vignetting penalty at the edges compared to native, but they're genuinely optically different framings, not crops. The digital tele setting is worth knowing about mainly because it's easy to misunderstand: if you're shooting RAW only, you haven't actually thrown away resolution, you've just told the EVF to show you a tighter crop so you can compose for it. The pixels are still there when you open the file.
Leaf shutter, flash sync, and mixed daylight interiors
This is the feature that makes the camera worth taking seriously for interior work rather than treating it as a personal-project camera. The in-lens leaf shutter syncs with flash at speeds well beyond what a focal-plane shutter body can do natively, up into the 1/2000-1/4000s range depending on shutter mode and flash unit. On a normal camera with a 1/200-1/250s native sync ceiling, a bright window behind your subject either blows out or forces you into high-speed sync, which eats one to two stops of flash power you often don't have to spare in a small room.
With the leaf shutter, I can set a fast enough shutter speed to pull a bright window down to a reasonable exposure and still get a clean flash pop on the interior without touching HSS or gelling the glass. For a kitchen with a wall of west-facing windows shot mid-afternoon, that's the difference between a blown-out window and a shot that actually shows the view outside.
| System | Native flash sync ceiling | Practical effect on a bright-window interior |
|---|---|---|
| X100VI leaf shutter | up to roughly 1/4000s | Underexpose the window and flash the room properly without HSS |
| Typical full-frame mirrorless, focal-plane shutter | 1/200-1/250s | Needs HSS (flash power loss) or ND gel on the glass to tame the window |
| Medium format leaf-shutter interior systems | up to roughly 1/1600s | Similar advantage to the X100VI, at far higher cost and bulk |
The lens also has a built-in ND filter, roughly 4 stops, which I use more for handheld daylight interiors than for flash work. It's enough to drag the shutter to a half second or so in a bright lobby to blur foot traffic out of a frame without carrying a screw-on ND. It won't get you the multi-second exposures you'd want for a genuinely crowded atrium at midday, but for a mostly-empty hallway or a lobby between rushes, it's usually enough.
What the 40MP sensor and RAW files mean for a client deliverable
The resolution bump in this generation matters more for architecture than it does for street work, mostly because clients ask for crops you didn't plan for. A horizontal living room shot gets turned into a vertical Instagram crop by the marketing team, or a magazine wants a square crop for a contents-page thumbnail, and having 40MP of real detail to crop into means those requests don't leave you scrambling to reshoot.
One thing worth knowing if you haven't shot Fujifilm's X-Trans sensor before: fine repeating patterns, subway tile grout lines, brick coursing, slatted wood ceilings, can look slightly smeared or watercolor-like out of some RAW converters, a long-running quirk of how X-Trans demosaics compared to a standard Bayer sensor. It's much less of an issue than it used to be with current Adobe processing and Enhance Details, and Capture One has generally handled it well from the start, but it's worth test-processing a tile-heavy shot through your usual software before you commit to it for a client who's going to print large.
Interior shoots also generate volume fast. Bracket three exposures per composition across fifteen rooms and you've got a lot of nearly-identical frames to sort through before you even start grading. I run that folder through imagic's local sharpness scoring before I do anything else, since it flags the sharpest frame in each bracket set without me squinting at focus peaking on a laptop screen at 11pm, and because it runs entirely on the machine rather than uploading an unlisted property to a server somewhere, which matters more on this kind of shoot than it does on a personal project.
Film simulations and color for materials
Getting wood tones, concrete, and brushed metal to read correctly under mixed daylight and interior LED is a genuine color problem on most interior shoots, not just a matter of picking a nice-looking preset. I shoot RAW+JPEG so the film simulation gives me an immediate, presentable preview on-site (Reala Ace has become my default for interiors; it renders warm materials without the color shift some of Fuji's more stylized simulations introduce), while the final grade happens off the RAW file later.
Consistency across a multi-room property tour is the harder problem. Once I've hand-graded the first five or six images from a shoot to get the white balance and warmth right for that specific property's lighting, I run the rest of the shoot's RAW files through imagic's apply_my_style feature, which is trained on those edits I just made and matches the look across the remaining frames automatically. It saves the part of the job that's genuinely tedious, manually copying develop settings room by room and re-checking each one because the light temperature shifted slightly between the kitchen and the bedroom. If you want a fuller walkthrough of building a repeatable grade from scratch, we cover that in our complete guide to photo color grading.
Field workflow: tripod, IBIS, and what you actually carry
In-body stabilization is new to this generation of the X100 line, and it's genuinely useful for interior work beyond what I expected. Walking a property before the formal tripod-based shoot to scout angles and check light, I can handhold at shutter speeds that would have needed a tripod on the previous model, which speeds up the part of the job that's really just reconnaissance.
For the final shots I'm still on a tripod almost every time, partly for the slower, more deliberate framing and partly because without a zoom ring, dialing in a composition means physically moving the tripod rather than twisting a lens barrel, so I want it locked down once I've found the spot. The single UHS-I card slot is worth planning around on any shoot you cannot repeat; I carry more spare cards than I would with a dual-slot body and swap them more often rather than filling one all the way up.
By the end of a multi-room shoot with bracketed exposures at every angle, I've usually got several hundred frames that are mostly near-duplicates of each other, three-shot brackets, a couple of retries because someone walked through the shot, minor repositioning between attempts. Clustering the duplicates and bursts before I start reviewing (the same local culling pass I mentioned earlier) means I'm picking between five real candidates per setup instead of scrolling through the raw dump, which is the difference between finishing review that evening or the next morning. For broader habits that speed up review beyond this specific camera, our guide to a faster photo workflow covers more of that ground.
Where it comes up short for this kind of work
None of this is a case for the X100VI as a sole architectural body, and it's worth being straightforward about why. There's no tilt-shift, so tall or symmetrical rooms need vertical correction and the crop loss that comes with it. The fixed lens means genuinely small spaces (a half-bath, a walk-in closet) sometimes just don't fit in frame even with the wide converter, and I've grabbed a phone's ultra-wide camera in the moment rather than fight it. Autofocus can hunt in a dim, windowless interior corner under warm tungsten light where contrast is low, more often than I'd like on a camera at this price. The single card slot is a real risk calculation on a paid shoot with no reshoot budget. And the minimum focus distance isn't close enough for true macro-level material texture shots, wood grain, stitching, screw heads, without an add-on diopter.
What it's genuinely good for is the role it's ended up filling for most of the shooters I know who use it this way: a fast, quiet, honest-feeling second camera that handles detail shots, lifestyle inserts, and daylight-heavy rooms while a wider system does the load-bearing work, or a capable primary for smaller residential and rental content jobs where a full architectural rig is more than the brief calls for.
Frequently Asked Questions
Is a fixed 35mm-equivalent lens actually workable for shooting full rooms?
For anything with real depth (great rooms, open kitchens, lobbies, exteriors) yes, without much compromise. For small, boxed-in rooms like standard bathrooms or narrow stairwells, no, not reliably, and that's where the WCL-X100 II wide converter earns its cost if you're shooting this kind of work often. If your typical brief is compact apartments or older homes with small rooms throughout, budget for the converter or plan to bring a second, wider camera.
Does the built-in ND filter replace screw-on ND filters for interior long exposures?
For most interior use, yes. The roughly 4-stop built-in ND is enough to drag shutter speed for blurring foot traffic in a lobby or hallway on a bright day without carrying glass. It won't get you the multi-second exposures a genuinely bright, glass-heavy atrium at midday might call for, and it doesn't change anything about the leaf shutter's top sync speed, that's a separate setting entirely.
How do I keep color consistent across a multi-room shoot without manually matching every file?
Grade a handful of representative frames from the shoot by hand first (enough to nail the white balance and warmth for that property's specific light), then let imagic's apply_my_style feature apply a matching look to the rest of the RAW files based on those edits. It holds up well within a single shoot where the light source doesn't change dramatically room to room; a property with wildly different lighting in different areas still needs a manual check on a few outliers.
Are 40MP RAW files overkill for real estate listings compared to print or editorial architecture work?
For MLS listings and most web use, yes, the files get downsampled well below native resolution anyway, so the extra megapixels mostly buy you cropping flexibility rather than visible detail on-screen. The resolution earns its keep for large-format lobby prints, magazine spreads, or any deliverable where a client asks for an unplanned crop after the fact, situations that come up more often on architectural work than most photographers expect going in.