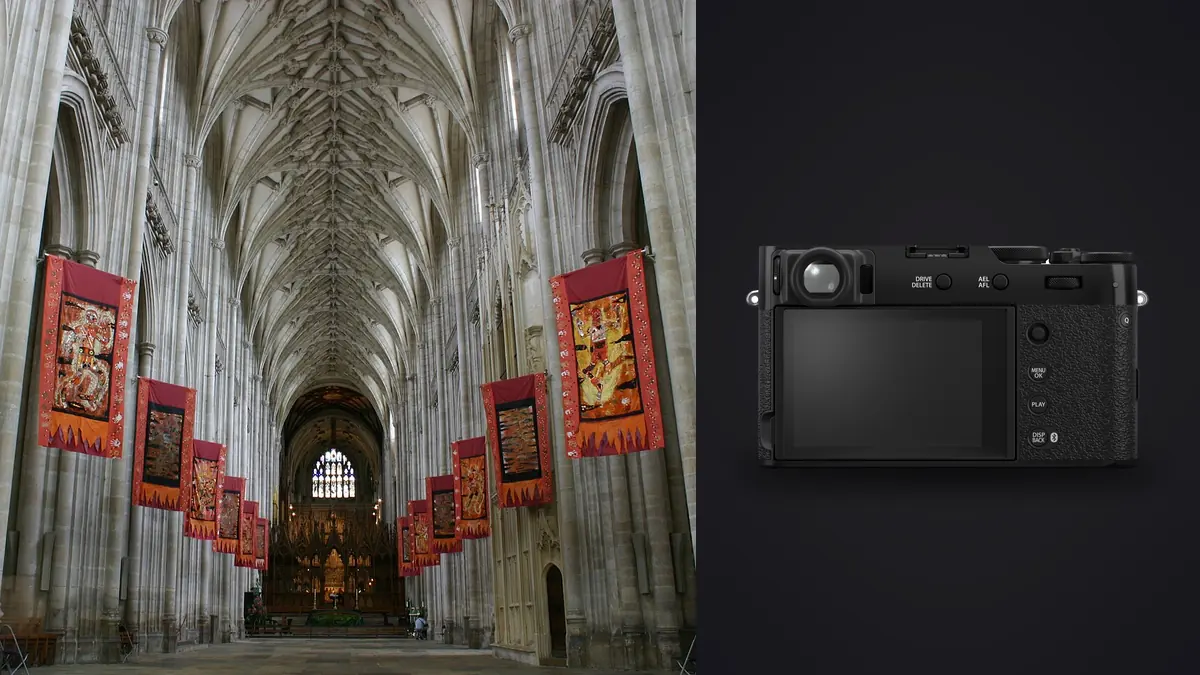
A fixed 35mm-equivalent lens sounds like the wrong tool for photographing rooms. Most architecture and interior work leans on something wider, something that can pull a whole living room into frame from six feet away, or that lets you correct the way walls lean inward when you tilt a camera up toward a ceiling. The Fujifilm X100VI does neither of those things natively. And yet over the past year I've watched more interior designers, boutique real estate shooters, and design bloggers pick one up than I expected, mostly because the camera is quiet, small enough to carry through a client walkthrough without looking like a production, and sharp enough at 40 megapixels to crop hard when the framing doesn't cooperate. This is a look at where that actually holds up, where it falls apart, and the settings and workflow choices that make the difference.
Why a Street Camera Shows Up on Design Shoots
The X100VI wasn't built with architecture in mind. Fujifilm markets it as a street and travel camera, the current entry in a lineage that goes back to the original X100 in 2011. But three things about it map surprisingly well onto interior and design photography, and none of them are about the lens.
First is size and sound. A finished, styled interior often means working around a stylist still fluffing a throw pillow, a designer walking a client through material choices, or a homeowner nervous about people moving through their space. A body that weighs under 500 grams and can shoot in near-total silence through its electronic shutter changes how people behave around you. Nobody performs for a camera that looks like it belongs to a tourist.
Second is the hybrid viewfinder. Flipping between optical and electronic framing without lowering the camera matters more in interiors than in most genres, because you're constantly checking exposure against a window that's three or four stops brighter than the room, then switching back to compose naturally against that same light.
Third, and this is the one that surprised me, is resolution. At 40.2 megapixels on the X-Trans 5 sensor, a single 23mm frame holds enough detail that a hard center crop toward something closer to 35mm or 50mm equivalent still holds up at a reasonable print size. That's not a substitute for an actual longer lens, but it buys a second framing option after the fact that a lower-resolution fixed-lens camera simply wouldn't give you.
The Lens Decides Everything
Distortion and the vertical-line problem
The 23mm f/2 lens (35mm equivalent) is genuinely good, sharp corner to corner by around f/4, with barrel distortion mild enough that Fujifilm's in-camera correction handles it invisibly for straight lines through the middle of the frame. The real issue isn't the lens's optical distortion, it's perspective distortion, which no lens correction fixes because it's geometry, not glass. Tilt a camera up to fit a tall window or a vaulted ceiling into a 35mm-equivalent frame and the walls lean inward. Architecture photographers normally solve this with a tilt-shift lens, or with a wide zoom that lets them stay far enough back to keep the sensor plane parallel to the walls. The X100VI has neither option. You either keep the camera level and accept a lower crop of the ceiling, or you tilt it and fix the convergence afterward with the geometry or transform tools in Lightroom or Capture One, which works but costs you resolution at the edges you're stretching back into shape.
The WCL-X100 II, and when it's worth carrying
Fujifilm's WCL-X100 II wide conversion lens screws onto the front element and drops the field of view to roughly 28mm equivalent, without giving up autofocus or the leaf shutter. That's a meaningful jump for a small bedroom, an ensuite bathroom, or a narrow hallway where six feet of backup space simply doesn't exist. It adds about 110 grams and roughly 350 dollars to a kit that was supposed to stay minimal, and it introduces its own mild softness in the corners wide open, so I stop down to f/4 or narrower whenever it's mounted. I don't carry it for every shoot. Great rooms, open kitchens, and most primary bedrooms fit comfortably at native 23mm from a normal standing position. The WCL comes out specifically for rooms a builder made smaller than the furniture inside them.
| Shooting task | Native 23mm (35mm equiv.) | With WCL-X100 II (~28mm equiv.) | What I actually do |
|---|---|---|---|
| Small bedroom or ensuite bath (roughly 10x10 ft) | Tight; often needs a doorway shot | Comfortable, still reads naturally | WCL earns its keep here |
| Open-plan living or kitchen | Fine from 3-4 meters back | Rarely needed, adds distortion risk | Leave the WCL in the bag |
| Material or hardware detail (tile, fabric, joinery) | Macro mode, sharp to ~10cm | Not optimized for close focus | Pull the WCL off first |
| Tall ceiling or floor-to-ceiling window, camera tilted up | Visible convergence, needs correction | Slightly worse, more edge distortion | Shoot level, fix verticals in post |
| Client walkthrough or behind-the-scenes content | Quiet, fast, unobtrusive | Slightly bulkier, more hood shadow | Native lens for anything people-facing |
| Exterior facade on a tight urban lot | Adequate with room to back up | Genuinely helps on constrained lots | WCL goes on before I leave the car |
Field Settings for a Room You Only Get Once
I default to f/5.6 or f/8 for most establishing frames, since depth of field across a whole room matters more here than it does on a portrait lens, and there's no focus-stacking mode on this camera worth relying on for near-to-far architectural depth. Base ISO stays at 125 whenever the light allows it. The built-in 4-stop ND filter is one of the more underrated parts of the X100VI for this kind of work: it lets me hold a wider aperture or a slower shutter in a bright, window-heavy room without blowing out the exterior view through the glass, which is a constant fight in daytime interior shoots.
The leaf shutter syncs with flash up to 1/4000s, which means filling shadows against a bright window doesn't require the high-speed sync workarounds a focal-plane shutter usually forces on you. For material and texture shots, the macro mode focuses down to around 10cm, close enough for hardware, fabric swatches, and tile grout that a designer wants documented at a level a wide establishing shot never captures. In-body stabilization on the X100VI (new to this generation) makes 1/8s to 1/15s handheld shots usable in dim hallways or stairwells, which matters because setting up a tripod in an occupied, freshly styled room means moving furniture and risking marks on new paint or flooring. The tradeoff is that some of those handheld frames come out soft, and those get caught fast during the cull by imagic's local sharpness scoring rather than me squinting at a 40-megapixel file on a laptop screen trying to guess.
The Shot List That Actually Comes Out of a Room
A typical room gets one level establishing frame from the doorway, one lower-angle frame that brings in flooring or rug detail, two or three macro-mode detail shots (hardware, fabric, joinery), a frame aimed toward the main window for the design team's own lighting reference, and, if the room needs it, a WCL-widened backup frame for a client debrief deck. On an average furnished home that's six to ten rooms times six to eight frames, plus the extra takes from bracketed window exposures or waiting for a shadow to clear off a counter. That adds up to 200 to 400 frames in an afternoon fast, for what is, on paper, "just one lens."
Sorting a Day's Worth of Frames Without Losing the Afternoon
Because so many of those frames from the same doorway angle look nearly identical (three bracketed exposures for the window, two takes because a shadow moved, a short burst while adjusting a lamp), the cull is where this whole workflow either pays off or turns into a chore. I run everything through imagic before it ever touches Lightroom. Its duplicate and burst clustering groups those near-identical doorway frames automatically, so instead of scrubbing through a dozen versions of the same kitchen angle I'm choosing from three real candidates it's already grouped together. Because interior design projects are frequently under an NDA before a launch or a magazine feature, doing that cull entirely offline (nothing leaves the laptop) isn't a minor convenience, it's the reason you can sort a shoot on site during the walkthrough instead of waiting until you're back on an approved network.
The other piece that's specific to repeat client work is imagic's apply_my_style preset. Once I've graded a handful of interiors the way a particular designer wants their portfolio to look (usually warmer whites, slightly lifted shadows to keep material detail visible in dark corners), training that look from my own past edits means the next site visit's photos land close to final without re-inventing the grade room by room. For anyone building a repeatable interior workflow rather than shooting one-off jobs, that consistency across a whole portfolio matters more than any single frame does. If you're weighing culling approaches more generally, how AI photo culling works is worth a read, and 10 tips for a faster photo workflow covers a few habits, especially around not reviewing every frame at full size, that apply directly here.
Where This Camera Is the Wrong Choice
It's worth being honest about the limits. MLS-standard real estate listing work, where an agent needs every room to look larger than it is and verticals corrected as a matter of routine, isn't this camera's job. A 12-24mm zoom on a tripod with a bubble level does that faster and with less cleanup afterward. The same goes for large commercial interiors, retail floors, or open-plan offices, anywhere the room is simply too big for 28mm equivalent (even with the WCL) to cover without stitching multiple frames, which reintroduces the parallax and stitching headaches this setup was supposed to avoid. And if a client specifically wants the ultra-wide, slightly stretched look that's become the default on real estate portals, fighting that expectation with a more natural 35mm perspective is a losing argument. Better to bring the right tool than to defend the wrong one.
Frequently Asked Questions
Can the Fujifilm X100VI actually replace a wide-angle zoom for interior work?
For editorial-style interior and design photography, mostly yes, since the 35mm equivalent perspective is close to what design magazines already prefer over the exaggerated wide-angle look common in real estate photography. For MLS-standard listings that need every room to read as large as possible with corrected verticals, no. A dedicated wide zoom or tilt-shift setup will still get you there faster and cleaner.
Is the WCL-X100 II wide conversion lens worth buying for this kind of work?
Only if you regularly shoot small rooms, ensuite bathrooms, or tight hallways where you can't back up far enough at the native 23mm. It's an extra lens to carry and mount, it softens slightly in the corners wide open, and it doesn't solve the convergence problem, it just changes the field of view. For larger rooms it mostly stays in the bag.
How do you deal with leaning walls and converging verticals without a tilt-shift lens?
Keep the sensor plane as close to parallel with the walls as the room allows, which usually means shooting from a lower position rather than tilting the camera up, and fix whatever's left with the geometry or transform tools in Lightroom or Capture One. That correction costs some resolution at the stretched edges, which is one more reason 40 megapixels helps: there's room to lose some detail without the final file falling apart.
Does the lack of focus bracketing hurt architectural depth of field?
A little, yes. There's no in-camera focus stacking useful for near-to-far architectural scenes, so the practical fix is stopping down to f/8 or f/11 and focusing roughly a third of the way into the room rather than trying to stack multiple exposures. It's not as precise as a tripod-based stacked result, but it's fast enough for a shoot where you're moving through eight rooms in an afternoon.