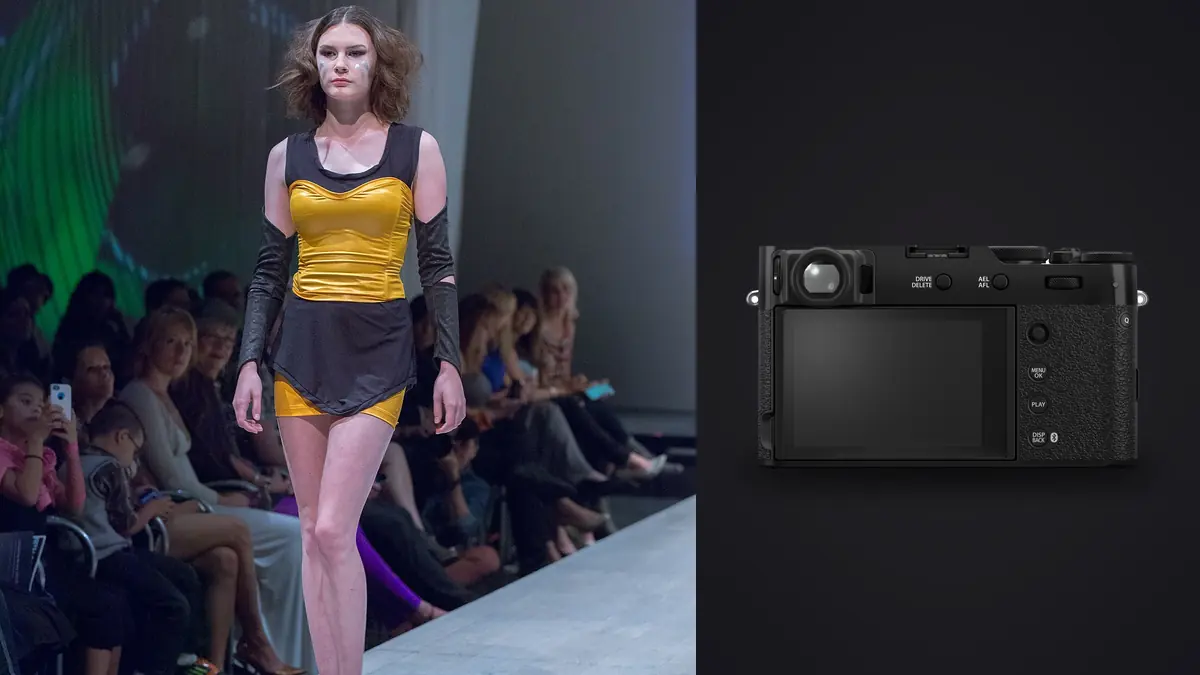
Picture a client wanting a spring lookbook for a twelve-piece capsule collection: six models, one warehouse location, a five-hour call time, and a delivery deadline that leaves exactly one evening to edit. The kit is a pair of mirrorless bodies with a 35mm and an 85mm prime, but the bag also gets the Fujifilm X100VI as a third camera almost as an afterthought, mostly for behind-the-scenes stills the brand wanted for their Instagram. By the second hour it has become the primary camera for four of the twelve looks. That would be a surprise, and it's the reason for writing this rather than another generic spec rundown.
A fixed 23mm lens changes how you direct a look
The X100VI has one lens: a 23mm f/2, which sits at roughly 35mm full-frame equivalent. On paper that reads as a limitation for fashion work, where most editorial shooters live between 50mm and 135mm to compress a figure and flatter proportions. In practice it did something I didn't expect: it forced me to stand closer to the model and direct body language more actively instead of hiding behind a long lens and just waiting for a good frame to happen.
For a lookbook specifically, that's not a bad trade. Lookbook photography isn't beauty work chasing pore-level skin rendering, it's product documentation with a pulse. Buyers and retail partners want to see how a garment moves, how the shoulder sits, whether the hem breaks correctly at the ankle. A 35mm-equivalent field of view keeps enough environment in frame to sell context (the studio, the street, the warehouse racking in the background) while still being tight enough to read fabric texture at arm's length. I ended up using the X100VI for every three-quarter and full-length look shot, and switched to the 85mm on my other body only for close detail crops of buttons, stitching, and hardware.
Where the fixed lens genuinely hurts is tight headshots for the lookbook's cover spread. At 23mm you either get uncomfortably close to the model's face (which reads badly in the final frame, exaggerated nose, compressed forehead) or you crop hard in post and throw away resolution. Budget for that ahead of time rather than discovering it on set.
The crop modes are more useful than they sound
Fuji's digital tele-converter, which simulates 50mm and 70mm equivalent framing by cropping the sensor in-camera, gets dismissed by a lot of reviewers as a gimmick. On a lookbook shoot it's genuinely handy, because it changes the viewfinder framing and the JPEG preview without you having to guess at a crop later. I used the 50mm setting for maybe a third of the day when I wanted a slightly tighter three-quarter shot without physically repositioning between every pose change, since repositioning six times per look across twelve looks adds up to a lot of wasted minutes.
The catch, and it matters for delivery, is that the crop only really pays off if you're also shooting RAW. Shoot JPEG-only with the tele-converter engaged and you're stuck with the reduced-resolution output baked in. Shoot RAW and the crop is really just a framing guide, the full sensor data is still there, so you can back off the crop in post if the layout designer wants a slightly wider frame for a two-page spread. Always shoot RAW on lookbook work for exactly this reason: the client's layout needs change after the shoot, sometimes days after, and you don't want to be the photographer who says a re-shoot is needed because nobody asked for extra headroom around the frame.
| Framing mode | Approx. equivalent focal length | Usable resolution (RAW, uncropped further) | Where I used it on the lookbook |
|---|---|---|---|
| Full frame, no digital crop | 23mm (~35mm equiv.) | ~40MP, full sensor | Full-length looks, environmental shots, hero cover frame candidates |
| Digital tele-converter, 50mm setting | ~50mm equiv. | ~40MP available in RAW (in-camera JPEG downsamples) | Three-quarter body looks for the standard grid layout |
| Digital tele-converter, 70mm setting | ~70mm equiv. | ~40MP available in RAW (in-camera JPEG downsamples) | Tighter body shots when I couldn't physically move closer (roped-off set areas) |
| Manual post-crop to a portrait framing | ~85mm equiv. custom crop | Roughly 14-16MP after crop | Emergency headshot crops for the lookbook cover, used sparingly |
What the 40-megapixel sensor actually buys you
The jump from the X100V's 26MP sensor to the X100VI's 40MP X-Trans sensor sounds like marketing filler until you're the one cropping a 35mm-equivalent frame down to a usable three-quarter shot in the layout software. Extra resolution on a fixed-lens camera isn't about pixel-peeping, it's about buying yourself the option to reframe after the fact without the client's art director noticing you shot everything on one lens. Cropping roughly fifteen percent of the frames tighter in post for the final lookbook is realistic, and the files still hold up at the print sizes a brand would need for a PDF catalog and a run of physical lookbooks.
In-body image stabilization is new to the X100VI as well, and on a lookbook shoot where you're moving between poses quickly and shooting available light in a warehouse with mixed fluorescent and window light, it earns its keep more than you might expect. You can shoot a fair amount at 1/60 and 1/80 handheld at f/2.8-f/4 without soft frames, which means less time chasing a faster shutter speed at the cost of ISO noise in the shadow-heavy corners of the space.
Film simulations as a lookbook styling tool, not just a filter
This is the part of the X100VI that actually changed my delivery workflow, not just my shooting. The brand's creative director wanted a consistent, slightly desaturated, warm-neutral look across the whole lookbook, closer to Classic Chrome than anything punchy. Instead of building that look from scratch in the edit for every single frame, I shot RAW+JPEG with Classic Chrome baked into the JPEG preview, which let me reference the intended look on the back of the camera in real time and adjust lighting to match rather than fixing it later.
The final delivery should still be graded from the RAW files (JPEG-baked film simulations don't hold up to the kind of exposure recovery a lookbook edit sometimes needs), but having a reliable visual reference on set saves real back-and-forth with the art director, who can look at the LCD and say "yes, that's the tone" instead of both guessing what it will look like after grading. REALA ACE, which Fuji added with this generation, can end up closer to what a client wants for skin tones under a warehouse's mixed lighting than Classic Chrome is, less green cast on lighter and darker skin tones alike under the fluorescent fixtures.
Where the culling actually happens
Nobody talks about this part enough: a twelve-look lookbook with six models generates somewhere between 1,800 and 2,400 frames once you count every pose variation, every "let's do that again," every burst where the model's hair moved differently. Between the X100VI and my other two bodies that day I came home with just over 2,100 RAW files. Sorting that by hand, at even a fast clip of a couple hundred images an hour, is most of a working day gone before you've graded a single frame.
I run everything through imagic before I open a single file in an editor. It's local, so nothing from a client shoot leaves the machine before the brand has approved anything, which matters more than people think when you're under an NDA for an unreleased collection. The sharpness scoring can catch X100VI frames that look fine on the camera's small LCD but are actually just soft, probably motion blur from a pose transition, and the burst clustering grouped the near-duplicate frames from each pose so you aren't scrolling through eleven nearly identical shots of the same look trying to spot the one where the model's expression actually worked. That can cut a selects pass down from what would have been most of a day to about ninety minutes.
The other piece that matters for a job like this is the apply_my_style preset. Train it on a batch of your previous lookbook edits and, once you have your selects, a first-pass grade that matches your established look is already sitting there waiting, leaving only the frames where the warehouse's mixed lighting throws off the automatic white balance to hand-correct. That's not a replacement for actually grading a job, but it takes the tedious eighty percent of the work off the table so you can spend your editing time on the twenty percent that needs a human eye.
Battery, storage, and the small annoyances nobody warns you about
A few practical notes that don't show up in spec sheets. The X100VI takes the same NP-W126S battery as the X100V, and on a five-hour shoot with the LCD on most of the time reviewing frames with the art director, expect to burn through two batteries and start a third. If you're using this camera as anything more than a backup body on a full commercial day, bring four batteries minimum, not two.
It's also a single SD card slot, which matters on a job where losing a card means losing an irreplaceable shoot day with a paid crew and rented location. I shot to a single fast card and copied to a laptop at the halfway lunch break rather than waiting until the end of the day, purely as insurance. And the weather sealing only actually works once you've bought the separate adapter ring and a protective filter, the body alone isn't sealed at the lens mount. For an outdoor lookbook shoot with any chance of drizzle, budget for that accessory ahead of time, not on the morning of the shoot when you discover the ring is sold out locally.
Would I book it as the primary camera for a lookbook again
For a smaller capsule collection, a brand with a documentary or street-adjacent aesthetic, or any job where the budget doesn't stretch to a full lens kit, yes, without much hesitation. The fixed lens forces a shooting discipline that actually suits lookbook work better than you might expect, and the file quality holds up through print. For a beauty-forward campaign built around close facial detail, or a job that needs a genuine 135mm compression look for the hero images, it's the wrong tool, and I'd leave it in the bag as a backup body at most.
What I wasn't expecting going in was how much the camera changed my on-set pacing rather than just my final images. Shooting one focal length means less time swapping glass between looks, which on a five-hour call time with six models is time you get back for actual direction and lighting adjustments instead of gear fiddling.
Frequently Asked Questions
Is the Fujifilm X100VI's fixed 23mm lens too limiting for full commercial fashion coverage?
For a full campaign shot entirely on one body, yes, you'll want a longer lens for tight beauty crops and a wider one for group environmental shots. For lookbook work specifically, where the 35mm-equivalent field of view matches how buyers actually want to see a garment (in context, full or three-quarter length), it's less of a limitation than the spec sheet suggests. I paired it with an 85mm on a second body for detail shots and headshots.
Do the digital tele-converter crop modes actually hurt image quality on a lookbook delivery?
Only if you shoot JPEG-only with the crop engaged, since the in-camera JPEG output is reduced-resolution. If you shoot RAW alongside it, the crop setting only changes your framing reference on the LCD and viewfinder, the full sensor data is preserved, so you lose nothing at delivery and can even back off the crop later if the layout changes.
How does the X100VI compare to a full mirrorless kit for a lookbook shoot on a tight budget?
It's a strong single-camera option for a smaller lookbook where the brand doesn't need heavy retouching-grade beauty shots, mainly because there's no lens to buy or rent and the body is light enough to shoot handheld all day. It won't replace a full kit for a job that needs varied focal lengths across every look, but as either a primary camera for a documentary-style lookbook or a fast second body alongside a longer prime, it earns its place.
What's the fastest way to cull a few thousand lookbook frames from a single shoot day?
Manual culling at that volume eats most of a working day even at a brisk pace. Running the RAW files through imagic first, using its local sharpness scoring to flag soft frames and its burst clustering to group near-duplicate poses, cuts that down dramatically because you're reviewing grouped candidates instead of scrolling through every single frame in a folder. It's worth pairing with something like the workflow tips in 10 tips for a faster photo workflow if culling speed is a recurring bottleneck on your shoots.