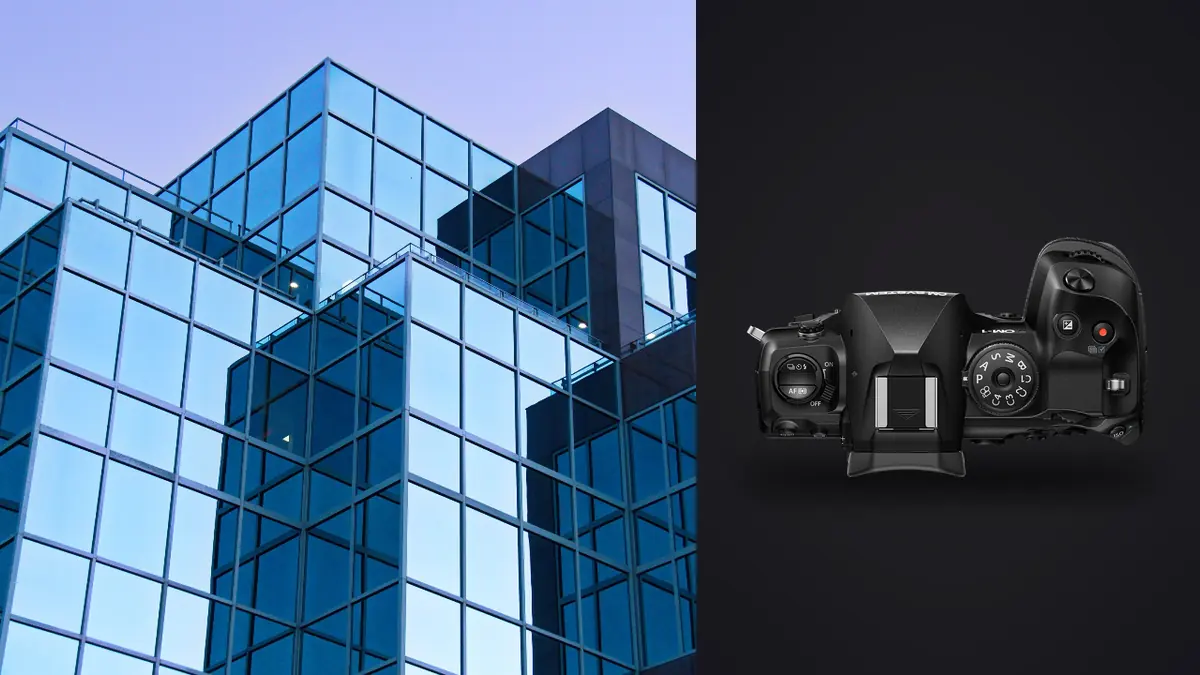
Most of the interior work I get called for isn't glamorous. It's a kitchen renovation photographed for a builder's portfolio, a boutique hotel room shot before a rebrand launches, or a single-family home an architect wants documented before the client moves in and starts hanging things on the walls. None of that pays enough to justify a full studio kit with a shelf of tilt-shift lenses and a rolling case. What it does reward is a body that's light enough to carry up a ladder in one hand, sealed well enough to step outside for the exterior elevation shot without swapping bags, and quick enough to fire a bracket in a dim stairwell without the shutter turning a two-hour job into a four-hour one. That's the case for the OM System OM-1 Mark II on this kind of work, and it's also where the camera runs into a real limitation that no firmware update is going to fix.
Why a smaller sensor earns a spot in an architecture bag
The OM-1 Mark II carries a 20.4-megapixel stacked Four Thirds sensor, physically about a quarter the area of a full-frame chip. On paper that sounds like a downgrade for anyone shooting for print or for an architect's portfolio site. In practice, for interiors specifically, the smaller sensor buys you two things I actually use every week.
First, weight. A body around 600 grams paired with something like the 12-40mm f/2.8 PRO II comes in well under half of what a comparable full-frame standard zoom setup weighs. When a shoot involves four flights of stairs, a loft ladder, and no elevator, that difference stops being a spec sheet number and starts being the reason my back doesn't hurt by 3pm.
Second, and less obvious: depth of field. Because the Four Thirds sensor needs a shorter focal length to match the same field of view as a full-frame lens, you get noticeably more depth of field at a given f-stop for the same framing. A wide interior shot at f/5.6 on this system holds a front table leg and the far wall in focus in a way that would need something closer to f/11 on full frame. That matters in a small room where you can't back up far enough to let depth of field take care of itself. The tradeoff is that diffraction softening starts creeping in earlier too, generally somewhere past f/9 or f/10 on this sensor, so you can't just crank the aperture to f/16 and call it done the way a lot of architectural photographers do on larger formats. You get more free depth of field, but you also run out of room to stop down further before the whole frame gets soft.
Live ND and the window-balance problem
Every interior shoot with a window in frame has the same fight: the room reads two, four, sometimes six stops darker than what's outside the glass. Overexpose for the room and the window blows to white. Expose for the window and the room goes murky. The traditional fixes are a graduated ND filter held or clipped over the lens, or a bracket-and-blend sequence in post.
The OM-1 Mark II's Live ND mode does something different: it takes a burst of frames in-camera and stacks them electronically to simulate a slower shutter speed, up to the equivalent of a 64x (about six-stop) neutral density filter, without physically attaching anything to the lens. For a hallway with a strip of windows down one side, or a lobby with reflective flooring picking up glare, this smooths out hot spots and evens exposure in a single file rather than a folder of brackets to merge later.
Where it actually helps versus where it doesn't
Live ND is genuinely useful for taming a bright but not extreme window, or for blurring foot traffic out of a shot during a walkthrough with people still in the building. It is not a substitute for real HDR work on a room with a genuinely high dynamic range, say a sunlit atrium next to a shaded reading nook. For those rooms I'm still bracketing three to five frames and blending manually, because Live ND compresses the range rather than truly capturing shadow and highlight detail separately. It's a convenience feature for the common case, not a fix for every case.
Picking lenses for tight rooms and wide facades
Interior and architectural work asks two different things of a lens: wide enough to show a small room without distorting it into a fisheye mess, and sharp enough corner to corner that a client blowing up a shot for a lobby print doesn't see mush at the edges. Here's how the four lenses I actually reach for on this system stack up for this kind of job.
| Lens | Full-frame equivalent | Max aperture | Filter thread | Best use on interior/architecture shoots |
|---|---|---|---|---|
| M.Zuiko 7-14mm f/2.8 PRO | 14-28mm | f/2.8 | None (bulbous front, rear gel only) | Small bathrooms, tight stairwells, anything where you physically can't back up further |
| M.Zuiko 8-25mm f/4 PRO | 16-50mm | f/4 | 72mm | One-lens walkthroughs; wide room shots and closer detail crops without a lens change |
| M.Zuiko 12-40mm f/2.8 PRO II | 24-80mm | f/2.8 | 62mm | Standard living spaces, hallway-to-room transitions, general everyday coverage |
| M.Zuiko 12-45mm f/4 PRO | 24-90mm | f/4 | 58mm | Lightest option of the four; carry-all-day exteriors and street-facing facade shots |
If I had to keep just one, it's the 8-25mm. Going from a full room shot at 16mm-equivalent to a 50mm-equivalent detail crop of a fireplace surround without touching the lens mount saves real time on a paid shoot with a tight window before the tenant needs the space back.
The tilt-shift gap, and what I actually do about it
Here's the part of this system I won't sugarcoat: there is no native perspective-control lens in the OM System lineup. Canon and Nikon both still sell dedicated shift lenses that let you correct converging verticals optically, keeping the sensor plane parallel to the wall while shifting the lens to reframe. Nothing like that exists for Micro Four Thirds.
That means every converging-vertical correction on this camera happens digitally, in Lightroom, PTLens, or OM Workspace's own perspective tools. That's not a disaster, most working architectural photographers correct digitally even when they own a shift lens because it's faster than the mechanics of shifting on location. But it does cost you resolution. Pull a strong vertical correction on a 20-megapixel file and you can lose enough of the frame edges that you're delivering something closer to 15 or 16 effective megapixels once the crop settles. My workaround is to shoot a little wider than I think I need and use the camera's electronic level in the viewfinder religiously, so the correction I apply afterward is small rather than dramatic. For a full building facade where a mild digital correction still won't cut it, I'll shoot a two or three-row vertical panorama instead of fighting a single ultra-wide frame.
High Res Shot for the print-sized deliverable
Every few months a client wants something bigger than a website gallery, a lobby print, a trade show backdrop, a two-page magazine spread. The OM-1 Mark II's High Res Shot mode composites multiple exposures into a 50-megapixel file handheld, or 80 megapixels on a tripod, which more than makes up for the sensor's native resolution on the rare job that actually needs it.
The tripod version is the one to reach for on an empty interior since it needs a genuinely static scene, any moving curtain, ceiling fan, or person walking through the shot introduces ghosting artifacts you'll be cloning out later. The handheld version is more forgiving and useful for a quick exterior facade shot where a client mentions after the fact that they want it printed six feet wide.
Sorting through the bracket flood afterward
The output volume from an interior shoot with this camera adds up fast. A single afternoon covering fifteen or twenty rooms, each with a Live ND frame, a couple of straight exposures, and an HDR bracket set for anything with strong window light, easily produces four to six hundred raw files by the time you're back at the car. Most of those are near-duplicates: the same framing shot two or three times because you weren't sure the first one was sharp enough handheld, or because someone walked through the background.
This is the point where I stopped trying to eyeball my way through a folder that size. I run the take through imagic before I open anything in an editor, letting its local sharpness and focus scoring flag which frame in each near-identical set is actually the sharpest, and its duplicate and burst clustering group the repeats so I'm not opening the same hallway shot four separate times. Everything happens on the machine, nothing gets uploaded anywhere, which matters more than usual on this kind of work since a property is often shot before a public listing, or a hotel room before a launch date that hasn't been announced yet. If you haven't used a culling tool on a shoot this size before, this breakdown of how AI photo culling actually works covers the mechanics better than I can in a paragraph here.
Weather sealing and the walk outside
An interior shoot rarely stays entirely indoors. There's almost always an exterior elevation shot, a front door detail, or a courtyard view that needs covering too, and that's frequently in whatever weather happened to be outside that day. The OM-1 Mark II carries an IP53 rating, which in practice has meant I've kept shooting through light rain and drizzle on site more than once without worrying about the body. Dual UHS-II card slots are the other detail I'd flag here, not glamorous, but writing a backup copy to a second card in real time is the difference between a bad memory card being an inconvenience and it being a lost shoot.
Keeping the look consistent across a batch of properties
A repeat client, a property developer with six units to shoot in a month, or an interior design studio documenting a run of finished projects, wants those images to look like they came from the same photographer with the same eye, not six unrelated shoots edited on six different days. I built out a grading approach over a couple of years of doing this work: a particular way of pulling back warmth in artificial light, a particular contrast curve for window light. Re-applying that by hand across a batch of a few hundred keepers used to eat most of a Sunday.
What I do now is let imagic's apply_my_style feature carry that look across a new batch automatically, since it's trained on my own past edits rather than a generic preset somebody else built. It gets me most of the way there on a full property in minutes, and I still go through and hand-adjust the handful of shots that need something specific, a tricky mixed-lighting kitchen, a room with heavy color cast from a stained-glass window. It's not replacing judgment, it's removing the repetitive part of applying judgment I've already made two hundred times before.
Frequently Asked Questions
Do I need a tilt-shift lens to shoot architecture with the OM-1 Mark II?
No, but you should go in knowing there isn't a native shift lens option for this mount, so every vertical correction happens digitally after the fact. For most interior and real estate style work that's fine and even common practice on other systems. For a job that demands optically perfect verticals on every frame, a full-frame body with a dedicated shift lens is still the more direct tool, or you compensate here by leveling carefully in camera and shooting wider than needed so the digital correction stays modest.
Is 20.4 megapixels enough for architecture and interior design clients?
For web galleries, portfolio sites, social posts, and most standard print sizes, yes, comfortably. It's the outlier request, a large lobby print or a full-page magazine spread, where you'll want to reach for High Res Shot mode to get to 50 or 80 megapixels instead of relying on the native file size and upscaling in post.
How does Live ND compare with just bracketing exposures for a window-heavy room?
Live ND gets you a single, ready-to-use file faster and skips the blending step entirely, which is great when you're moving quickly through a walkthrough. Traditional exposure bracketing still wins on a room with genuinely extreme dynamic range, because it captures true shadow and highlight detail as separate frames rather than compressing the range in-camera. I use Live ND for the routine cases and fall back to bracketing when a room's contrast is unusually harsh.
What's a sensible first lens for someone starting interior work on this body?
The 8-25mm f/4 PRO is the one I'd point a newer shooter toward. It covers a genuinely wide room shot and a tighter detail crop without a lens change, which matters a lot when you're on a client's clock and still learning to read a room's light quickly. The 7-14mm f/2.8 is worth adding later specifically for the rooms too small for anything else to work in.