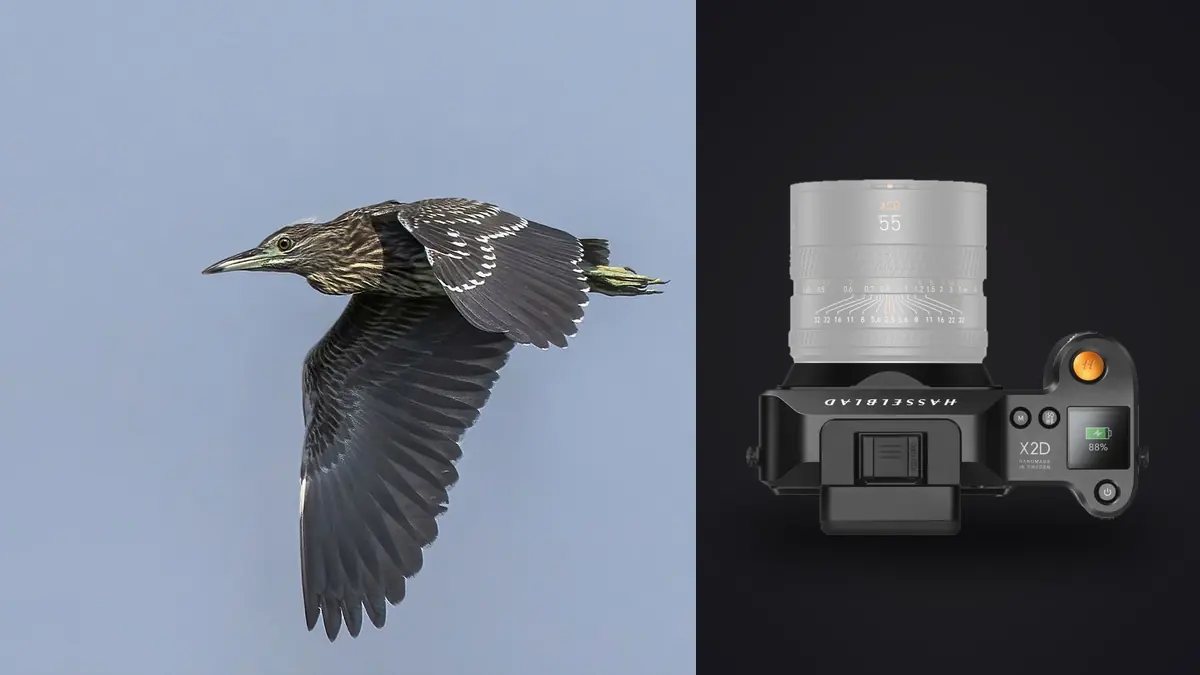
A Hasselblad X2D 100C wildlife workflow should be built around the camera it is, not around an action-camera fantasy. It can produce detailed 3FR files and offers internal storage plus removable media, but wildlife success still depends on access, subject behavior, lens reach, autofocus limits, timing, and a patient review. A bird-in-flight frame is only one part of a useful wildlife story.
This Lens and Location Guide begins with XCD focal-length roles, permitted access, subject paths, habitat, and ethical working distance. It then carries those choices into a compatible 3FR review. The goal is to choose a realistic position for meaningful behavior without pretending that reach, resolution, or a general culling score overrides species welfare and ecological context.
Choose XCD reach from the encounter, not the crop
List the behavior and likely distance before selecting a lens. A wider or normal XCD lens can place a calm animal in habitat when access is close and controlled. A longer option can isolate from farther away, but system reach, autofocus behavior, aperture, weight, and minimum focus distance must all suit the subject. Resolution is not a substitute for adequate subject scale and clear atmosphere.
Test the complete lens and body at the intended support height. A lens that works for a static mammal at a waterhole may be difficult for a small bird crossing irregularly. Keep a wider fallback for environmental frames and do not approach a nest, den, roost, or feeding animal merely because the selected lens is too short.
Scout habitat, light, and escape routes
Observe from a distance before placing support. Note repeated flight lines, perches, drinking points, sun direction, background distance, wind, heat shimmer, and public movement. Choose a position with a clean line that does not block the animal's route or another observer's access.
Use established hides and paths where required, follow local guidance, and leave when behavior changes in response to the photographer. Plan a second viewpoint for changing light rather than circling the subject. Exact coordinates for vulnerable species should remain protected.
Configure storage before leaving the field
Hasselblad's X2D 100C data sheet identifies 3FR RAW capture, built-in SSD storage, and a CFexpress Type B option. The camera manual should be the authority for selecting primary, overflow, or backup behavior. Confirm that choice with test files on both destinations before relying on it.
Internal storage is convenient, but it remains inside the camera. A damaged, lost, or inaccessible body can therefore hold the only copy if the card path is ignored. For irreplaceable fieldwork, choose a recording and transfer routine based on the consequence of loss. Carry known compatible media, enough power to complete transfers, and a reader or cable already proven with the workstation.
Synchronize the clock and create a field note for broad location, subject, habitat, weather, and observed behavior. Avoid embedding or publishing precise coordinates for nests, threatened species, roosts, or fragile sites. Separate what was observed from what is inferred, especially when species identification is uncertain.
Transfer 3FR originals without breaking card context
Create one read-only source folder for each camera storage location or transfer session. Preserve original filenames and chronology during ingest. If files come from both internal SSD and CFexpress, keep their source visible until you have checked for overlap, gaps, and the active destination setting. Do not combine them by name and assume the sequence is complete.
Use checksum verification when available. Otherwise compare counts and byte totals, then open files from the start, middle, and end in software known to support the exact 3FR version. Create a second verified copy on another physical device before formatting a card or deleting from internal storage. A copy beside the original on one drive does not protect against that drive failing.
Retain the folder structure, field notes, camera clock reference, and any audio memo with the originals. A technically perfect bird frame without encounter and location context can become difficult to caption later. Conversely, a failed frame may show when a bird took off, how close the photographer was, or whether behavior changed.
Verify software support before culling
The X2D 100C uses Hasselblad 3FR RAW. That format is not among imagic's listed supported RAW formats, which are CR2, CR3, NEF, ARW, RAF, ORF, RW2, DNG, and PEF. Do not rename a 3FR file or assume that another tool's DNG support guarantees a safe conversion. Use Hasselblad Phocus or another current developer that explicitly supports the camera and preserves the metadata and image data you need.
Test the full path with representative files before a trip: ingest, preview generation, rating, adjustment transfer, export, metadata, and reopening the result. Check that the software version recognizes the lens and camera profile. New firmware or a changed RAW option may require an update even when older files open normally.
If a separate culling tool cannot read 3FR originals, keep selection in the compatible RAW application rather than creating an undocumented proxy workflow. JPEG previews can help quick field communication, but judging subtle focus or highlight recovery from a proxy may not match the RAW result.
Match capture pace to the camera and behavior
The X2D 100C is more convincing when the photographer anticipates a perch, crossing point, or repeated path than when the plan depends on continuous high-rate tracking. Watch behavior, precompose with room for movement, acquire focus early, and make short sequences around a meaningful transition. Include quiet portraits and habitat frames rather than defining wildlife only as flight.
Review an early sequence for focus, shutter effect, storage destination, and lens reach. If the required subject remains too small or acquisition is inconsistent, change position within ethical and legal limits, choose a different lens, or accept a wider environmental picture. Cropping cannot replace missing behavior, atmospheric clarity, or safe working distance.
Group by encounter before comparing sharpness
Organize the day into encounters: one bird pass, one perch, one feeding event, one group interaction, or one landscape position. Within each encounter, preserve the sequence order. This prevents a dramatic but unrelated frame from displacing the only image that explains a behavior.
First remove accidental releases, severe obstructions, and files that are unusable for the intended output. Keep the pass permissive. Next compare focus on the head or intended anatomical feature, gesture, wing position, background collision, body completeness, and the amount of habitat shown. A tight portrait and an environmental frame can both be keepers because they answer different questions.
Do not reduce every burst to one image by habit. Multiple frames may show takeoff, interaction, or a sequence of movement. Reduce repetition when neighboring files add no technical or narrative information. Mark unusual lower-quality frames separately until their context has been checked.
Diagnose flight failures with evidence
Locate the sharpest plane. A detailed background and soft bird indicate acquisition elsewhere. A sharp head with blurred wings may be intentional or may need a shorter exposure, depending on the picture. Uniform directional smear suggests subject or camera movement. Softness across the whole scene can also result from haze, heat shimmer, condensation, a dirty filter, or processing.
Inspect the sequence order and metadata. If focus becomes useful only after several frames, acquisition began too late or at the wrong distance. If it leaves the subject behind reeds, the selected focus method or camera position may need adjustment. If every distant subject is soft while nearby static detail is crisp, atmosphere or insufficient reach deserves attention before camera settings.
Keep a small collection of diagnosed failures with notes for the next field session. A rejection label without a reason teaches nothing. Compare similar movements made from the same position and change one field variable at a time.
Protect wildlife meaning during the edit
A quality score cannot recognize rare behavior, confirm species, or decide whether a photograph was made through disturbance. Review the contact sheet for reaction to the photographer. Repeated alarm calls, retreat, abandoned feeding, or changed nesting behavior are reasons to stop in the field and reconsider publication later.
Choose a set that includes habitat, scale, and relationship where the assignment calls for them. High detail can tempt a tight crop that removes the ecological setting. Compare the uncropped frame with every crop and leave space in the direction of movement or gaze when it serves the composition.
Verify names and captions with an appropriate reference or expert. A photograph can show contact between animals without proving aggression, courtship, play, or feeding. State visible facts and label interpretation carefully. Protect sensitive location metadata in both captions and file properties.
Develop 3FR files by lighting state
Select representative files from open sun, shade, backlight, water reflection, woodland, dawn, and dusk. Establish white balance and tonal direction for each state. Natural green, blue, or warm reflected light is not automatically a cast to remove. Preserve the atmosphere while keeping important plumage or fur believable.
Protect pale feathers, wet surfaces, and specular highlights before lifting shadows. Not every tiny reflection needs detail, while large white plumage areas often do. Avoid forcing every file into the same contrast. Open shade and direct sun describe texture differently and may need separate approaches.
Apply noise reduction and sharpening at an appropriate stage, then judge output at the delivery size. Excessive microcontrast can make feathers brittle, create halos against sky, and exaggerate atmospheric softness. Excessive smoothing erases fine structure and turns backgrounds into patches. Compare against a neutral conversion.
Handle color and profiles cautiously
Use the camera profile or Hasselblad color path supported by the chosen developer, then export a controlled sample. Do not assume that software defaults are identical across applications. If files move between Phocus and another editor, document which stage renders color, lens correction, and tone.
Check saturated feathers, flowers, and warning colors after conversion to the destination space. A web JPEG and a print master may need different profiles and output sharpening. Soft proof where the delivery process supports it, and open rendered files outside the RAW application to confirm embedded profile and appearance.
Keep creative color work separate from species documentation when accuracy matters. A dramatic grade can be appropriate for an art print and unsuitable for a field record. Store distinct versions rather than overwriting one interpretation.
Export derivatives with traceable metadata
Create destination-specific folders for editorial delivery, conservation use, web display, and print. Apply dimensions, quality, profile, sharpening, and metadata for each recipient. Generalize or remove precise coordinates when disclosure could harm wildlife or violate access agreements.
Include reliable species, date, broad location, caption, and credit information where required. Distinguish observed behavior from inference. Export a small batch first and check orientation, crop, noise, halos, filename, metadata, and profile in an independent viewer.
For context on supported local workflows, consult the imagic desktop page and the workflow and editing guides. For X2D originals, remain in a confirmed 3FR-compatible path. Tool choice should follow file integrity, not brand convenience.
Archive the encounter, not just the hero frame
Retain verified 3FR originals, ratings or sidecars, field notes, caption sources, permission records, selected derivatives, and delivered versions according to a written policy. Keep at least one backup away from the active workstation and periodically verify that both files and project data can be opened.
Store sensitive location data under appropriate access control. A public export should not inherit coordinates merely because the source file contains them. Record which versions were stripped or generalized so a later scientific request can be handled from the protected archive.
When identification or editing changes, create a new version and preserve the prior delivery record. Transparent correction is more defensible than silently replacing files whose captions have already circulated.
Frequently Asked Questions
Can imagic analyze Hasselblad X2D 100C 3FR files?
3FR is not in imagic's listed supported RAW formats. Use a current 3FR-compatible application and test the whole ingest, review, development, and export path with X2D files.
Should every wildlife sequence be reduced to one frame?
No. Keep multiple images when they show meaningful behavior or progression. Remove repetition only when neighboring frames add no technical, narrative, or documentary value.
Is the internal SSD a complete backup?
No. It remains inside the camera and can be lost with it. Create verified copies on separate physical devices before deleting files or reusing storage.