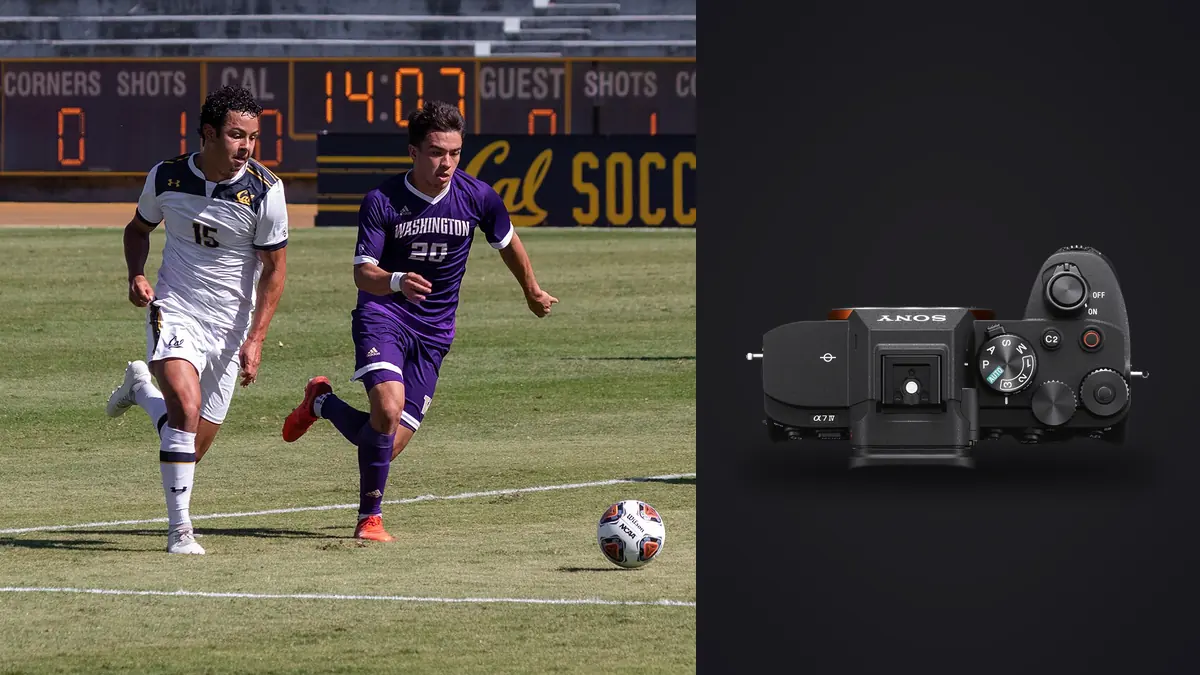
The Sony A7 IV is a flexible 33 megapixel sports body, but the photograph still depends on reach, angle, background, and where the credential permits the photographer to stand. A 70-200mm position beside a court produces a different story from a 200-600mm view beyond a football end line. The lens and venue map should be decided together.
This Lens and Location Guide begins with the rules of the sport and works outward to approved zones, sun direction, movement routes, and a two-lens coverage plan. File handling remains important, but the first objective is to make each position produce a distinct visual job rather than a longer burst of the same obstructed angle.
Map the rules and credential zones first
Obtain the venue diagram, credential conditions, warm-up access, and movement restrictions before choosing lenses. Sidelines may have team boxes, officials' lanes, advertising boards, and television positions that cannot be blocked. Track facilities can restrict lane crossings and infield access. Indoor courts may assign one baseline corner or an elevated stand. Mark legal zones and the route between them.
Translate each approved zone into the action it can actually show. An end-line position favors action coming toward camera and reactions after a score. A side position shows spacing, tackles, exchanges, or running form. An elevated view explains tactics and patterns. Avoid collecting three positions that all produce the same flat side-on frame.
Check where bags and long lenses may rest without creating a trip hazard. Confirm whether monopods, stools, remote cameras, or floor mats are permitted. The best visual angle is unusable if it blocks an exit, advertising system, official, or another photographer.
Assign each Sony lens a distinct location job
| Lens class | Location role | Typical visual result |
|---|---|---|
| Wide zoom or prime | Venue edge, huddle, finish area, or celebration | Athlete inside crowd and architecture |
| Standard zoom | Close sideline, bench, or mixed zone | Full-body action and short portraits |
| 70-200mm class | Court baseline or near field sideline | Isolated action with flexible framing |
| 100-400mm class | Large field or track perimeter | Reach with some positional flexibility |
| 200-600mm class | Remote end line or distant field action | Tight action from restricted positions |
Use the table as roles, not a mandatory shopping list. Two bodies with complementary lenses reduce changes in dust, rain, or a short access window. If only one body is available, prioritize the lens that covers the assignment's required action and make environmental frames before or after the peak period.
Test autofocus and balance with the exact lens, teleconverter, support, and firmware. A lens that reaches the far side may be too tight when action approaches. Identify a physical landmark where the long lens should be exchanged for a shorter body, then practice the transition without placing equipment on the ground.
Read sun, wind, background, and athlete direction
For outdoor sport, plot the sun across the full event, not only the start. A morning sideline can become hard backlight by the final. Front light supports clear faces and uniform color, side light adds shape, and backlight can produce separation when exposure is controlled. Select primary and fallback zones for each phase.
Wind changes flags, dust, hair, thrown objects, and athlete behavior. At track and field, it can influence run-up direction or where officials permit photographers. Rain may darken backgrounds and create reflections, while heat shimmer degrades distant telephoto detail. A shorter viewpoint through less atmosphere can beat a longer lens from across the venue.
Inspect backgrounds at the height of the athlete, not from a standing scout position. Advertising text, empty bright seats, parked vehicles, officials, and spectators can merge with heads or equipment. Kneeling may clean the background, but it can also reduce visibility and create collision risk. Choose a height that remains safe and sustainable.
Plan positions around the sport's repeatable phases
Every sport has events that recur in known places. Football has entrances, set pieces, goals, substitutions, and final reactions. Track has blocks, bends, finish lines, and medal areas. Court sports have serves, free throws, benches, and timeouts. Build a shot map around those phases rather than following the ball without a plan.
- Opening position: establish the venue, teams, conditions, and crowd before access narrows.
- Primary action position: use the lens and angle that best serve the assignment's decisive phase.
- Reaction position: keep a clear route or second body for celebrations, disappointment, and coaching.
- Identity position: capture numbers, faces, scoreboard, and contextual details for captions.
- Exit position: cover the result and aftermath without crossing active play.
Do not move merely because action has been quiet. A strong background and predictable phase may reward patience. Move at scheduled breaks or through approved routes, keeping awareness of players, officials, cables, spectators, and other media.
Adapt the map to field, court, and track geometry
On a rectangular field, end-line positions favor action arriving toward camera, while a sideline position explains passing lanes and contact across the frame. A long lens from the attacking end can cover play at midfield, then becomes too tight when athletes enter the penalty area. Keep the shorter body oriented and reachable before the approach begins.
On a court, low baseline corners produce dramatic elevation and face views, but officials and other players frequently obstruct the frame. An elevated side position gives cleaner tactical spacing and may suit the A7 IV with a 70-200mm class lens. Confirm whether floor movement is allowed during play; many venues require photographers to stay seated in one marked area.
At a track, focal length changes with event and lane. Starts, hurdles, bends, field events, and the finish each have separate safety boundaries. Throwing sectors and landing zones are never shortcuts. Coordinate with officials, learn when crossing is permitted, and plan a lens that covers the assigned side without stepping onto active competition space.
For road events, include travel time between approved positions and never block participants, support vehicles, or spectators. One strong bend, climb, finish, or crowd position is better than several rushed stops that produce unsafe parking and repeated backgrounds.
Keep an event schedule beside the position map. Warm-ups, ceremonies, breaks, and medal presentations may be the only safe times to relocate or exchange a long lens for wider coverage. Mark those windows before play begins, and confirm them with the assigned media coordinator.
Handle indoor lighting and electronic shutter carefully
Gym and arena lights can vary across the floor or pulse at a frequency that produces bands. Test from every planned position because one end may use different fixtures or brightness. The A7 IV offers anti-flicker and variable shutter tools, but the correct choice depends on the actual light and desired frame rate. Keep a fallback shutter mode available.
White balance can change between court, tunnel, bench, and mixed zone. Record a neutral reference in each lighting zone when color accuracy matters. A single global correction may make one side of the venue neutral and another visibly wrong. Position planning should include these light boundaries so sequences remain coherent.
At night outdoors, protect bright uniforms, scoreboards, and reflective markings while keeping faces usable. Stabilization cannot freeze athletes. Set shutter speed for the sport, then evaluate Auto ISO at final output size. Avoid claiming one ISO ceiling for every venue and delivery.
Build safe movement and weather contingencies
Walk the route before spectators arrive. Note wet surfaces, cable ramps, low barriers, ball trajectories, throwing sectors, team access, and places where a long lens could swing into another person. Never step backward while looking through the finder without first checking the space. Keep straps and monopod feet controlled.
Rain covers must allow focus and zoom operation without collecting water near controls. Keep a dry cloth accessible and full cards separated from empty ones. In heat, provide shade and hydration, and avoid leaving equipment in direct sun unnecessarily. In cold, keep spare batteries protected and allow for condensation when moving indoors.
Prepare a fallback that does not depend on violating rules: an elevated public view, a wider storytelling lens, bench reactions, or details during a delay. Weather can change the story even when it cancels the planned action.
Tie camera behavior to each position
Use continuous autofocus and an area suited to the background. Broad tracking can work against open field, while a smaller zone helps when officials, fencing, or spectators compete. The A7 IV can shoot up to 10 fps under compatible settings, but choose a drive rate by action phase. A short sequence around contact or takeoff is more useful than holding the shutter through an obstructed play.
Synchronize camera clocks and decide dual-card roles before the event. File format, lens compatibility, and drive speed can interact, so test the exact combination. Save position-specific settings only when they remain understandable under pressure. A reliable fallback with moderate burst and a defined focus area is more valuable than several custom modes that are hard to distinguish.
Compose with movement room in the direction of travel and enough margin for the publication's crop. The 33 megapixel file supports moderate reframing, but it cannot create reach or remove atmospheric haze. Change position or lens when the subject is consistently too small.
Preserve the venue story after capture
Copy and verify both cards before formatting. Keep originals, captions, and location notes connected. imagic desktop can scan ARW folders, analyze locally, group related frames, and store reversible culling statuses without deleting originals. Human review remains responsible for action, identity, news value, and ethical context.
If a different keeper count is needed, reselecting re-ranks stored scores rather than analyzing again. Check freshness and reanalyze stale photos when an old verdict looks wrong. Export applies stored edits to new files. More post-capture planning appears in Workflow and Editing.
A useful sports location plan makes every lens change and movement purposeful. It protects safety, keeps the credential valid, and produces variety through position rather than unnecessary file volume. The A7 IV can cover many sports well when reach, angle, light, and route are solved before play begins.
Frequently Asked Questions
Which lens should cover a football match on the A7 IV?
Choose by credential zone and required pictures. A long zoom may suit distant action, while a 70-200mm class lens or second wider body is more useful when play, reactions, or celebrations approach.
Where should a sports photographer stand?
Only in approved media zones that do not obstruct officials, athletes, television, exits, or spectators. Within those zones, select a background and action direction that give the position a distinct visual purpose.
Can cropping replace a longer sports lens?
A moderate crop can refine framing, but it reduces output size and enlarges haze, noise, and focus error. If subjects remain small throughout a sequence, change lens or move to a legal closer position.