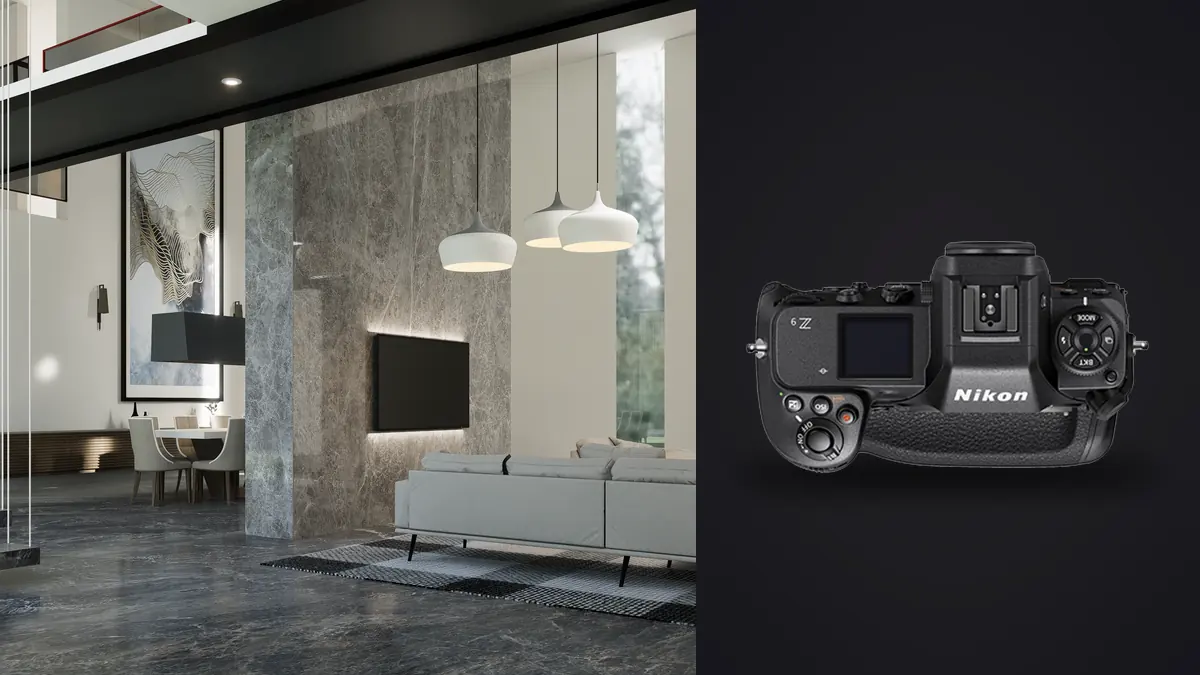
Architectural photography asks a camera system to solve spatial problems repeatedly: fit a room without distorting its relationships, keep verticals intentional, reach a facade from an available setback, and preserve material color under mixed light. The Nikon Z9 is capable, but the location and lens determine whether those tasks are practical.
This Lens and Location Guide maps Z-mount and compatible adapted lens roles to exteriors, interiors, details, and elevated views. It gives equal weight to access, camera height, perspective correction, support, light, and NEF review. No resolution or autofocus feature can create a viewpoint that the site does not safely provide.
Translate the commission into spatial coverage
Architects may need circulation, facade rhythm, material junctions, and the relationship between old and new work. Interior designers may prioritize finish color, furniture groups, and lighting. Property marketing may require broad, readable room coverage. Create a shot map from the actual audience.
Mark each view as essential, supporting, or optional. Record required orientation, aspect ratio, copy space, and whether people, vehicles, or lighting layers are needed. Essential frames receive a measured viewpoint and fallback.
Ask for plans or drawings when available, but verify built conditions. Furniture, temporary works, landscaping, neighboring construction, and access barriers can make the drawing's ideal axis impossible.
Scout camera positions before focal lengths
Stand where the building or room becomes understandable, then note working distance, camera height, foreground, ceiling, walls, columns, reflections, traffic, and public paths. A wider lens is not automatically the correct response to a constrained room.
Moving into a corner can stretch nearby furniture and make distant features small. Moving back may cross a wall, road, private boundary, or safety line. A doorway, raised permitted position, stitch, or more selective composition may communicate the design better.
Take reference frames and label approximate focal length, orientation, and height. Phone previews are scouting notes, not proof that the Z9 and selected lens will render identically.
Record the correction cost during scouting
Process one reference from each proposed lens and position with the intended profile, vertical correction, and crop. Record how much edge area disappears and whether important detail survives. This prevents a nominally wide composition from becoming too tight only after the site has closed.
Keep camera firmware, adapter firmware where applicable, and RAW software support current before production, then avoid untested updates immediately before the assignment. Compatibility is part of the lens plan when metadata and profiles determine the corrected result.
Assign wide zooms to constrained but controlled views
A wide zoom can adapt to different room sizes and provide framing options without moving a leveled tripod. Test distortion, corner behavior, flare, and correction across the focal lengths actually used. The widest setting may require the largest crop after correction.
Keep the camera level when verticals should remain parallel. If that leaves too much floor or too little ceiling, change height, use optical shift where available, move farther back, or plan a controlled software transform with margin.
Place important furniture and people away from stretched edges. Use width to explain spatial relationships rather than merely include every object. A calm moderate-wide frame often describes an interior more honestly than an extreme one.
Use normal and telephoto lenses for structure
A normal lens can make clean elevations from sufficient setback, layer rooms through openings, and show material relationships without wide-angle emphasis. A short telephoto can isolate facade modules, compress aligned buildings, and remove foreground clutter.
Longer lenses also magnify atmospheric shimmer, vibration, and small leveling errors. For exteriors across roads or water, inspect distant static detail before blaming focus. Choose the position to reduce heated surfaces in the optical path when possible.
Use a zoom when the permitted camera position is fixed and several scales are required. Use a prime when its rendering or movement compatibility solves a specific view. Avoid carrying adjacent options without distinct roles.
Plan stitches when one lens cannot describe the space
A panorama can create a wider view without the edge stretching of one extreme frame, but it adds parallax, moving objects, changing light, and stitching risk. Choose a stable camera position, level the rotation, lock exposure and focus for the row, and leave generous overlap.
Interiors with nearby furniture are sensitive to rotation around the wrong point. Test the head and lens at the actual distances. Curtains, people, screens, foliage, and practical-light flicker can break seams even when the camera remains fixed.
Make a complete single-frame alternative whenever possible. Preserve every source NEF and the stitch project. A panorama is a planned lens-and-location solution, not a substitute for measuring whether the final composition can be captured reliably.
Verify shift and adapter compatibility carefully
Perspective-control lenses can shift framing while the camera remains level, preserving more of the captured area than a strong software correction. Tilt changes the focus plane and requires deliberate testing. Availability and behavior depend on the exact lens and adapter.
Confirm mount compatibility, aperture control, metering, physical clearance, image circle, rotation, metadata, support, and any movement restrictions with current Nikon and lens documentation. An adapted F-mount perspective-control lens may not behave exactly like a native Z lens.
Test a full movement range on a facade with fine edges. Inspect corners, color shifts, vignetting, and mechanical interference. Do not discover on location that the planned shift direction conflicts with the tripod head or adapter.
Schedule exteriors by facade orientation
Plot sun direction and building orientation for the date, then check neighboring shadows, trees, cranes, reflective glass, parked vehicles, and seasonal foliage. Scout close to the intended time when possible. A modeled sun path does not include every obstruction.
Front light describes color and organization clearly. Side light reveals relief and texture while increasing contrast. Backlight can show transparency and atmosphere but raises flare and exposure challenges. Overcast light may suit material accuracy but not every campaign mood.
Plan twilight backward from the desired balance of sky and interior lights. Confirm who controls blinds, signage, practical fixtures, and building access. Allow time for test exposures before the brief useful interval.
Audit interiors for mixed light and reflections
List windows, practical lamps, overhead fixtures, displays, emergency signs, and spill from adjacent rooms. Ask which may be switched or dimmed without changing the design intent. Mixed color can be honest atmosphere, but it complicates neutral materials and connected views.
Record a neutral reference in each materially different light state. Bracket windows only when the scene remains stable and a blend is planned. Multiple exposures cannot fix moving curtains, people, leaves, changing screens, or reflections.
Use the camera to scan glass, polished stone, metal, taps, dark screens, and artwork for the tripod, crew, bright windows, and private objects. Change position or flag the source before relying on retouching.
Choose camera height from the space
A consistent moderate height can connect a series, but kitchens, seating, double-height rooms, and staircases may need different choices. Too high can flatten furniture and overemphasize surfaces; too low can make counters or foreground objects dominate.
Use a stable tripod and precise leveling head. Extend thicker leg sections first and keep the center column restrained. Protect floors and maintain exits. Elevated work requires approved platforms and support designed for the load, never improvised furniture.
Check vibration from timber floors, lifts, traffic, machinery, and people. Use a remote method or delay and wait for calm intervals. Follow current stabilization guidance for the body and lens when supported.
Plan industrial and heritage access explicitly
Industrial sites can add protective equipment, escorts, hazardous zones, vibration, dust, and operating machinery. Obtain a method statement or safety briefing where required. Lens changes and tripod placement may be restricted.
Heritage interiors can prohibit touching surfaces, moving furniture, flash, stands, or public closure. A compact zoom role and careful high-sensitivity workflow may be more practical than a large lighting plan. Respect conservation rules without negotiation on site.
Record the approved routes and camera positions. If a required view is inaccessible, discuss an alternate image rather than breaching a boundary. The final set should not conceal that access shaped the perspective.
Adapt the plan to residential and hospitality work
Residential interiors contain personal information, fragile objects, occupied rooms, pets, and neighbors. Agree what can be moved or shown, protect surfaces, and preserve a clear exit. A compact wide zoom may reduce equipment movement, while a normal lens can make quieter details after the broad coverage is secure.
Hotels and restaurants add guests, staff, food service, brand standards, and narrow closure windows. Schedule public spaces before opening or during a controlled block, and confirm when practical lights, signs, and tables can be arranged. Build a lens sequence that minimizes resetting the room.
For both, check usage rights for artwork and identifiable people. A technically strong location view can still be undeliverable if permissions were ignored. Record releases and exclusions beside the shot map.
Use a view-to-lens matrix
| View | Lens role | Planning constraint |
|---|---|---|
| Tight interior | Controlled wide zoom | Edge stretch and correction crop |
| Room relationship | Moderate wide or normal | Doorway and furniture alignment |
| Corrected facade | Shift lens or leveled wider capture | Setback, movement, and compatibility |
| Facade detail | Short or medium telephoto | Atmosphere and support vibration |
| Elevated overview | Lens matched to approved platform | Safety, height, and support footprint |
Replace broad roles with actual lenses and measured positions during the scout. Include the expected correction and final crop in the test, not only the unprocessed frame.
Run one difficult reference through the intended developer before production. Correct verticals, apply the lens profile, make the planned crop, and export at delivery size. If edge detail, field of view, or flare fails after that process, change the lens or viewpoint while access can still be renegotiated. A camera-screen preview cannot reveal the full cost of transformation.
Carry lens and location decisions into NEF review
After verified copies, imagic can scan Nikon NEF files and analyze them locally. It groups similar images and scores technical qualities; culling changes status and leaves originals on disk. Use view labels to compare brackets and lighting layers without losing structure.
Architecture needs manual checks for verticals, reflections, practical lights, styling, people, view coverage, and material color. If a stored score appears outdated, check freshness and reanalyze stale files; reselecting only ranks existing values.
The desktop page explains local, non-destructive review, while the camera hardware guides cover related lens choices. Preserve the location map, references, and correction decisions with the project.
Frequently Asked Questions
What Nikon Z9 lens is best for interiors?
It depends on room dimensions, camera position, correction tolerance, and the required relationship between objects. Test the actual wide lens from the measured viewpoint.
Can software correction replace a shift lens?
It can correct many perspectives, but it crops and redistributes detail. Shift reframes while the camera remains level, so compatibility and movement range may justify a different workflow.
Should every architectural frame be bracketed?
No. Bracket only when a defined tonal problem and stable scene justify it. Movement, flicker, and reflections can make extra exposures harder rather than better.