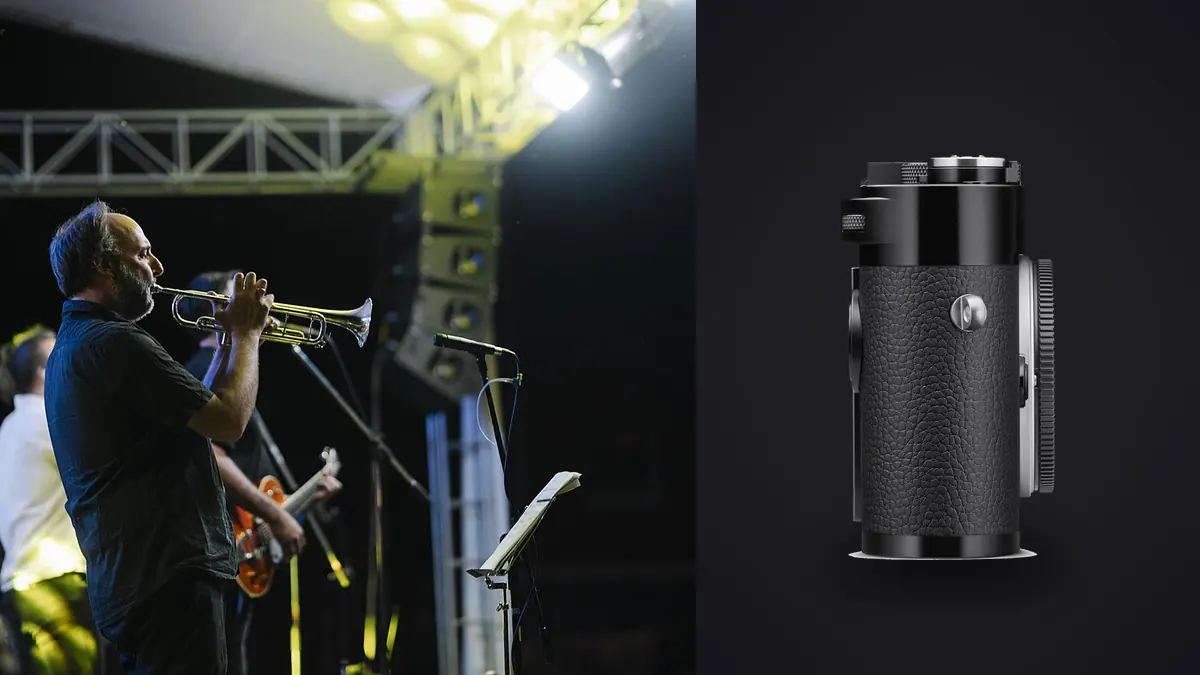
A Leica M11 concert plan succeeds or fails on access and anticipation. Manual rangefinder focusing can be precise when the performer reaches a known mark, yet it offers no automatic subject tracking when a singer suddenly crosses a dark stage. The useful question is not whether an M camera can photograph live music. It is whether the venue, lens, working distance, light, and expected movement support the way it focuses and frames.
This Lens and Location Guide is not a claim that one rangefinder kit should replace a modern autofocus system. It maps focal lengths to positions, identifies focus and lighting constraints, and builds a backup around the moments that matter. Confirm current Leica compatibility and venue rules for the exact equipment before the show.
Get the access map before building the lens kit
Ask where photography is allowed, how long access lasts, whether movement between positions is possible, and which sound or lighting restrictions apply. A close pit, a side-stage assignment, a balcony, and a rear soundboard are entirely different jobs. The same 50mm lens can be an environmental choice in one place and an unusable wide view in another.
Request a stage plot or study recent venue images without assuming the current production is identical. Note performer marks, microphone stands, monitor wedges, risers, drum shields, video screens, and lighting towers. Ask when haze, strobes, lasers, or pyrotechnics may occur and follow every safety instruction. Never cross a cable path, barricade, or emergency route for a photograph.
Arrive early enough to view the approved position with the actual stage set. Identify a clean line for the lead performer, a secondary line for instruments or interaction, and a fallback if another photographer or security staff blocks the first. With a manual-focus camera, a predictable sightline has exceptional value.
Choose 28mm or 35mm for proximity and context
A 28mm lens can include stage architecture, audience, lighting, and several performers when access is close. It also makes distant artists small and puts foreground rails, speakers, and hands near prominent edges. Use it when the environment is part of the story and when you can approach without violating the working boundary.
A 35mm lens offers a flexible balance for small venues, rehearsals, backstage context, and close pit work. Rangefinder frame lines and actual captured edges differ by viewing and focusing conditions, so leave a little margin around instruments and moving limbs. Practice composing with the specific lens rather than treating the frame line as a precision crop.
Wide lenses reward physical positioning but venues often restrict movement. If the only approved spot is far from the stage, carrying two wides does not create reach. Use a scouting frame from the exact location to decide whether context is intentional or merely empty distance.
Use 50mm for a deliberate normal perspective
A 50mm lens can isolate a performer while retaining some stage context from a close or medium position. It often suits a microphone portrait, guitarist at a fixed monitor, keyboard player, or two-person interaction. The field of view is narrow enough that small movements matter but broad enough to recover when a subject shifts unexpectedly.
Fast maximum aperture may help focusing and exposure, yet using the lens fully open reduces depth tolerance and can alter contrast, glow, or edge behavior. Test the exact lens on points of light and high-contrast faces. Choose aperture from the rendering you need rather than from the number engraved on the barrel.
Mark two likely distances during soundcheck or rehearsal if access permits. Learn the focus-ring positions and rehearse moving between them without looking down. The rangefinder patch needs a visible edge, so a microphone stem, bright collar, instrument detail, or lit facial boundary may provide a better reference than a low-contrast cheek.
Reserve 75mm and 90mm for known sightlines
Short telephoto M lenses can make strong head-and-shoulder or instrument frames, but their narrower angle and smaller frame lines raise the demand on focus and anticipation. They are most practical from a stable distance with performers who return to marks. They are less forgiving in a crowded pit where subjects cross unpredictably.
Longer focal lengths magnify camera movement and make haze, heat, and foreground obstructions more visible. Choose shutter time for both performer and photographer motion. Bracing against a permitted solid point can help, but never lean on sound, lighting, or safety equipment.
Check rangefinder calibration with the specific lens before the assignment using a controlled target at relevant distances. A repeated front or back result needs service or a different plan, not wishful compensation in the pit. If critical focus cannot be verified, use live view where practical or switch to a backup system suited to the moment.
Plan focus around marks and repeated behavior
Watch a rehearsal, an earlier song, or repeated chorus to learn movement. Vocalists often return to a central microphone, drummers remain within a constrained plane, and guitarists revisit monitor positions. Pre-focus on that location, keep both eyes open to see the approach, and release when the subject enters the plane.
Zone focusing can work for wider lenses at moderate distance and a chosen aperture, but depth scales are guides rather than guarantees for every output size. Test the acceptable range on the actual lens and final use. At close distance and wide aperture, rely on precise alignment rather than a broad zone assumption.
For movement toward the camera, turn the focus ring in anticipation rather than waiting for perfect coincidence in every instant. Short, purposeful sequences may increase the chance of a strong gesture, but the M11 is best used with timing rather than as a continuous recording device. Keep the view clear and listen to musical structure.
Read stage lighting before deciding exposure
Stage light can change color, direction, and intensity within one phrase. Protect important facial and costume highlights while accepting that black backgrounds may remain black. Manual exposure can be stable during a consistent cue; an automatic mode with intentional compensation may adapt better during a moving follow spot. Save separate starting points for bright front light and low-key side light.
LED walls and fixtures can create bands or partial patterns at certain shutter settings. Make a short test series during soundcheck if allowed. Compare shutter choices and the M11's relevant capture options, then inspect entire frames rather than only faces. A clean rehearsal file is better evidence than a general rule about local mains frequency.
Monochrome conversion cannot rescue every color or exposure problem. Deep red and blue light may record uneven facial detail across channels, and haze lowers contrast. Expose and focus for the actual cue, then decide later whether color or black and white serves the picture.
Control flare, filters, and bright stage sources
Concert frames often include spotlights just inside or outside the image. Use the correct hood where it does not obstruct the finder, keep filters clean, and test whether a protective filter adds ghosts around bright points. Older and modern M lenses can render flare differently; that character may be attractive until it hides an eye or covers a sponsor mark.
Change your angle slightly and watch how ghosts move. A hand used as a flag must stay clear of the lens field and must not block another photographer. Do not assume software can remove a large veiling reflection across hair or skin without visible consequences.
Condensation can appear when moving from cold transport into a warm, crowded room. Let equipment acclimatize in a closed bag and inspect the front and rear optical surfaces before access begins. A soft sequence may be condensation rather than focus failure.
Build a small, role-based kit
Carry lenses that solve distinct views. A 28mm plus 50mm can cover context and a normal portrait from close access; a 35mm plus 75mm can separate near and medium positions. Three adjacent focal lengths may add choices without adding a new picture. Lens changes in darkness also risk dust, drops, and missed cues.
Bring charged batteries, verified cards, a quiet cleaning method, approved hearing protection, and a small dimmable light used only where permitted. Disable unnecessary sounds and bright indicators. Dress and move according to venue requirements, and avoid blocking paying audience members for repeated frames.
A backup body should cover the assignment's essential frame, not duplicate the most romantic part of the kit. If a client requires reliable close eye focus during erratic movement, an autofocus backup may be the responsible choice. The M11 can then make the quieter, anticipated images it handles best.
Plan coverage beyond the lead performer
A concert set needs more than repeated singer portraits. Allocate moments for the drummer, rhythm section, instrumental detail, audience relationship, stage design, and interaction between band members. Note which lens and position can reach each without a rushed change. In a three-song restriction, divide time before the first note rather than discovering during the final chorus that one musician has no usable frame.
Use musical structure as a cue. Solos, introductions, pauses, and repeated refrains often direct attention to different performers. Keep listening while watching the frame edges and the room around the stage. A rangefinder encourages anticipation, and that strength is wasted if every exposure follows only the brightest face at center stage.
Prepare the DNG review path
The M11 records DNG files, a format on imagic's supported RAW list. After verified card copies, scan the folder before analysis. Local quality scoring and similar-frame grouping can assist the technical pass, while rejected files retain their originals because culling changes status rather than deleting.
Concert judgment still requires human review for gesture, instrument position, microphone obstruction, light cue, and set variety. A slightly soft frame at the emotional peak may be more useful than a perfect repetition. If a stored score seems implausible, check freshness and reanalyze stale files; reselecting only ranks existing values.
The camera hardware guides cover related system choices, and the blog hub collects broader field and workflow planning. Keep lens and position notes with the contact sheet so the next venue plan reflects actual misses and successful sightlines.
Frequently Asked Questions
Which Leica M lens is best for concerts?
The answer follows access. Wider lenses suit close environmental work, 50mm balances context and isolation, and short telephotos need a stable medium-distance sightline and precise focus.
Can zone focus replace rangefinder focusing on stage?
It can provide a useful tolerance with wider lenses and suitable aperture, but it is not exact at every distance or output size. Test the real lens and working range.
Should an M11 be the only body on a commissioned concert?
Only if its focusing method, lens reach, file path, and your practiced handling can meet every required frame. Carry a suitable backup when missing essential coverage has consequences.